Wood-Fired Pizza at Home
For our birthdays, we were gifted with the coolest addition to our kitchen to date, which has revolutionized our Friday nights: a portable, wood-fired pizza oven! I had long dreamed of a dedicated outdoor space that we could create around a large (and expensive) pizza oven so that we could make our own pizza at home whenever we wanted. As it turns out, this ingenius, portable, practical and incredibly powerful little oven makes the best pizza I have had in my life (not an exaggeration) and for a fraction of the cost and outdoor space. When it cools down, we put the little cover back on and tuck it away in our shed — easy peasy! Also because it is so small and light, we could easily travel with it.
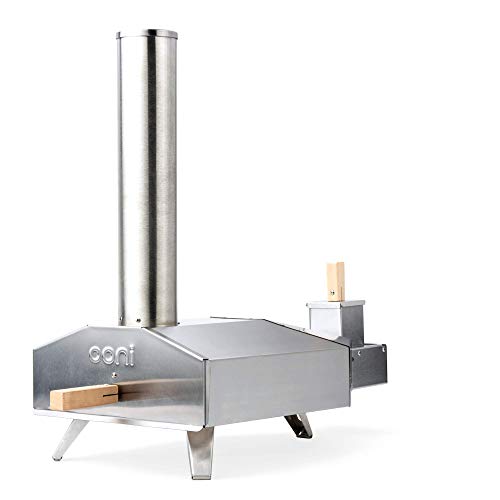
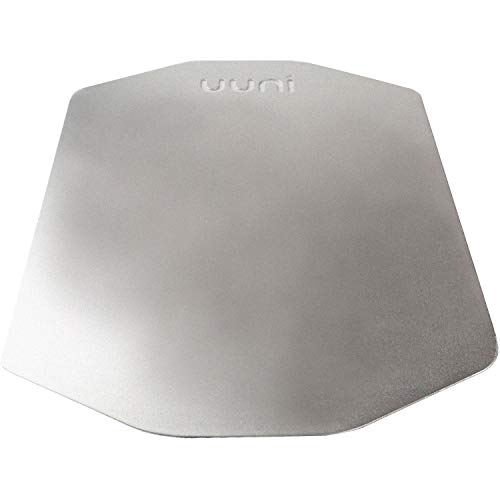
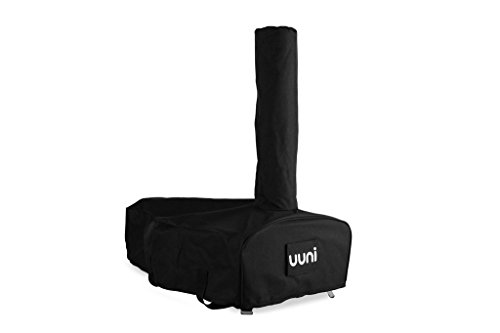
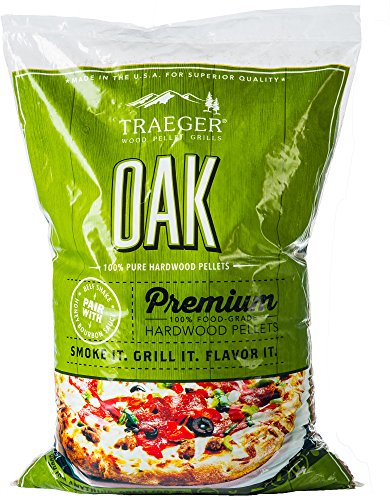
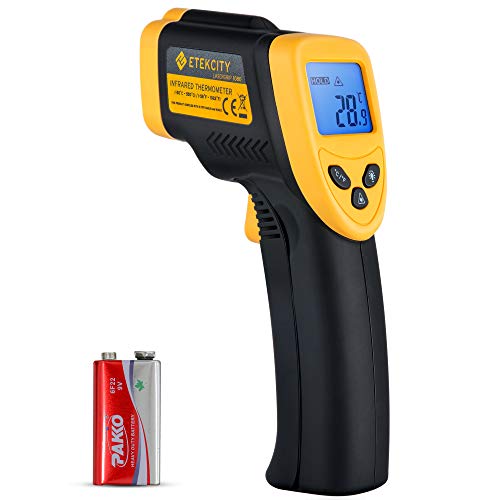
Our model is the Ooni 3 and it uses hardwood pellets that the brand sells, but you could easily sub for any hardwood pellets from a big box store in the grilling section. Important tools not included that you should consider are the pizza peel, on which you make your pizza and use as the spatula to launch your pizza into the oven, as well as turn it halfway through cooking, as well as the oven cover for keeping off cobwebs while being stored. As part of our bundle, we also received the gas conversion unit which would allow you to hook the oven up to a portable propane tank. We have not used this piece yet, but would consider using it for a party since maintaining the temperature of the oven would be more difficult/stressful if you were making a lot of pizzas in a row. Otherwise, we hate to give up the wood-fired flavor if we are just making a few pizzas. To light the chimney, it is easiest to do with little butane torch. There is a cutout on the side of the chimney for this very purpose; after a few seconds of torching, your pellets are lit and it takes only about 10 minutes for the oven to come up to temperature. The final important item that takes out the rest of the oven guesswork is a handy little infrared thermometer. We have found that around 700°F is ideal for cooking our crust to chewy without burning, yet allowing the bottom to get perfectly crisp. Amazingly, the pizza cooks in just about a two and a half minutes at this temperature. We keep a stopwatch handy and rotate halfway at 30 seconds, then give it another 30 seconds and keep checking until it looks perfect.
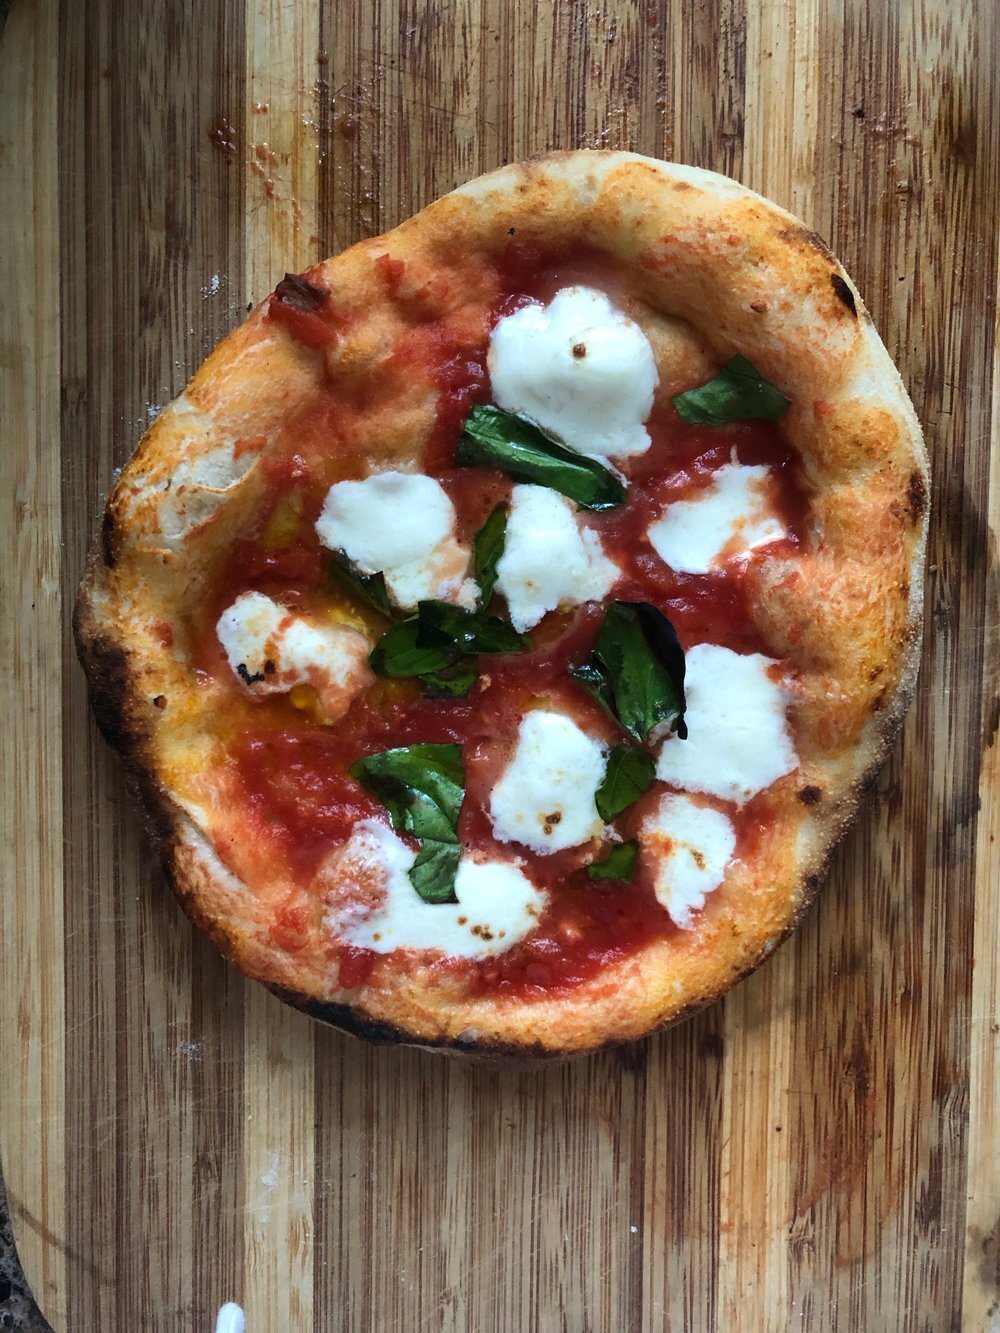
We haven’t strayed far from making Margherita pizzas (basil, mozzarella and sauce) since the crust and the sauce are so incredibly good, with the addition of a little fresh mozzarella, basil and a swirl of olive oil, it’s hard to improve upon. If I dare to venture beyond that, I set up a little toppings bar that includes: artichoke hearts, goat cheese, fresh oregano, chopped garlic, sliced shallots or red onion, and green olives. I am loyal to the Ooni recipes for both their sauce and dough, which are simple and perfect. The Ooni YouTube channel has a playlist called “Ooniversity” with all the info you need to get started with your pizza-making education. I have purchased “00” flour to try on my next batch of pizza dough, but have found all-purpose flour to be perfectly good to use.

Ooni 3
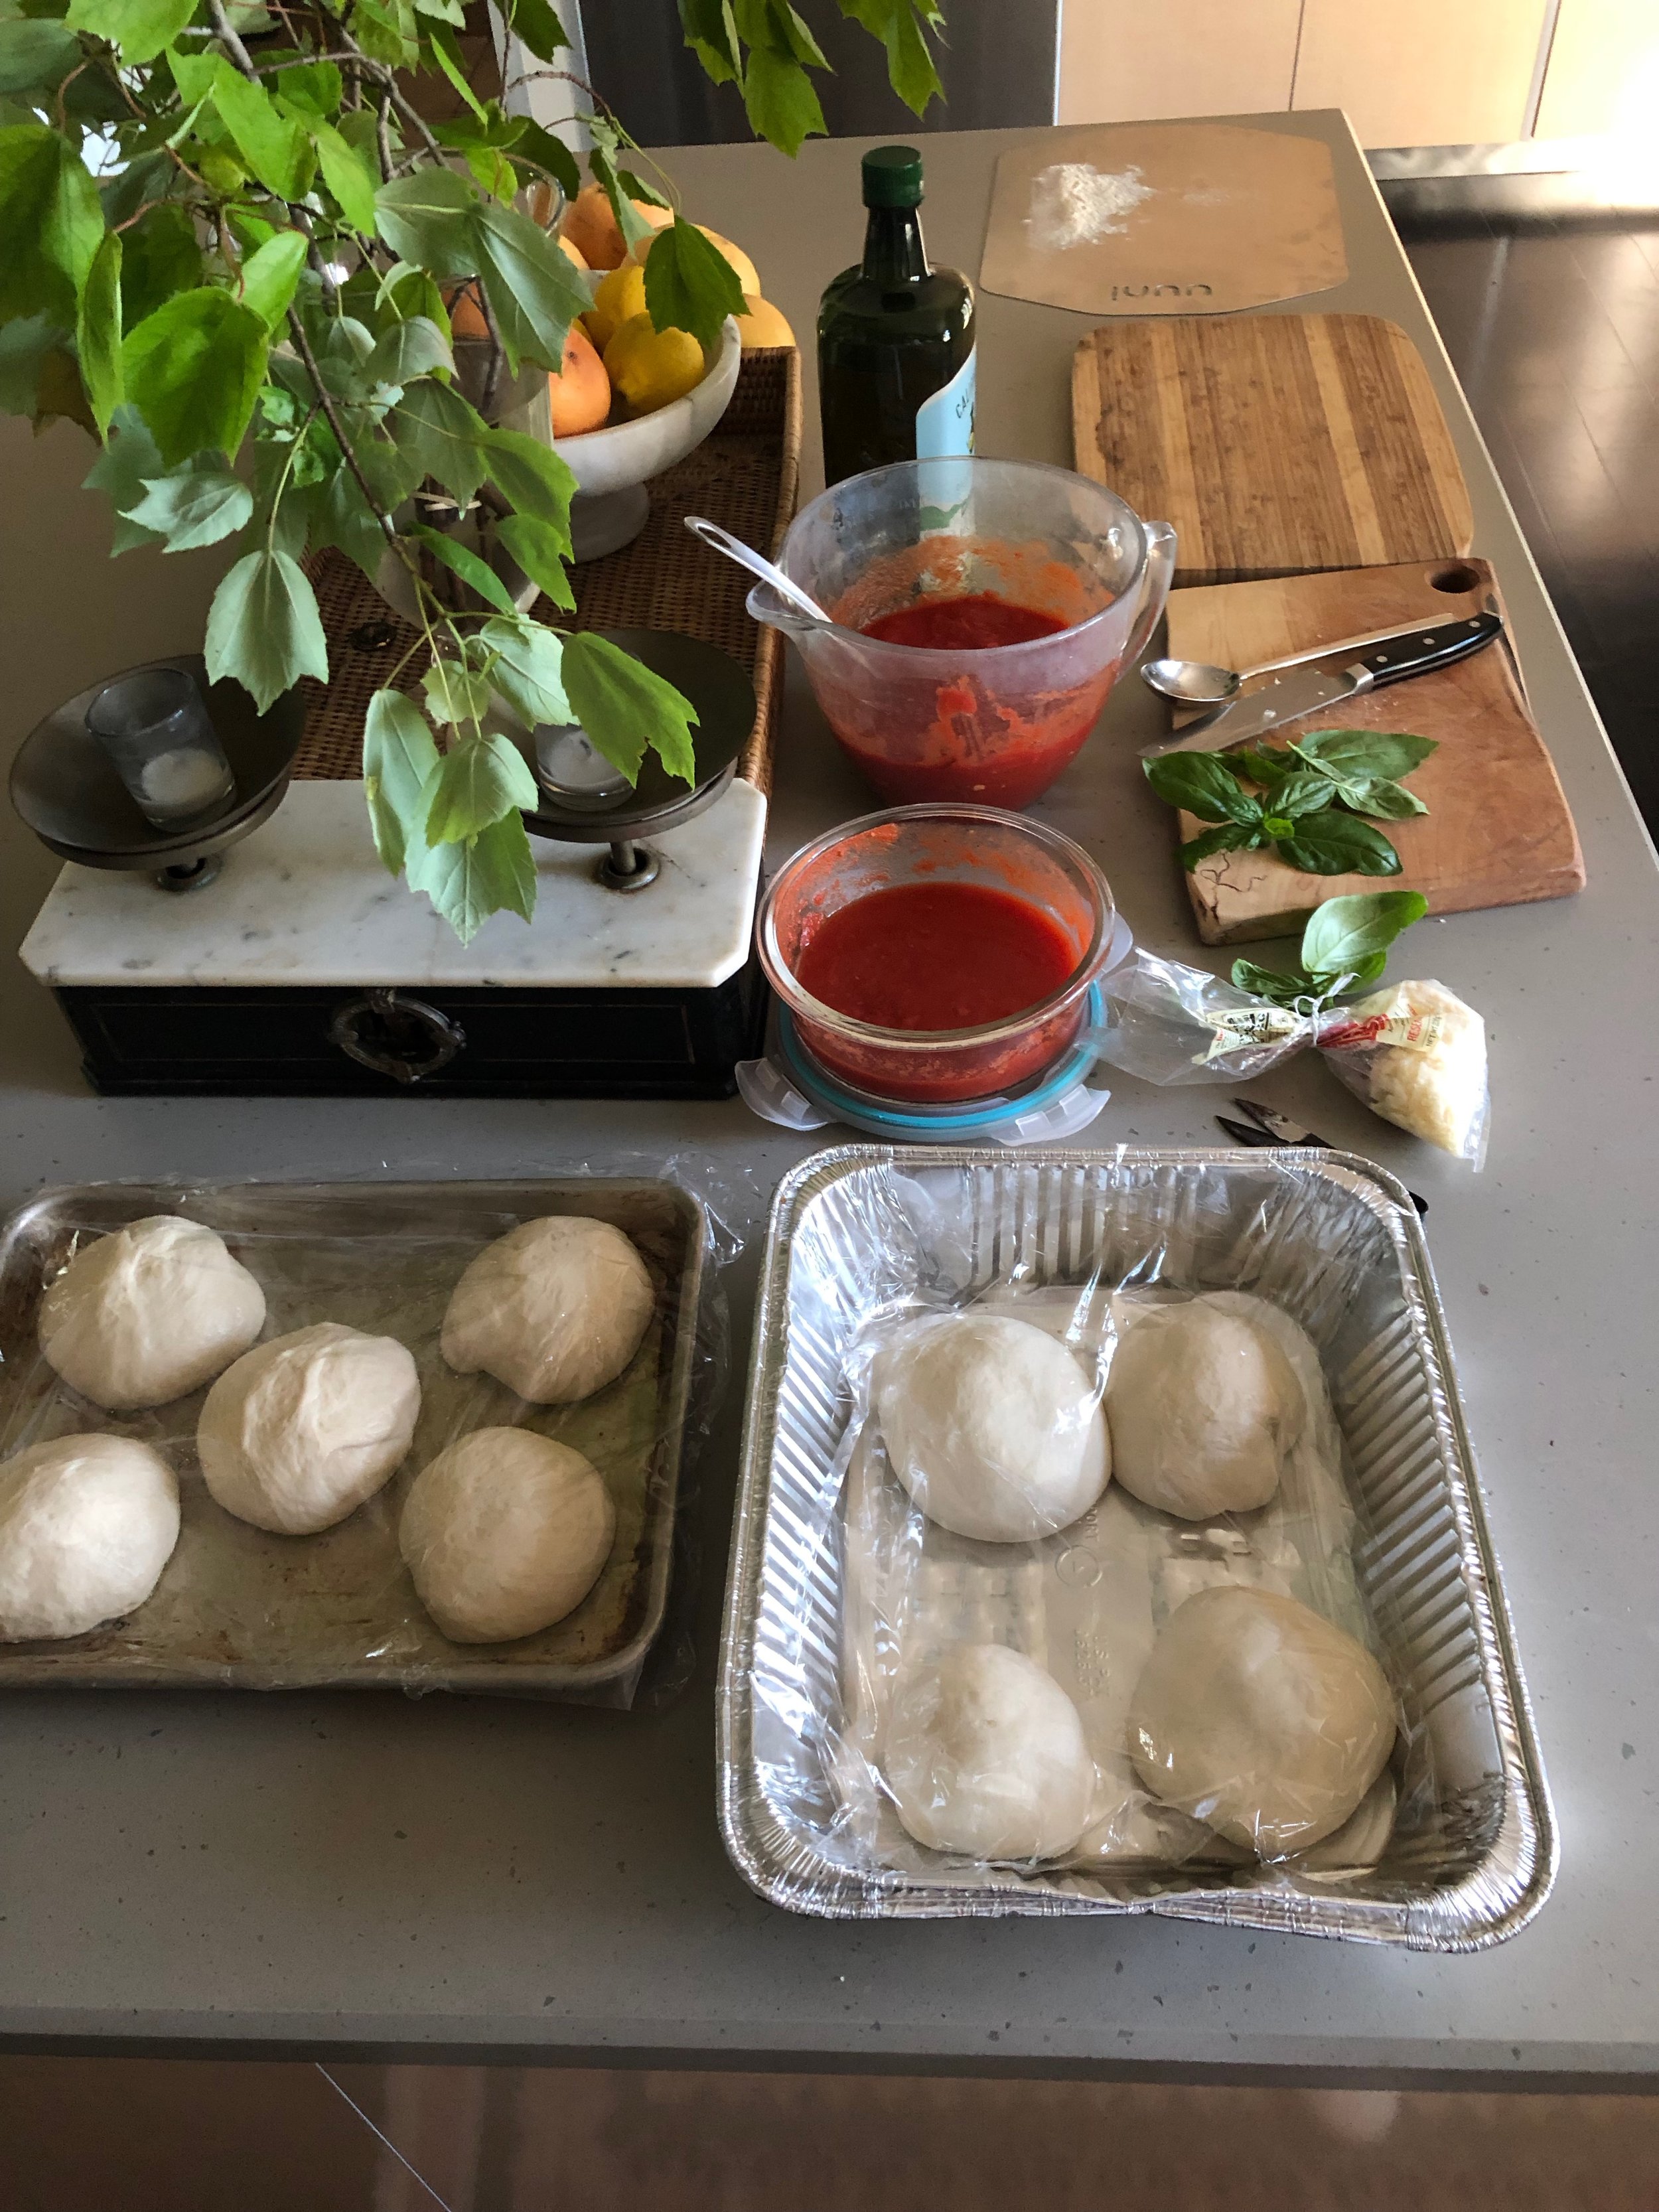
Pizza-making station
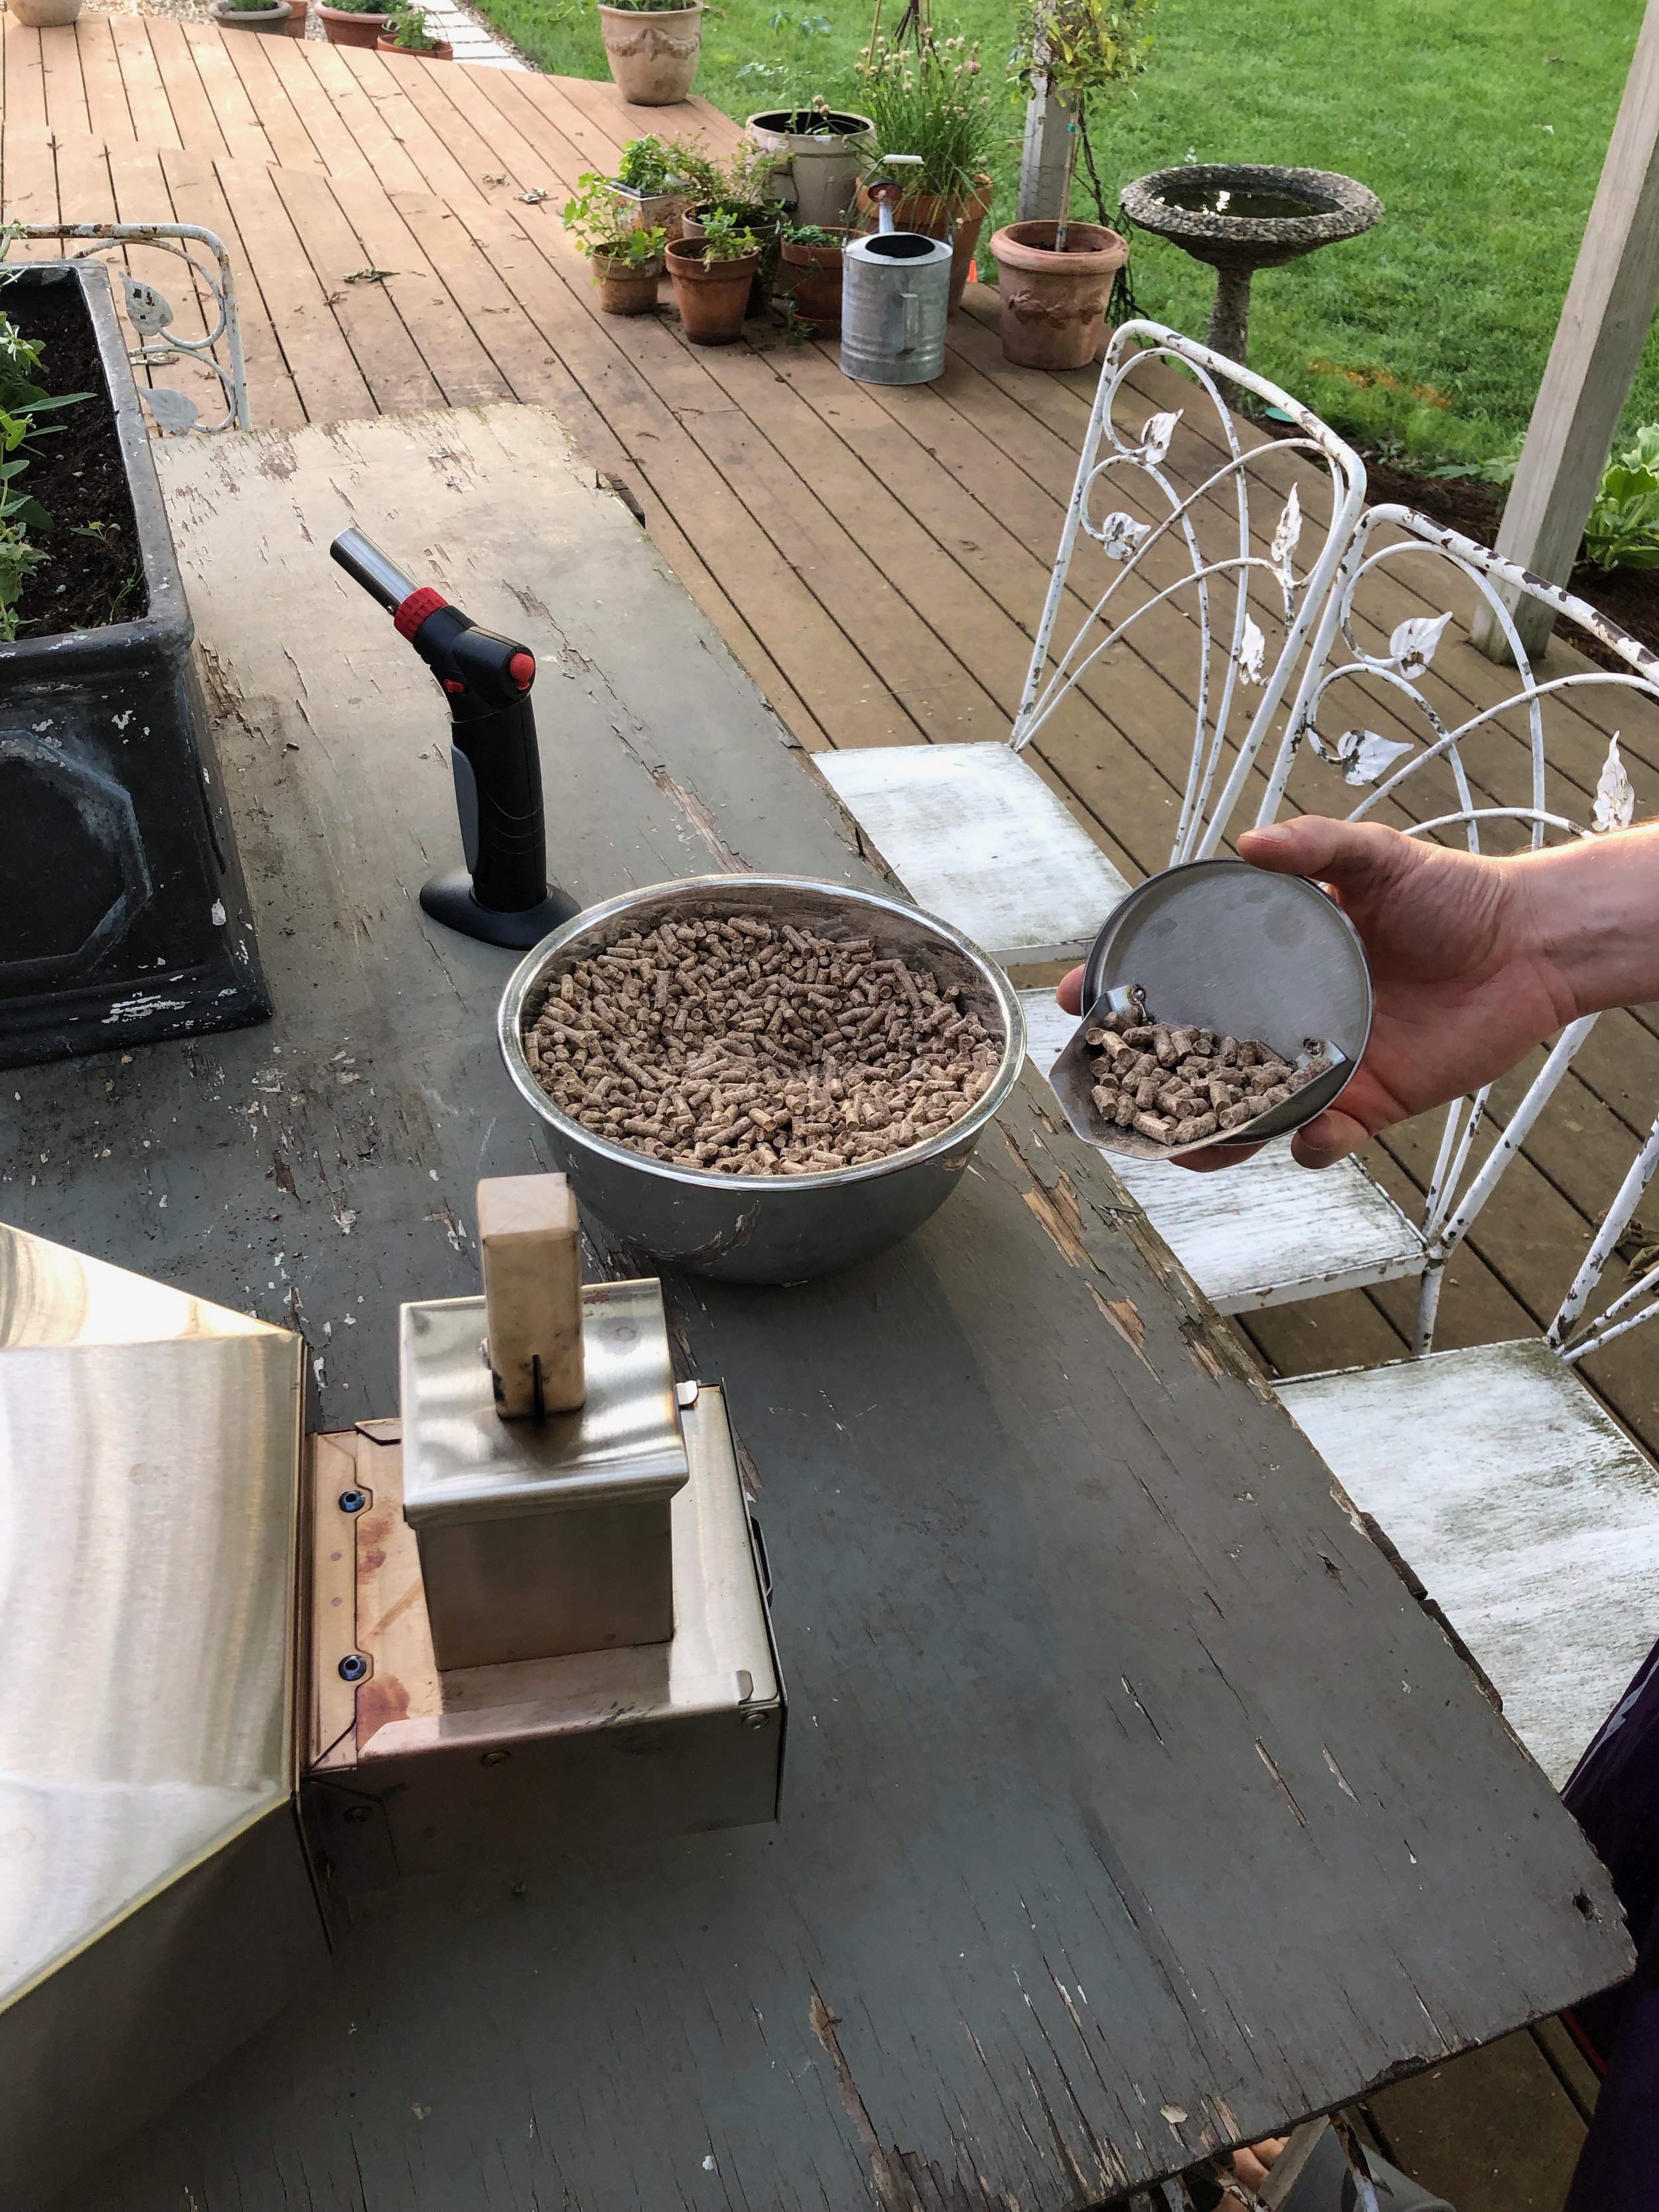
Scooping pellets into the chimney
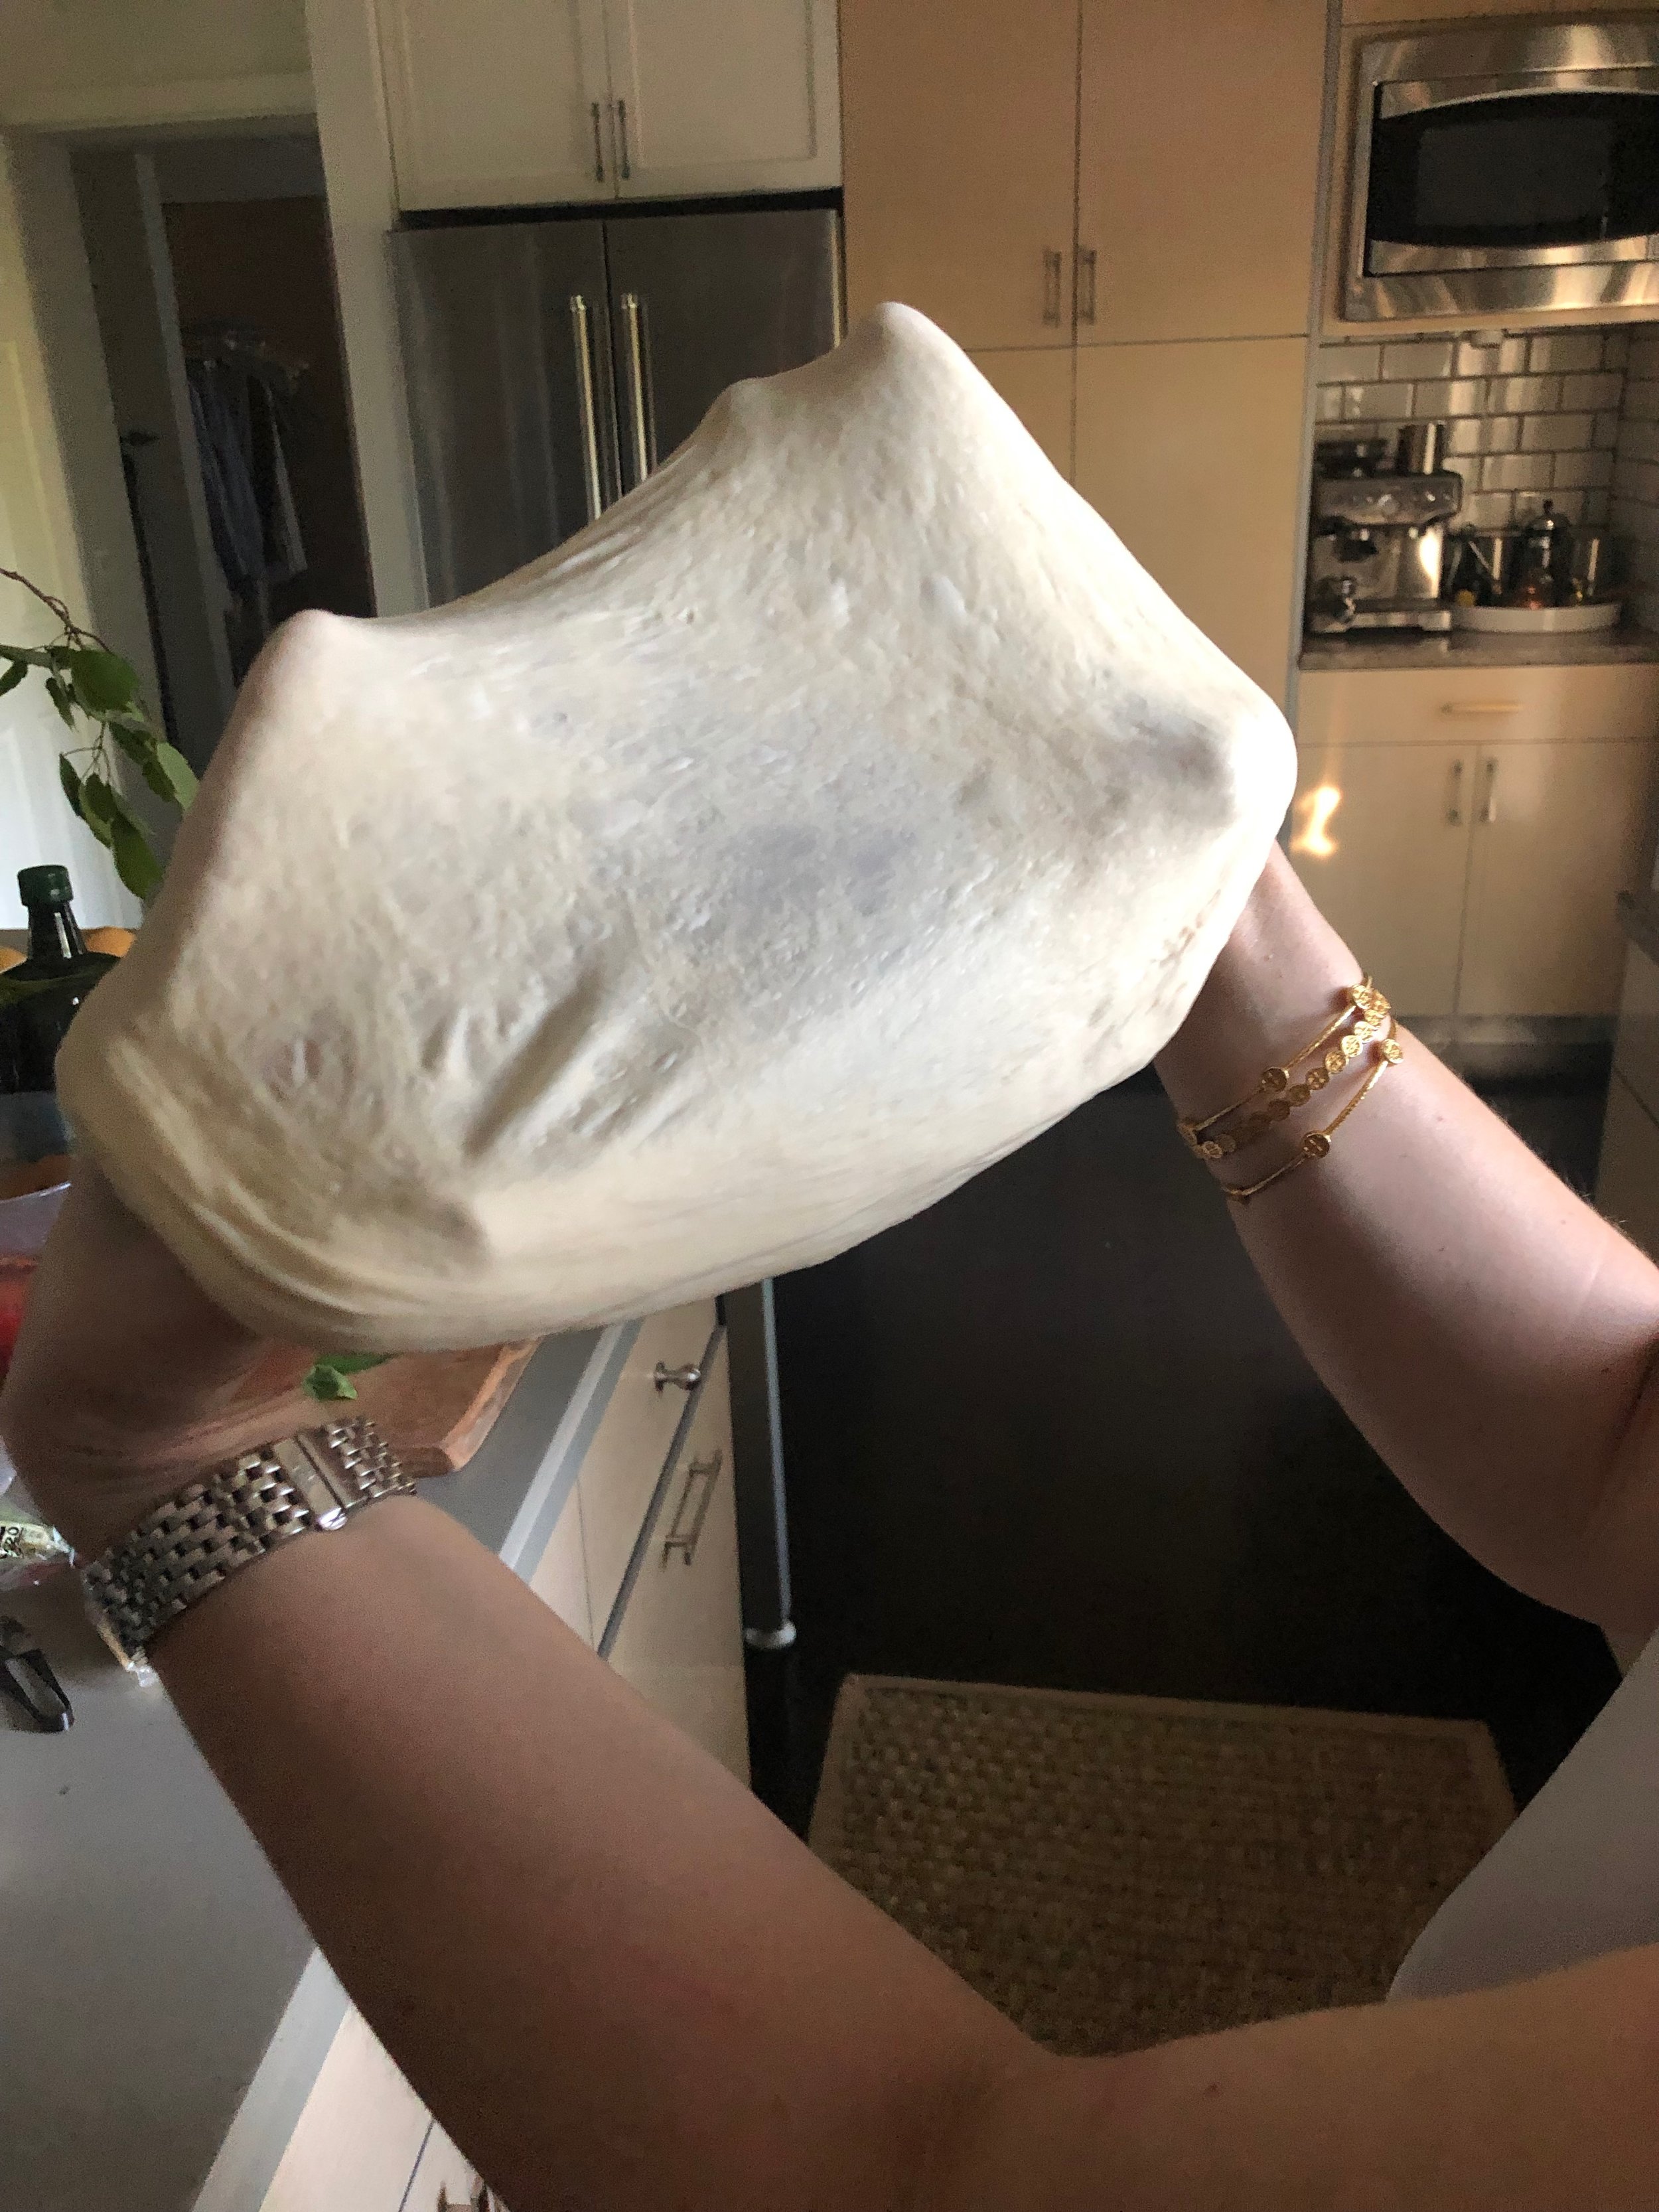
Stretching the pizza dough until transparent in the middle
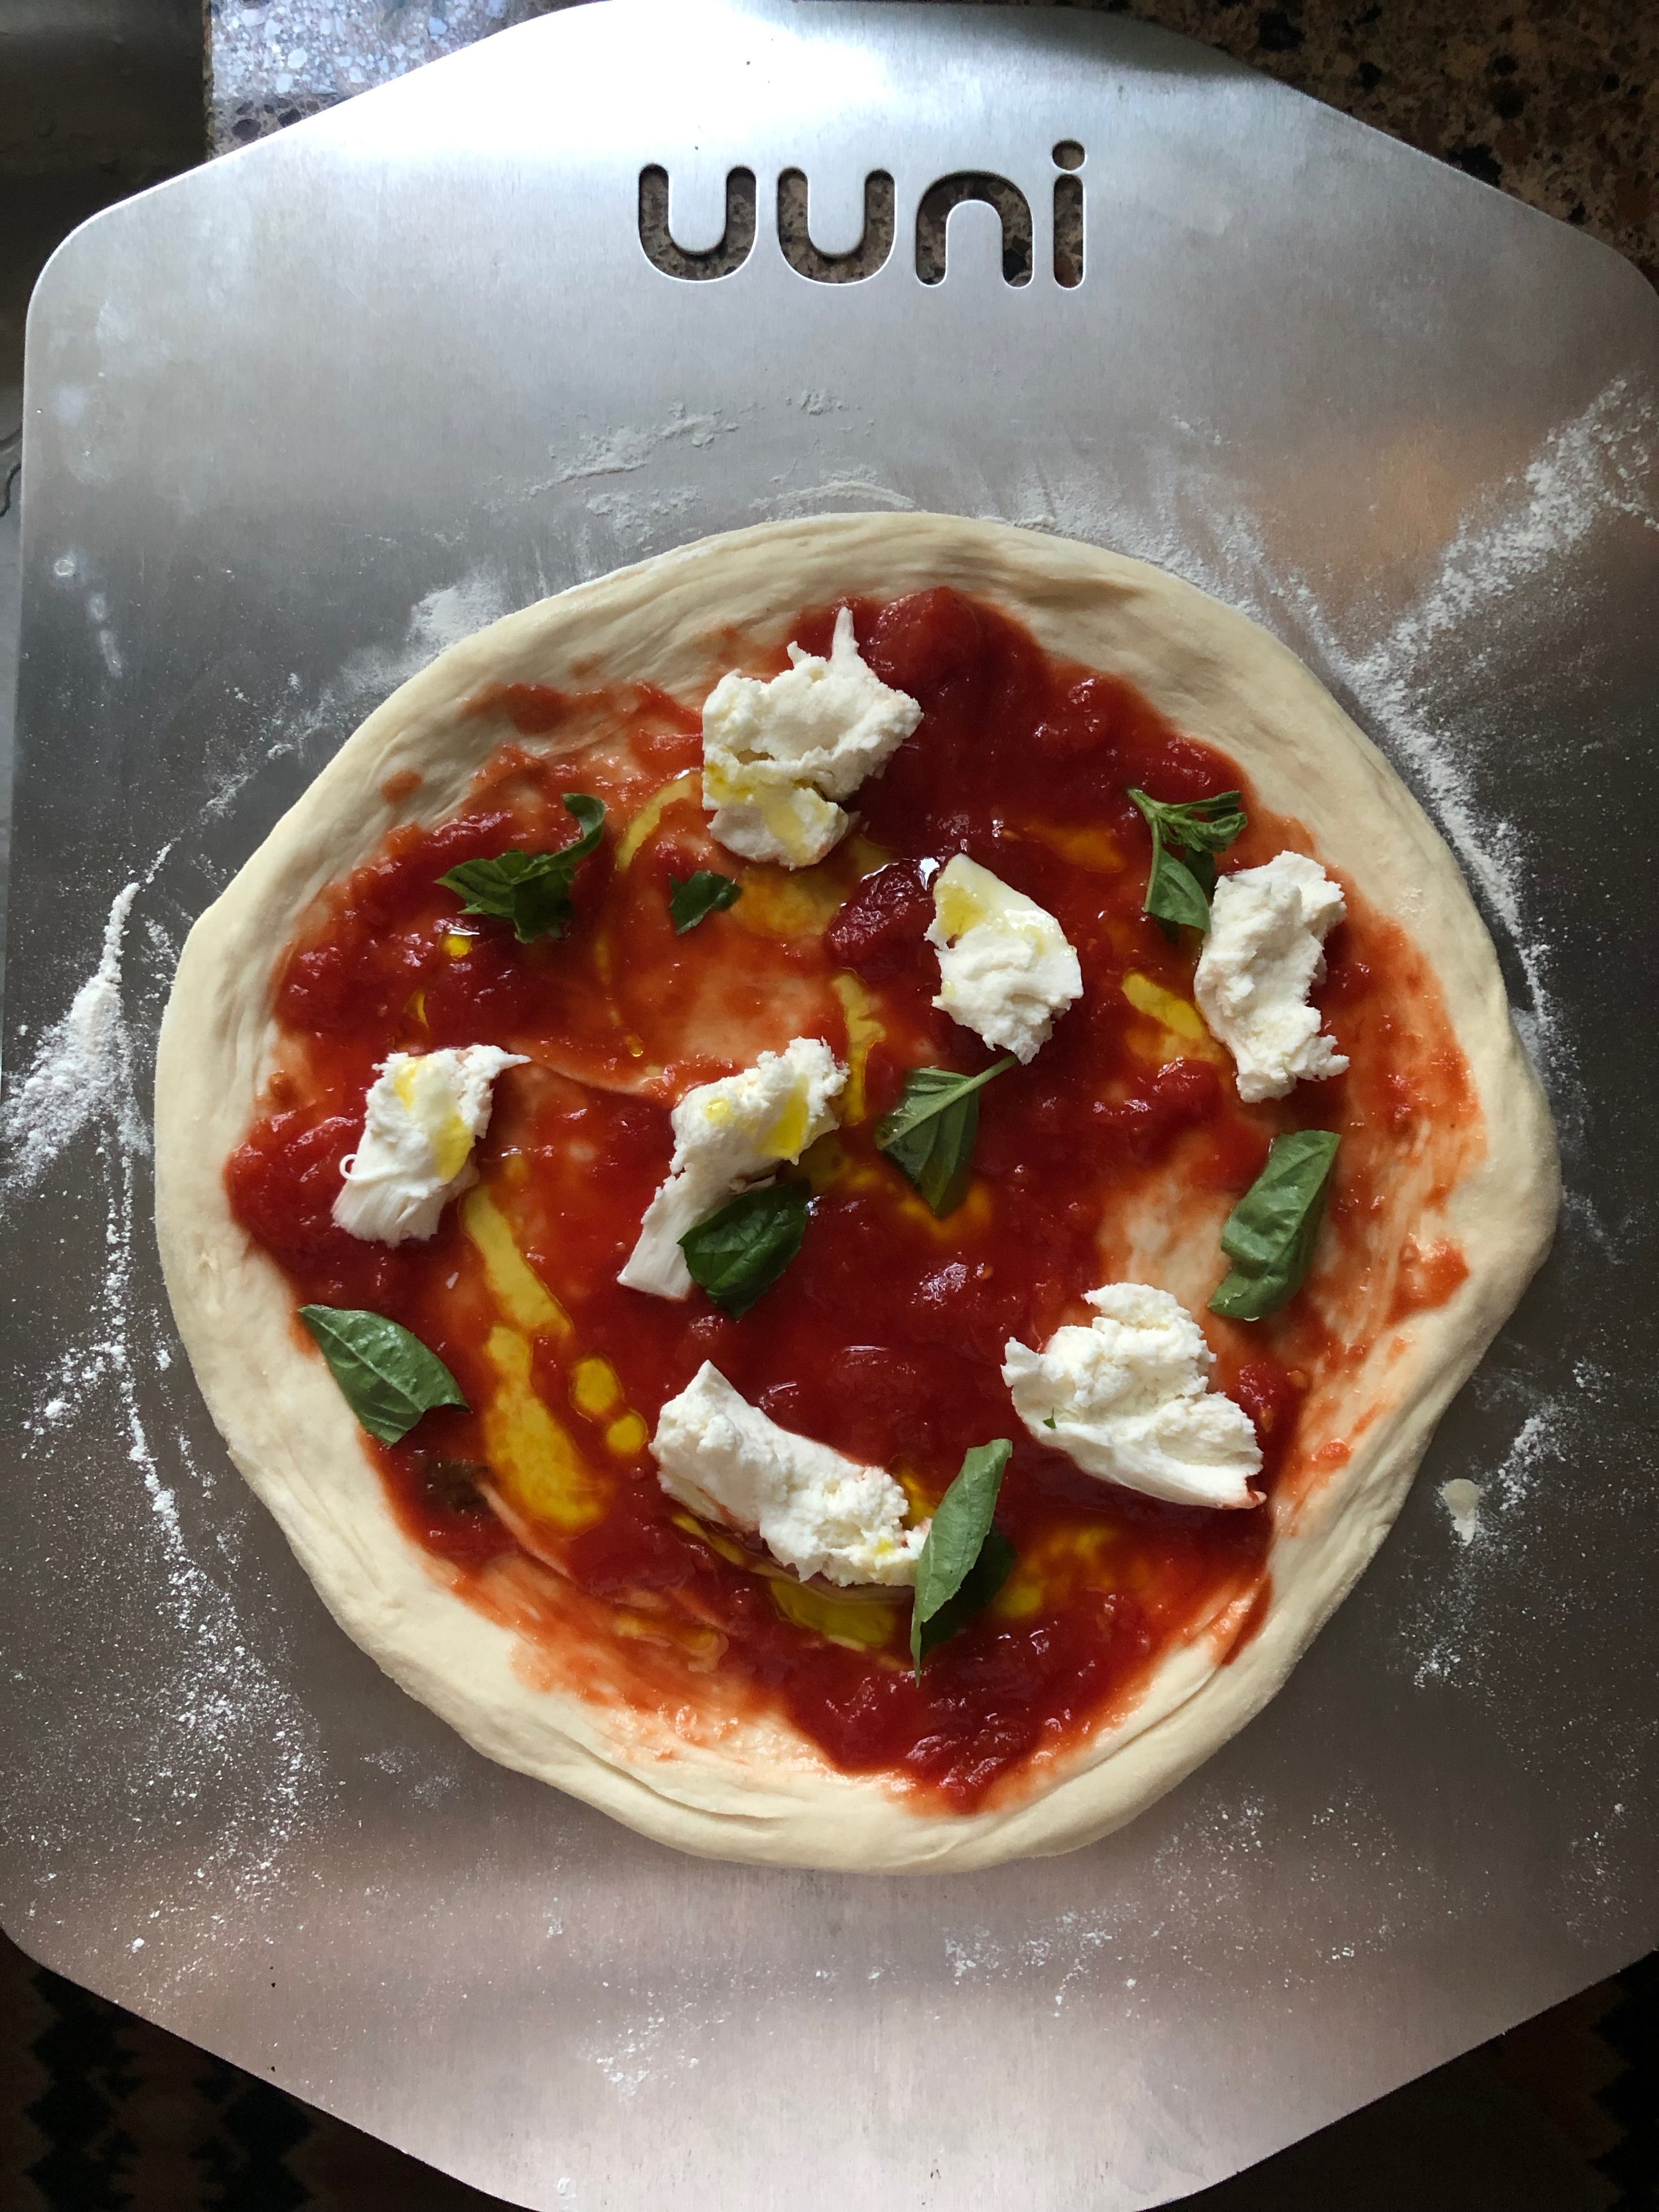
Margherita pizza ready for the oven
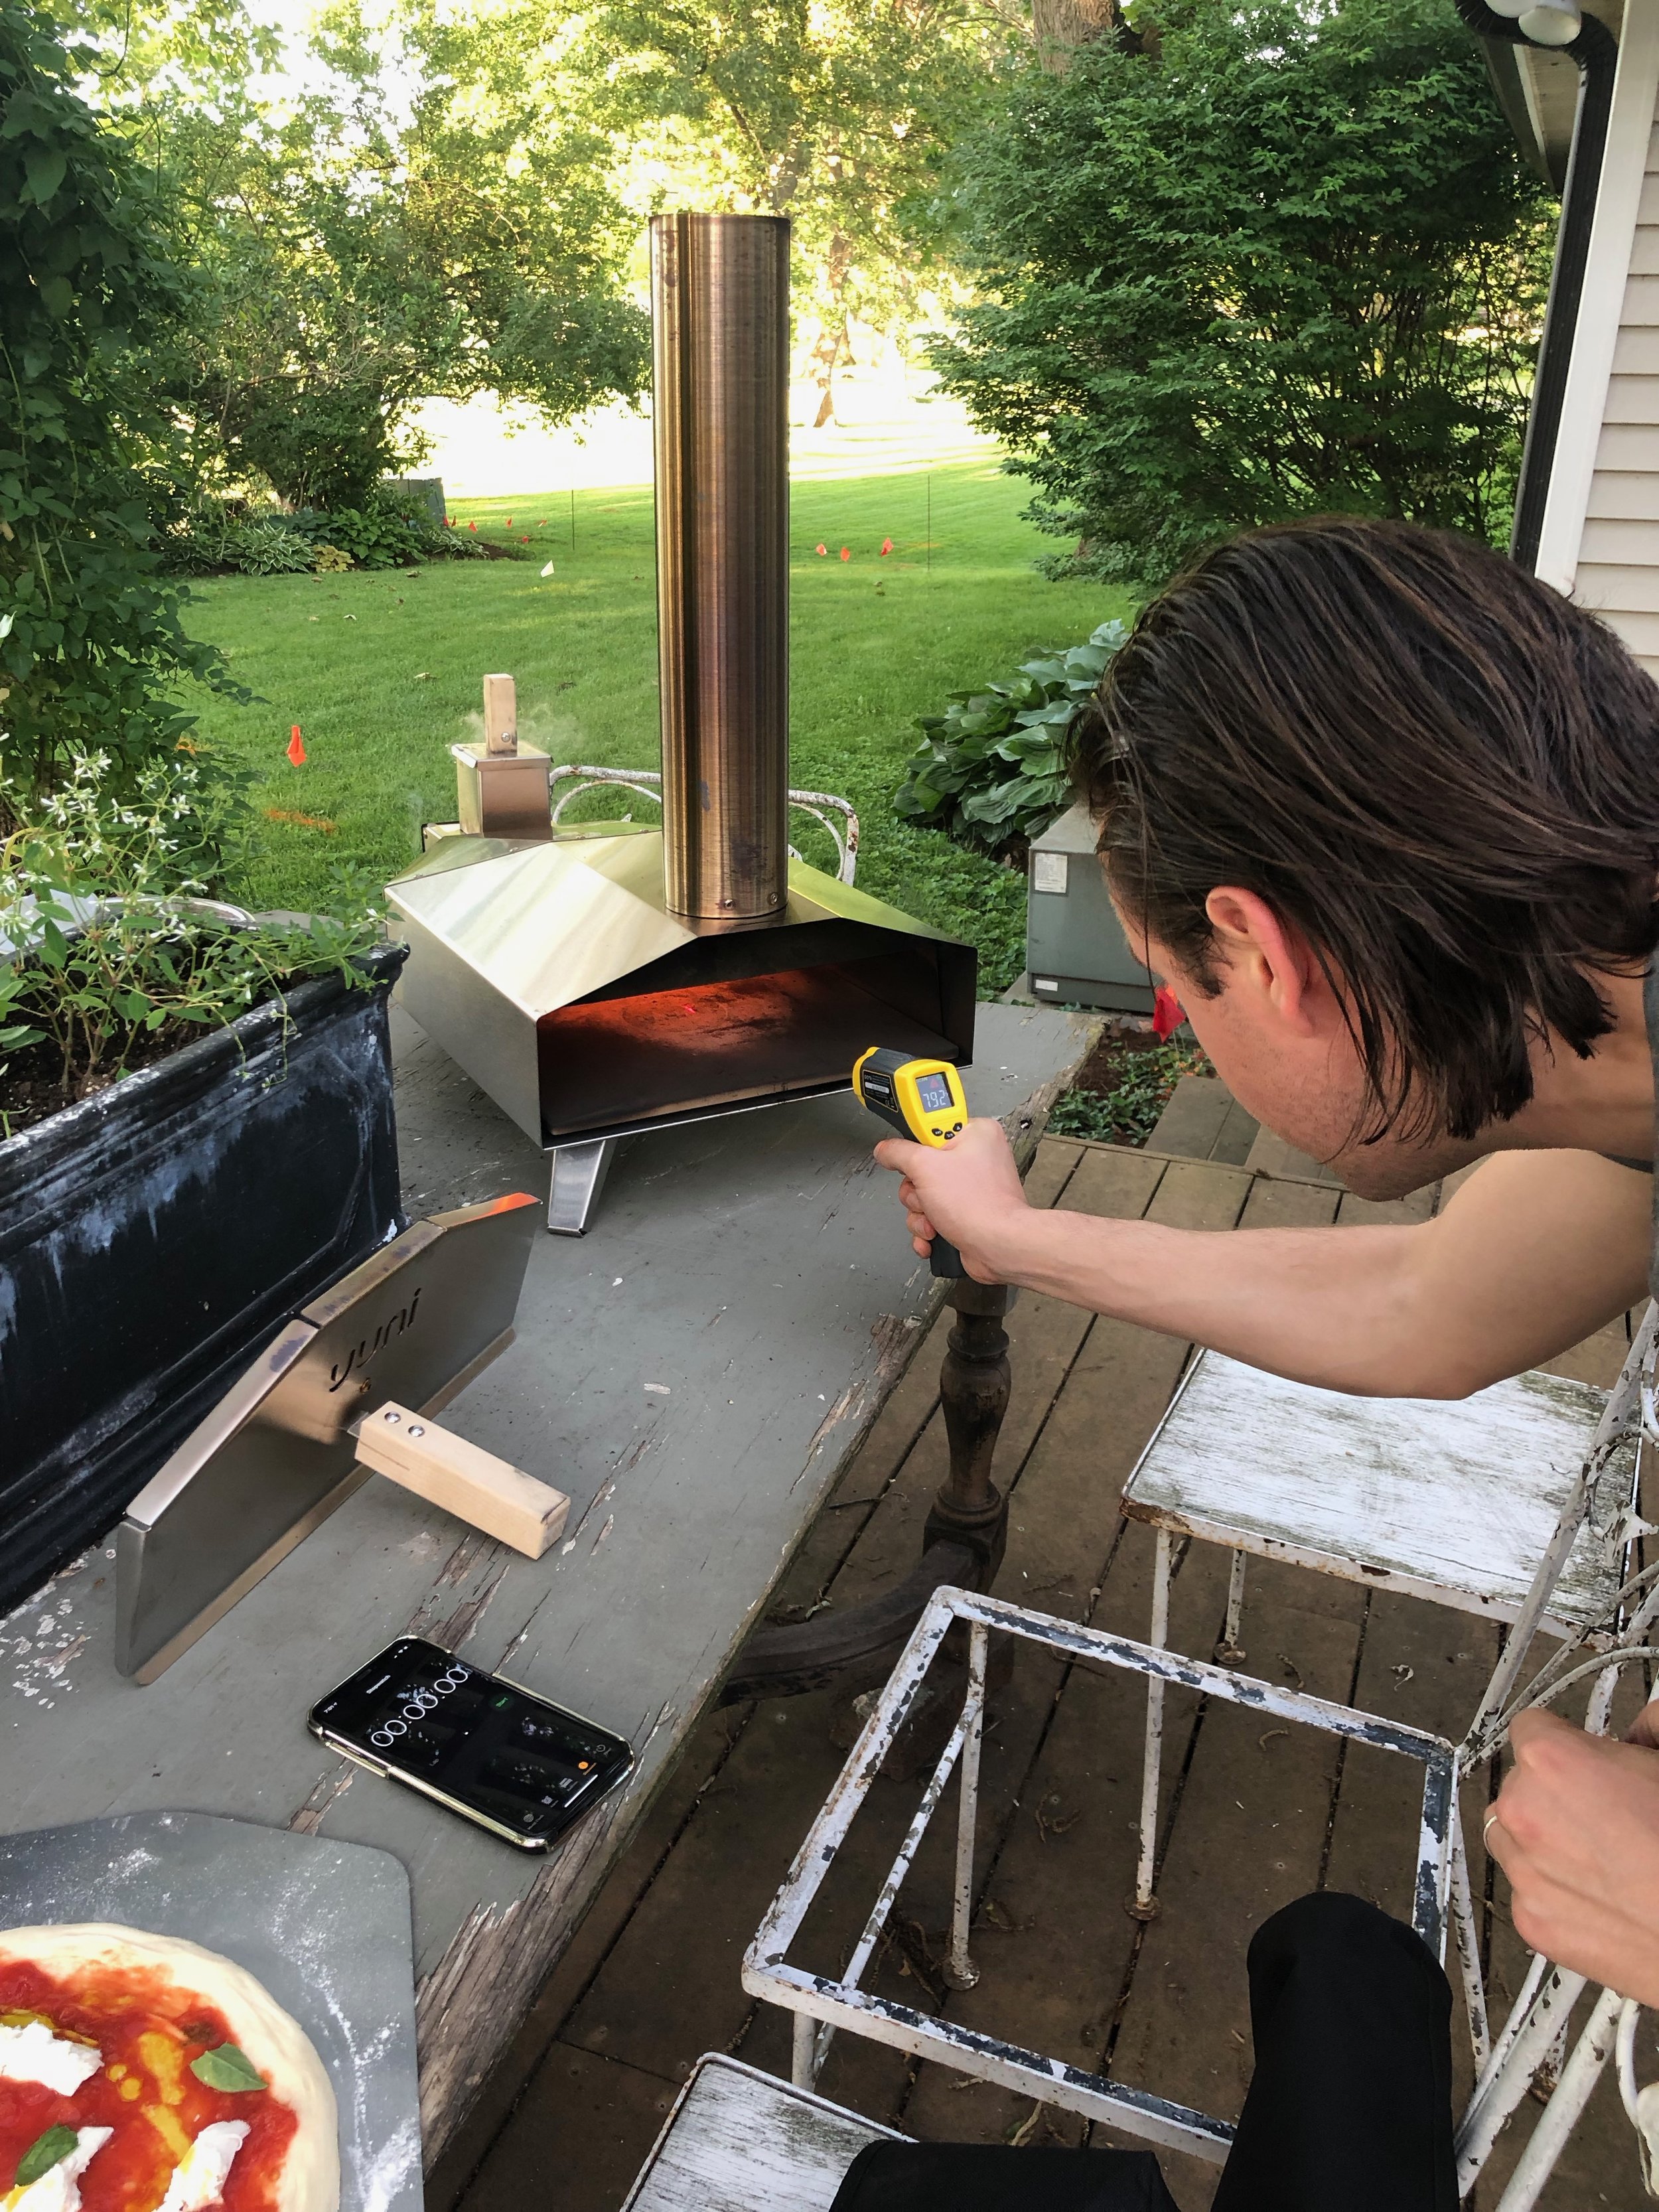
Checking the temperature with the infrared thermometer

Rotating

Perfecto!