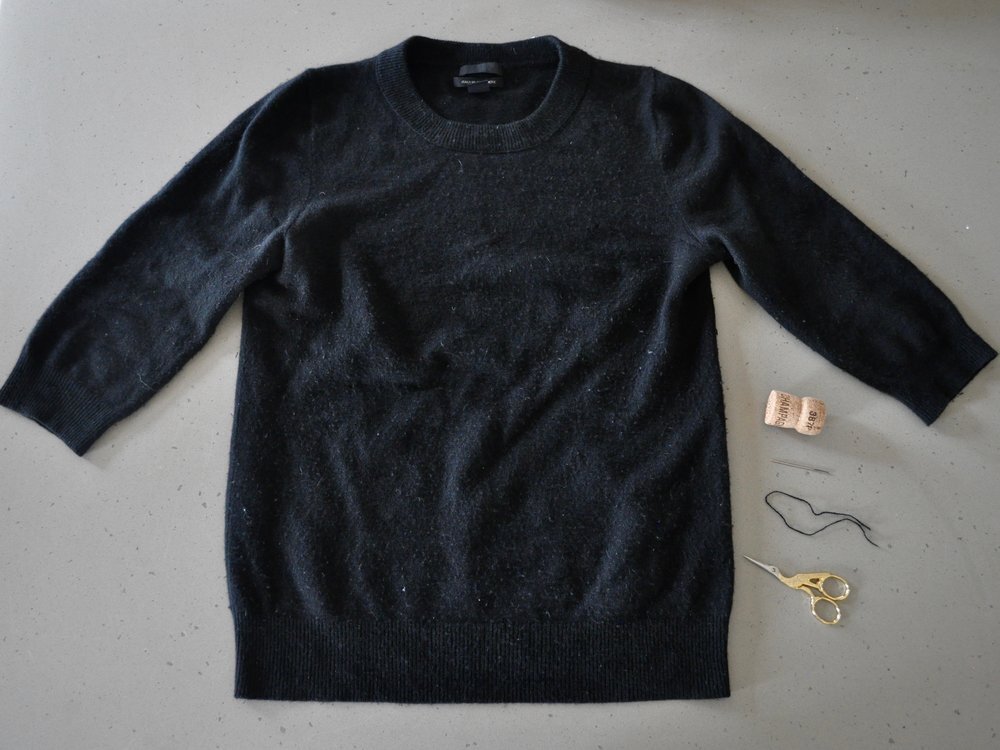
How to Repair a Cashmere Sweater
February 12, 2018
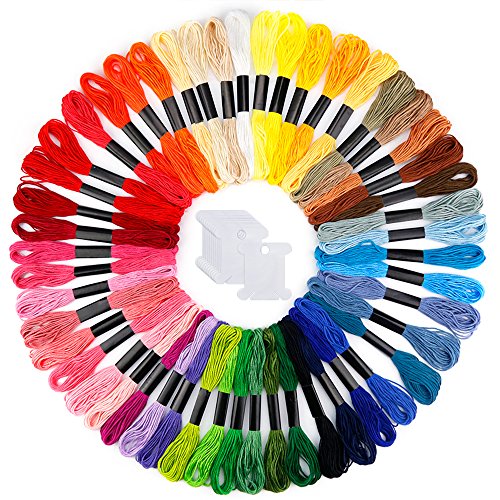
Usually a cashmere sweater comes with a bit of yarn that you can save for eventual repairs (they are targets for moths). I keep this extra yarn along with spare buttons in my sewing kit so I can easily find it when I need it. If not, you will need to get some matching yarn or embroidery floss (not sewing machine thread) to make the repair.
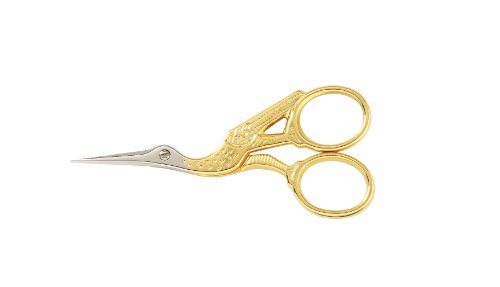
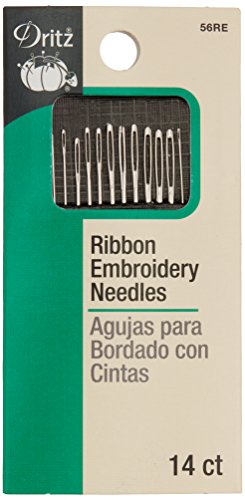
To repair a hole, I use a Champagne cork (which has a wider surface than a wine cork), an embroidery needle and matching yarn. Flip the sweater inside out and place the cork under the hole. Thread your embroidery needle with yarn and do not tie a knot on the end. Holding the Champagne cork, run the needle through one of the knit loops of the sweater and pull the yarn all the way through leaving 1″ hanging at the end (which you will use to tie a knot at the end of the repair).
Run the needle through an adjacent loop and pull the yarn through. Work your way around the hole like you’re drawing an octagon with your needle. With each stitch you complete, be careful not to pull too tight. Once you complete your eighth stitch, gently pull the two ends of thread to close the hole. Stretch and smooth the fabric to ensure that your repair has not caused and puckering and that it all lays flat (flip the fabric to the right side to verify). Tie a double knot with the two ends of yarn to finish and trim the excess yarn. When you’re finished stitching, run a sweater comb gently over the sweater to help blend the repair with the sweater.
To prevent future moth damage, I like to give my cashmere a good steam after wearing and spritz with homemade lavender spray. Of course preventing damage in the first place starts with proper cashmere care. Read about how I care for my cashmere here.
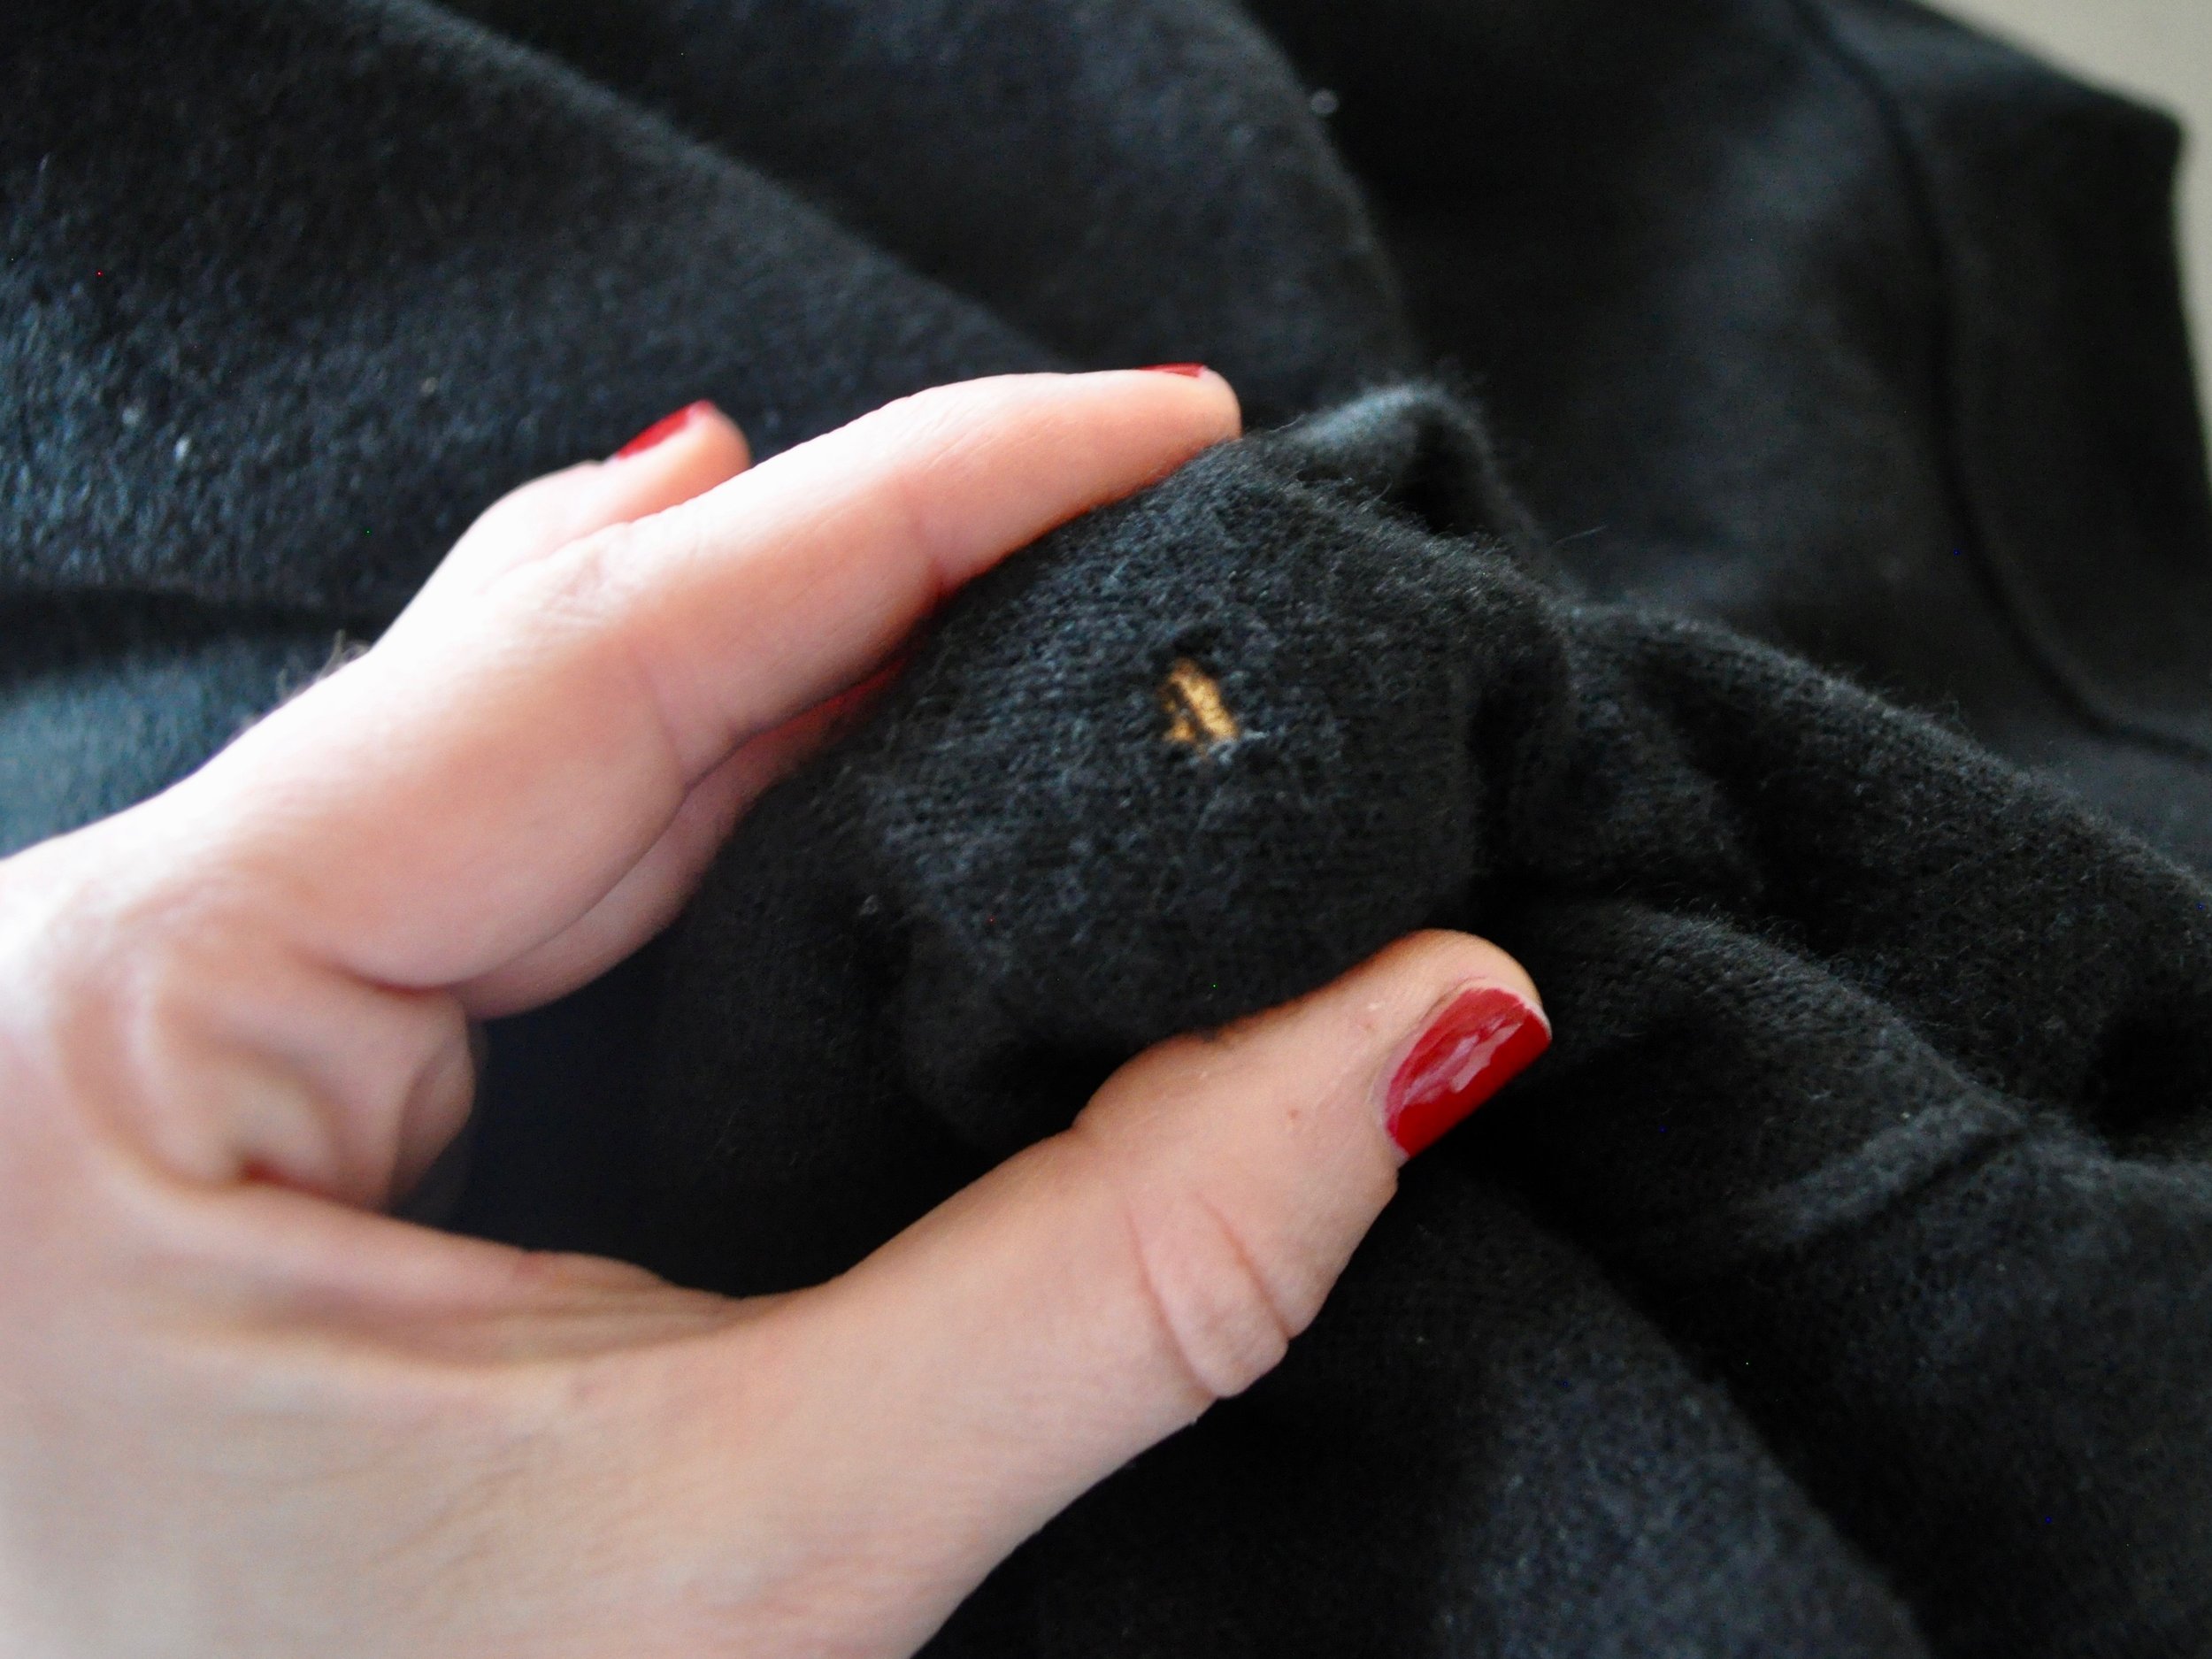
With the sweater inside-out, position the cork behind the hole
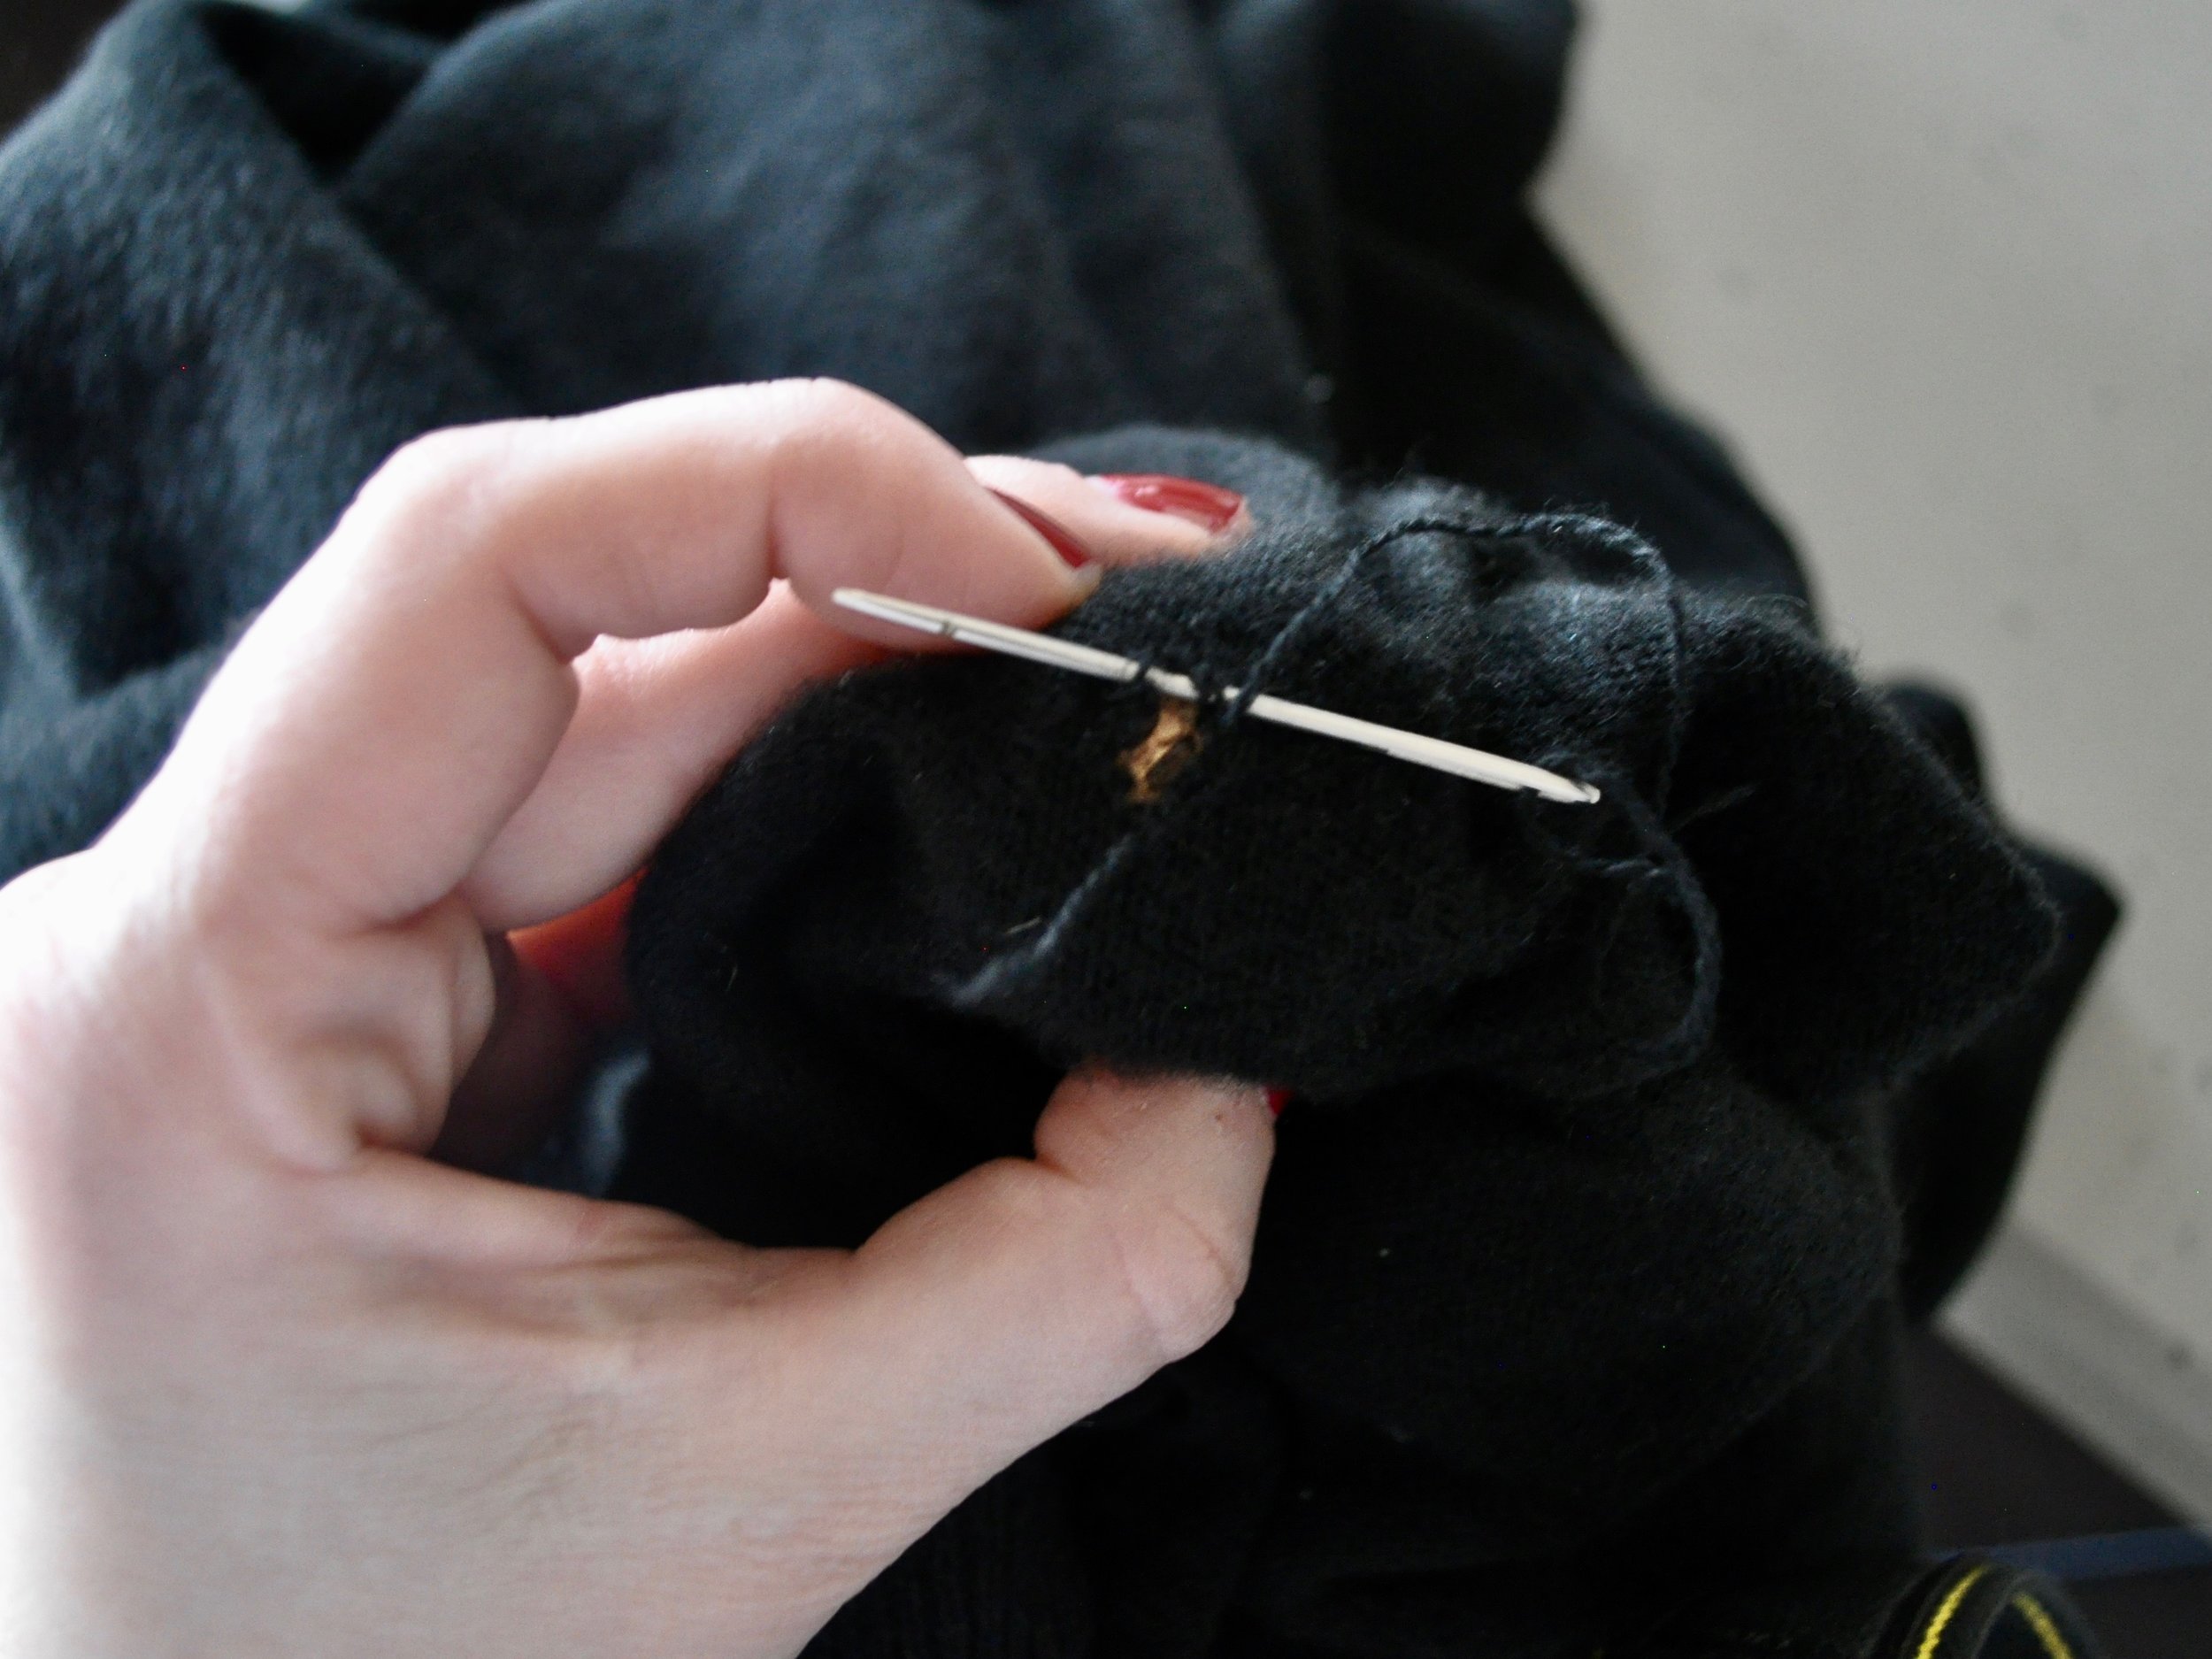
Work your way around the hole drawing an octagon with the stitches as you go, being careful not to pull too tight and causing the sweater to pucker
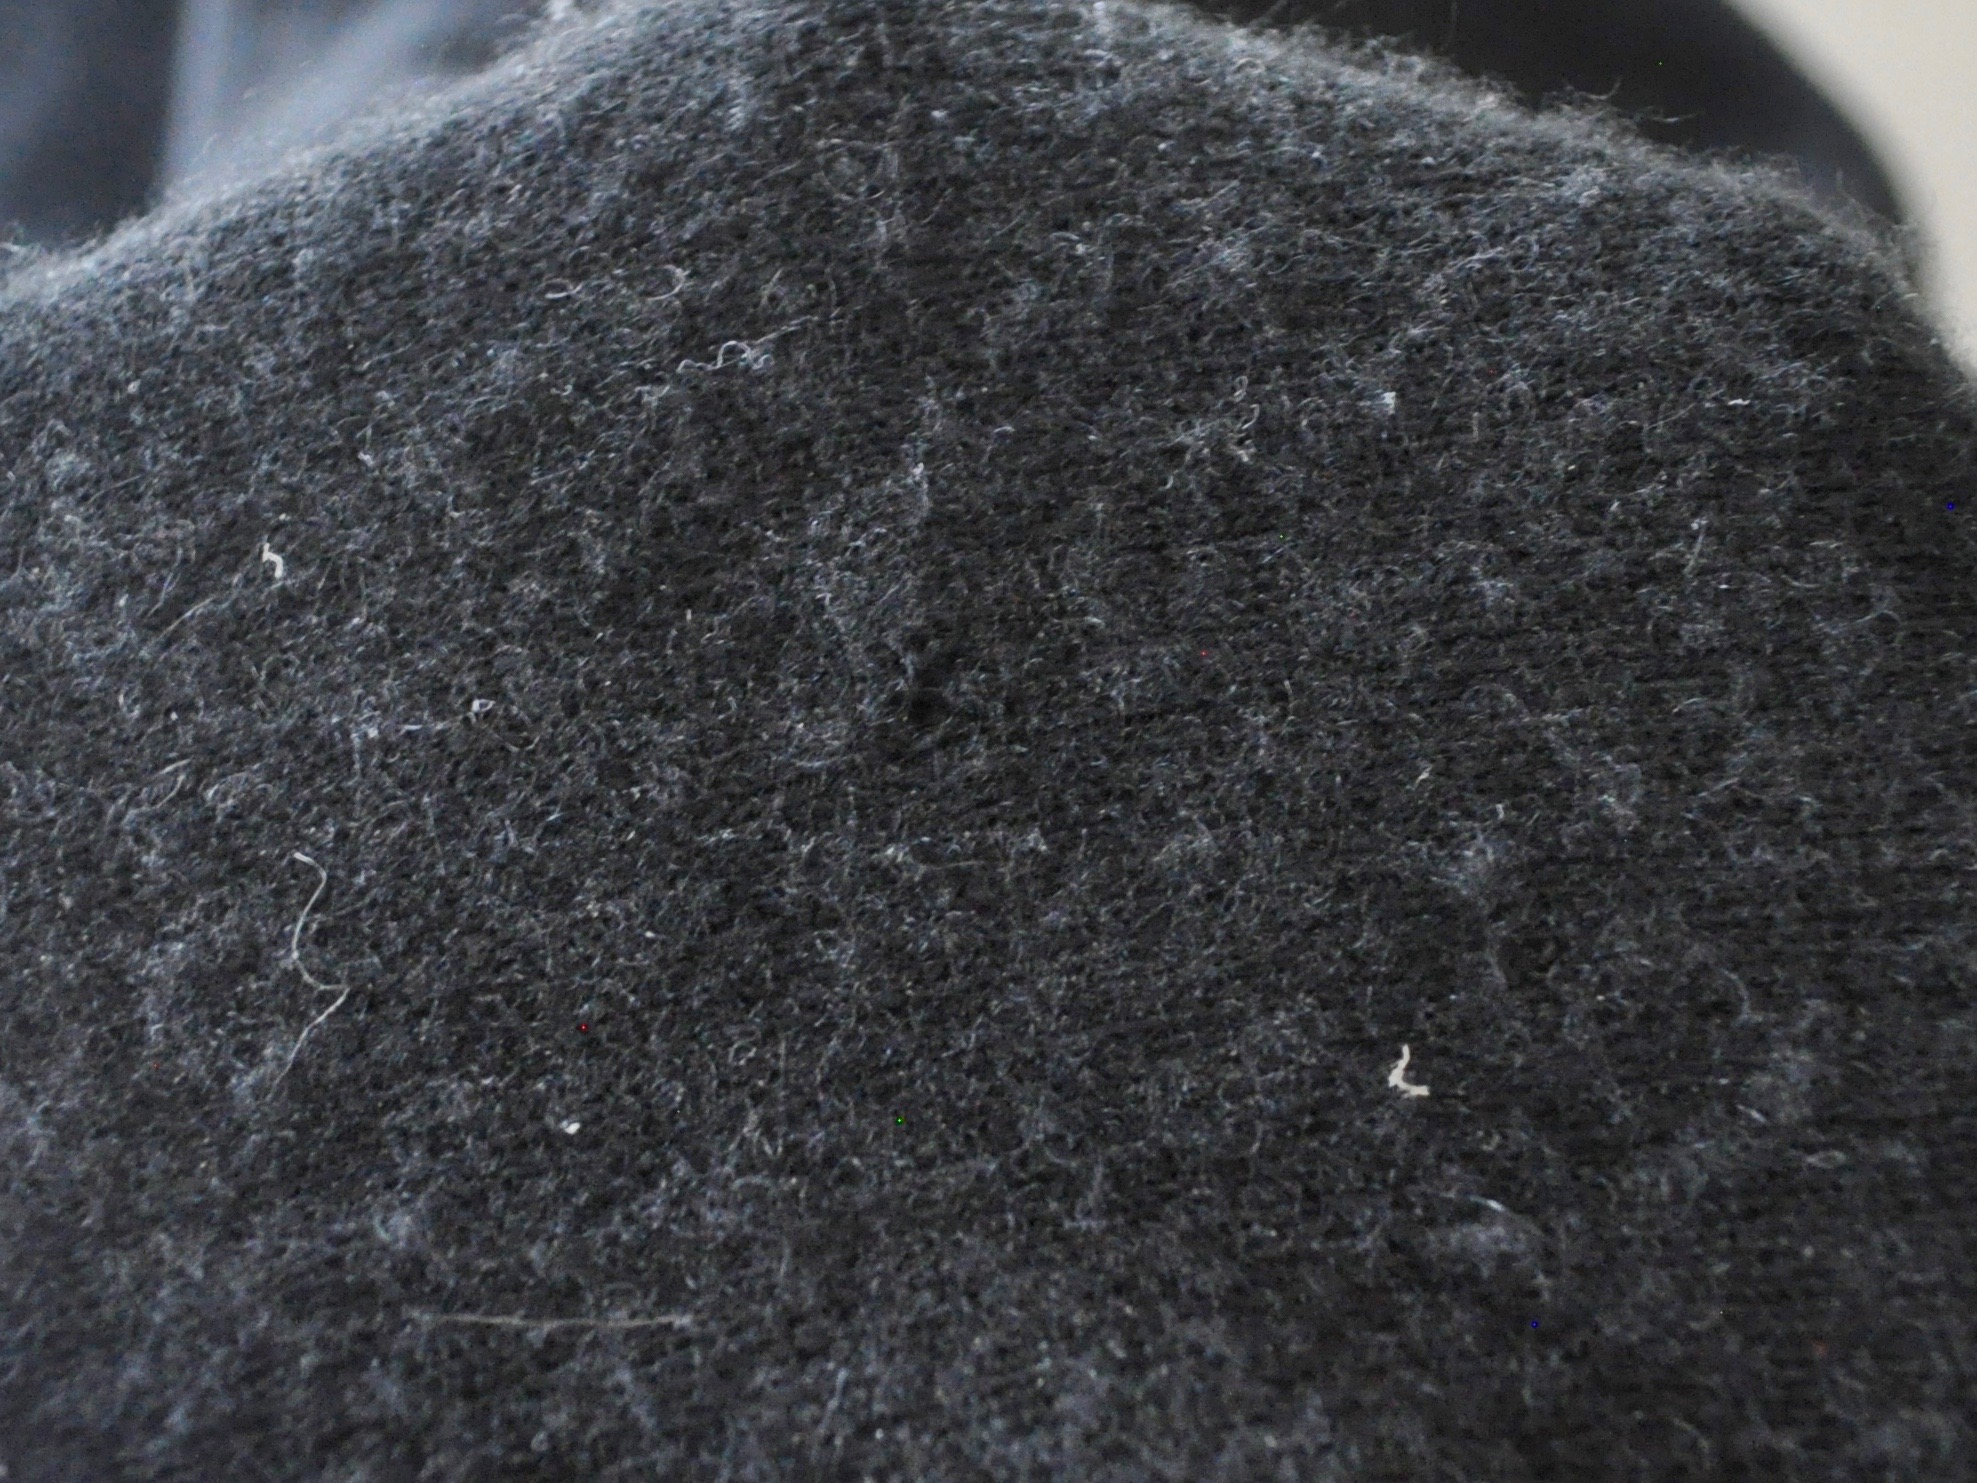
Complete! Now it’s time to comb my sweater…
Thank you for this great instruction on repairing a hole in a cashmere sweater. I pulled out a sweater I haven’t worn in a couple years and tried your method and I now I have no qualms about wearing this sweater again. The repair isn’t noticeable! You are a lifesaver!
Thanks so much for taking the time to write! I am very happy to have helped. I’m sure the bit of effort in making the repair was certainly worth it; there’s nothing like the joy of wearing cashmere! ♥
Thank you so much for the tutorial. Brand new Cashmere sweater that I snagged on my car keys, but now I know how to properly repair it. I appreciate your help!!
Thanks for writing! It’s the worst feeling to snag cashmere (especially when it’s new!) but the wonderful part about buying quality things is that they will last for a long time and are meant to be repaired and loved ♥