My Barefoot Contessa Fence Project
July 29, 2019
When you decide to build a fence, you face myriad decisions, but the first of which is whether to build a custom fence versus pre-assembled wood panels. We elected the custom route for a few reasons, but the most important of which is that I have been real e-stalking the Barefoot Contessa (Ina Garden’s) Hamptons home for years and think that her gardens and design aesthetic are utter perfection (only sort of kidding). We initially decided to build a fence for the practical reason of owning two dogs, but still wanted to maintain the views of the open fields and golf course beyond our property line. While I wanted our fence to afford us some privacy from the road that curves along the back of our home, it wasn’t important to me to completely screen us in. I was looking for a fence that would complement and be in scale with our traditional, single-level brick house. As I combed through Pinterest and my own boards for images I had previously saved, a common theme emerged. Ina Garten’s moss-covered, silvered fence stood out to me as one that at once faded into the backdrop of her gardens not calling attention, yet providing beautiful structure and definition to her property. You can’t pinpoint the style of the fence to any time period, and it’s not overly ornate, just functional yet sophisticated. I created a Barefoot Contessa Fence Pinboard and started making plans.

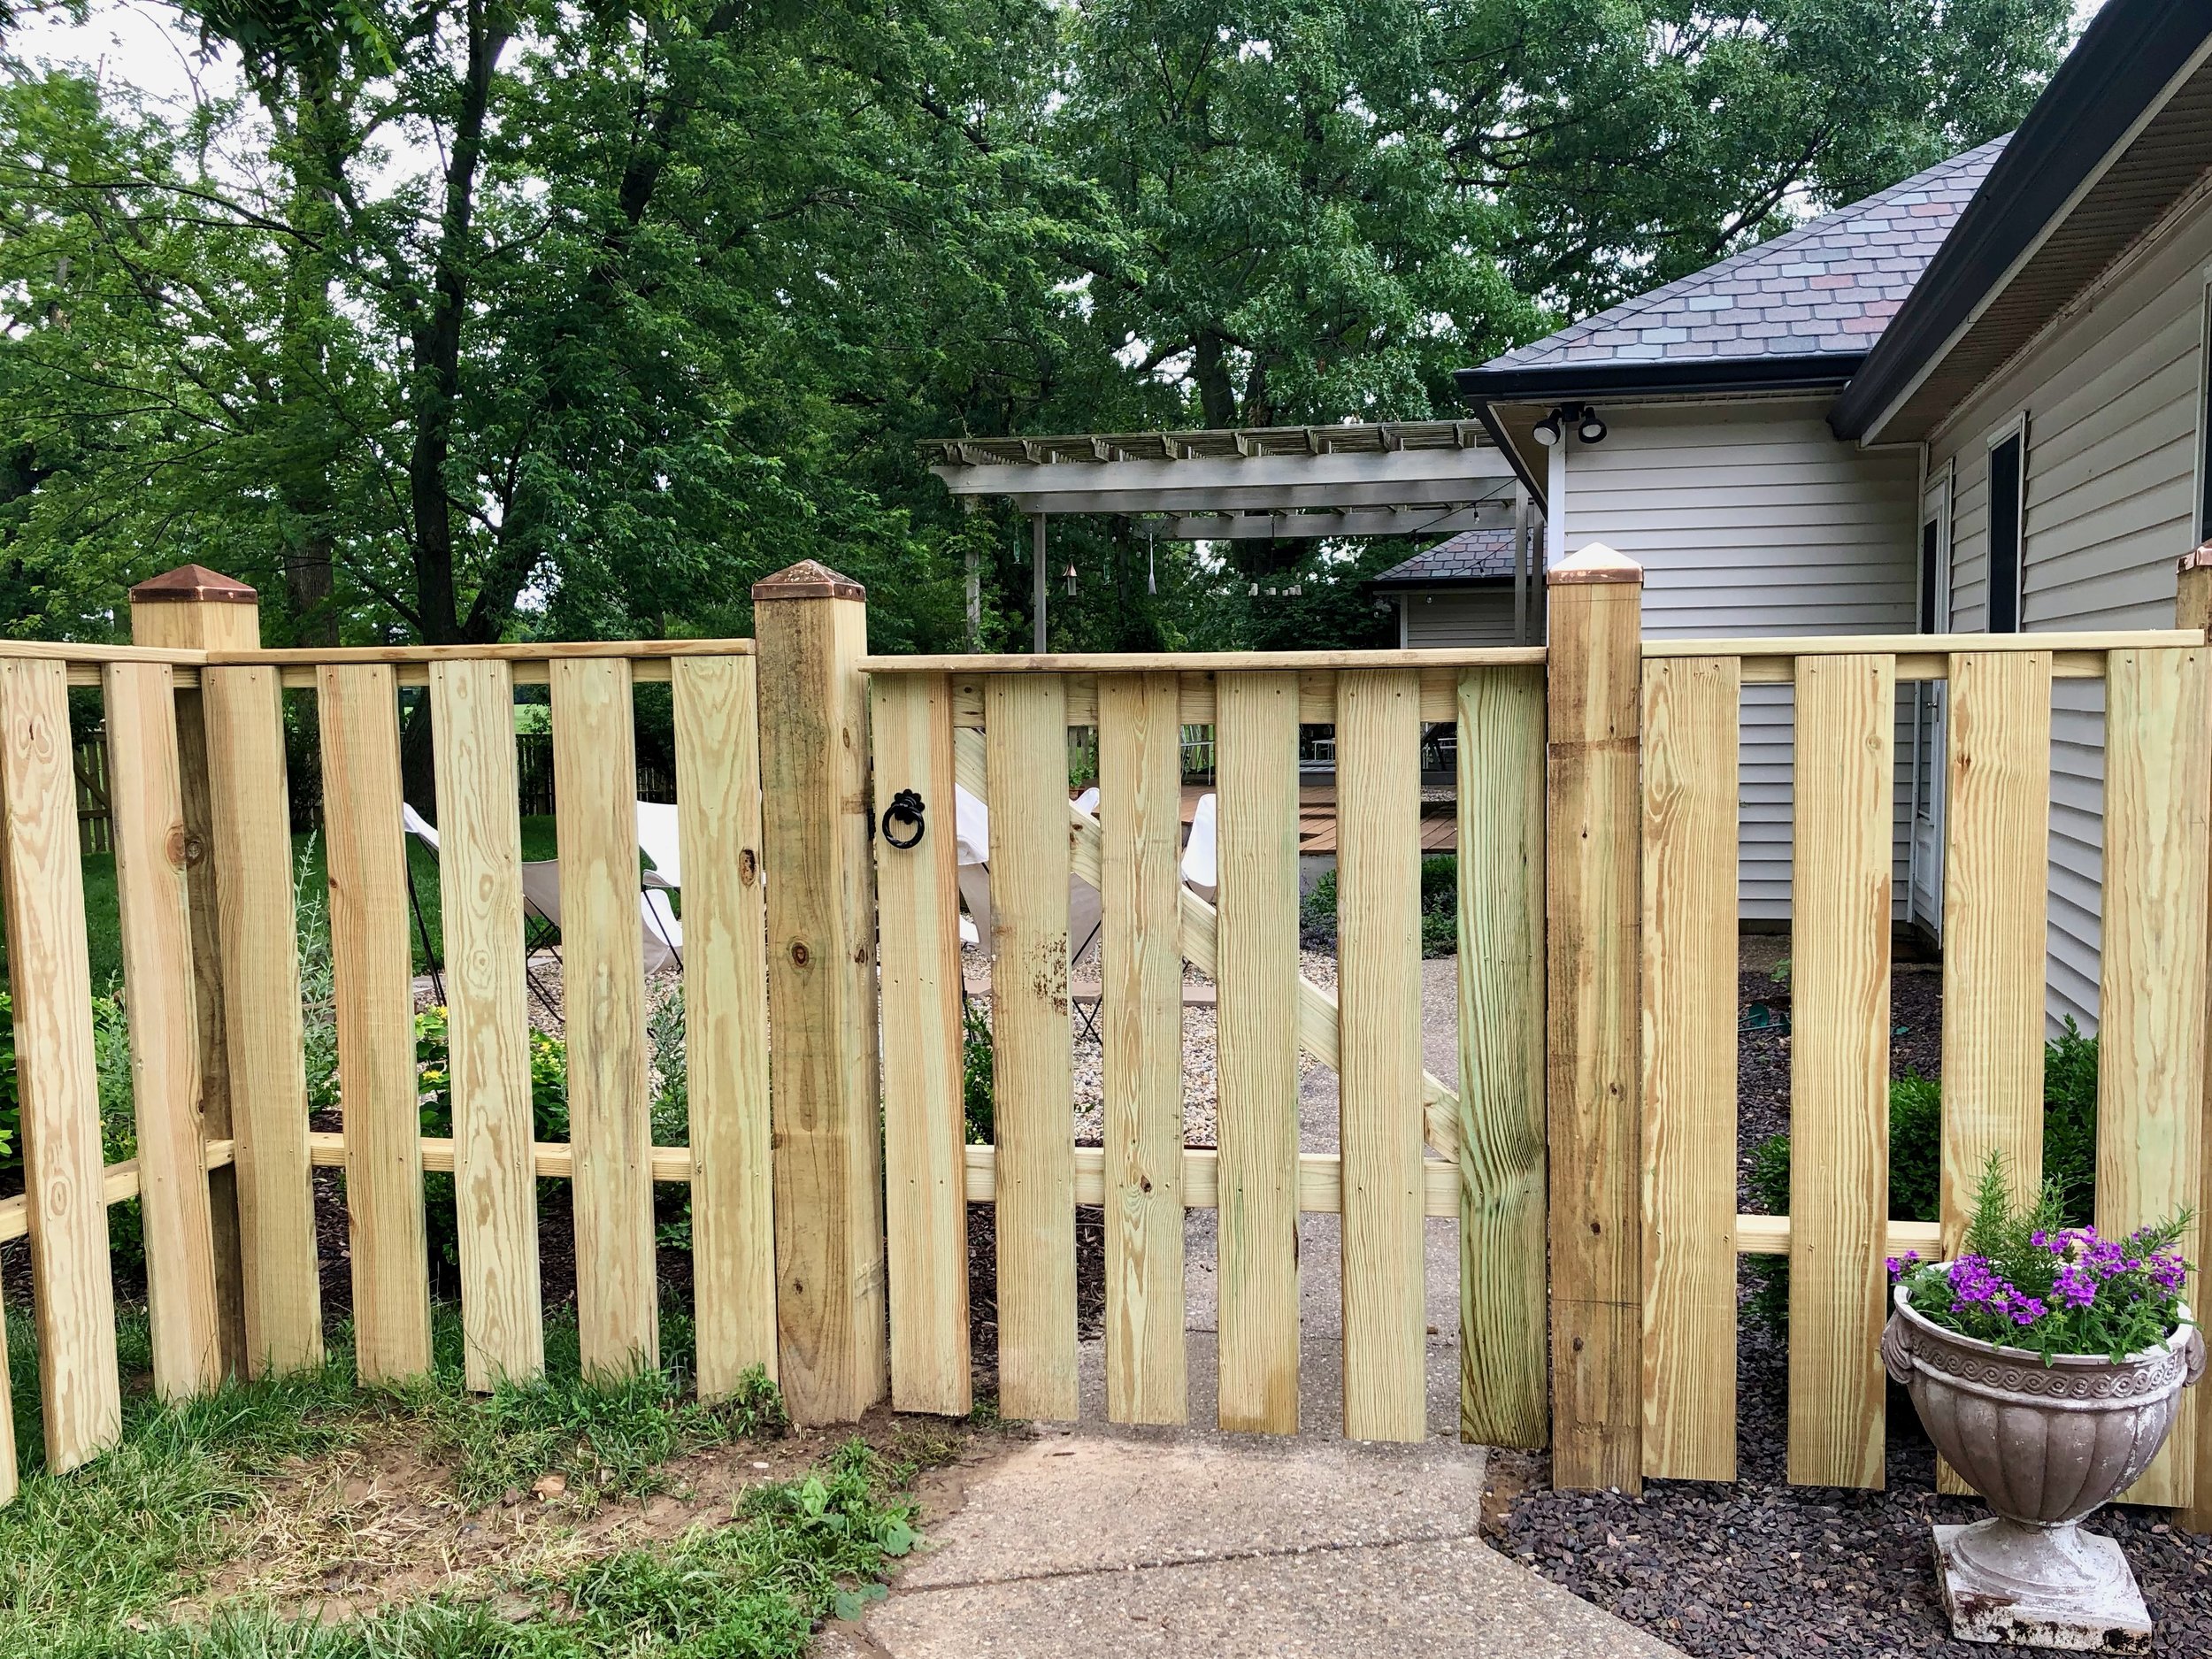
Main entry gate from our driveway
We hired a local landscape company (the same that helped me finish our pea gravel patio project) and they were so great to help me translate my Pins and sketches into a practical carpentry project. We started with estimates for the materials and labor. Fences are quoted by the linear foot and we had approximately 350 ft of fencing needed to enclose our backyard. Most online fencing calculators can give pretty fair estimates for a pre-assembled panel fence, but what we learned is that a custom fence is almost twice the cost. Our first thought for the material was cedar, which silvers nicely over time and has a long lifespan (second only in cost and longevity to redwood). When we got the materials quote for cedar, we quickly abandoned that idea, as it would have tripled our overall project cost, as compared to our initial fencing calculator quote of approximately $14 per linear foot (our baseline figure for a prefab fence), and went with pressure treated timber for the material. Like cedar, this material will also “silver” naturally over time when left unstained or painted making it very easy to maintain.
View outside our back door
Breaking down the fence design, it is a picket fence with 6”x6” posts, placed approximately every 8’ with 6”-wide pickets, spaced 3” apart topped by a continuous top rail. I may or may not have Googled ‘Ina Garten height’ to try to estimate the fence scale and height based on a saved photo of her leaning against her fence. The fence is 4’5” high (the perfect height for comfortable elbow resting position) and the posts are just under 5’. The only posts that weren’t cut down for the continuous top rail are the ones at each corner turn, and the ones that frame the three gates. Where our design deviates from the initial design is that our upper cross rail is placed higher to provide more support for the top continuous rail and thus take some of the pressure off the pickets. We also elected to allow the fence to follow the natural terrain sloping; the pickets are all 4’5” and are not adjusted for the change in elevation, which I feel adds to its overall charm.
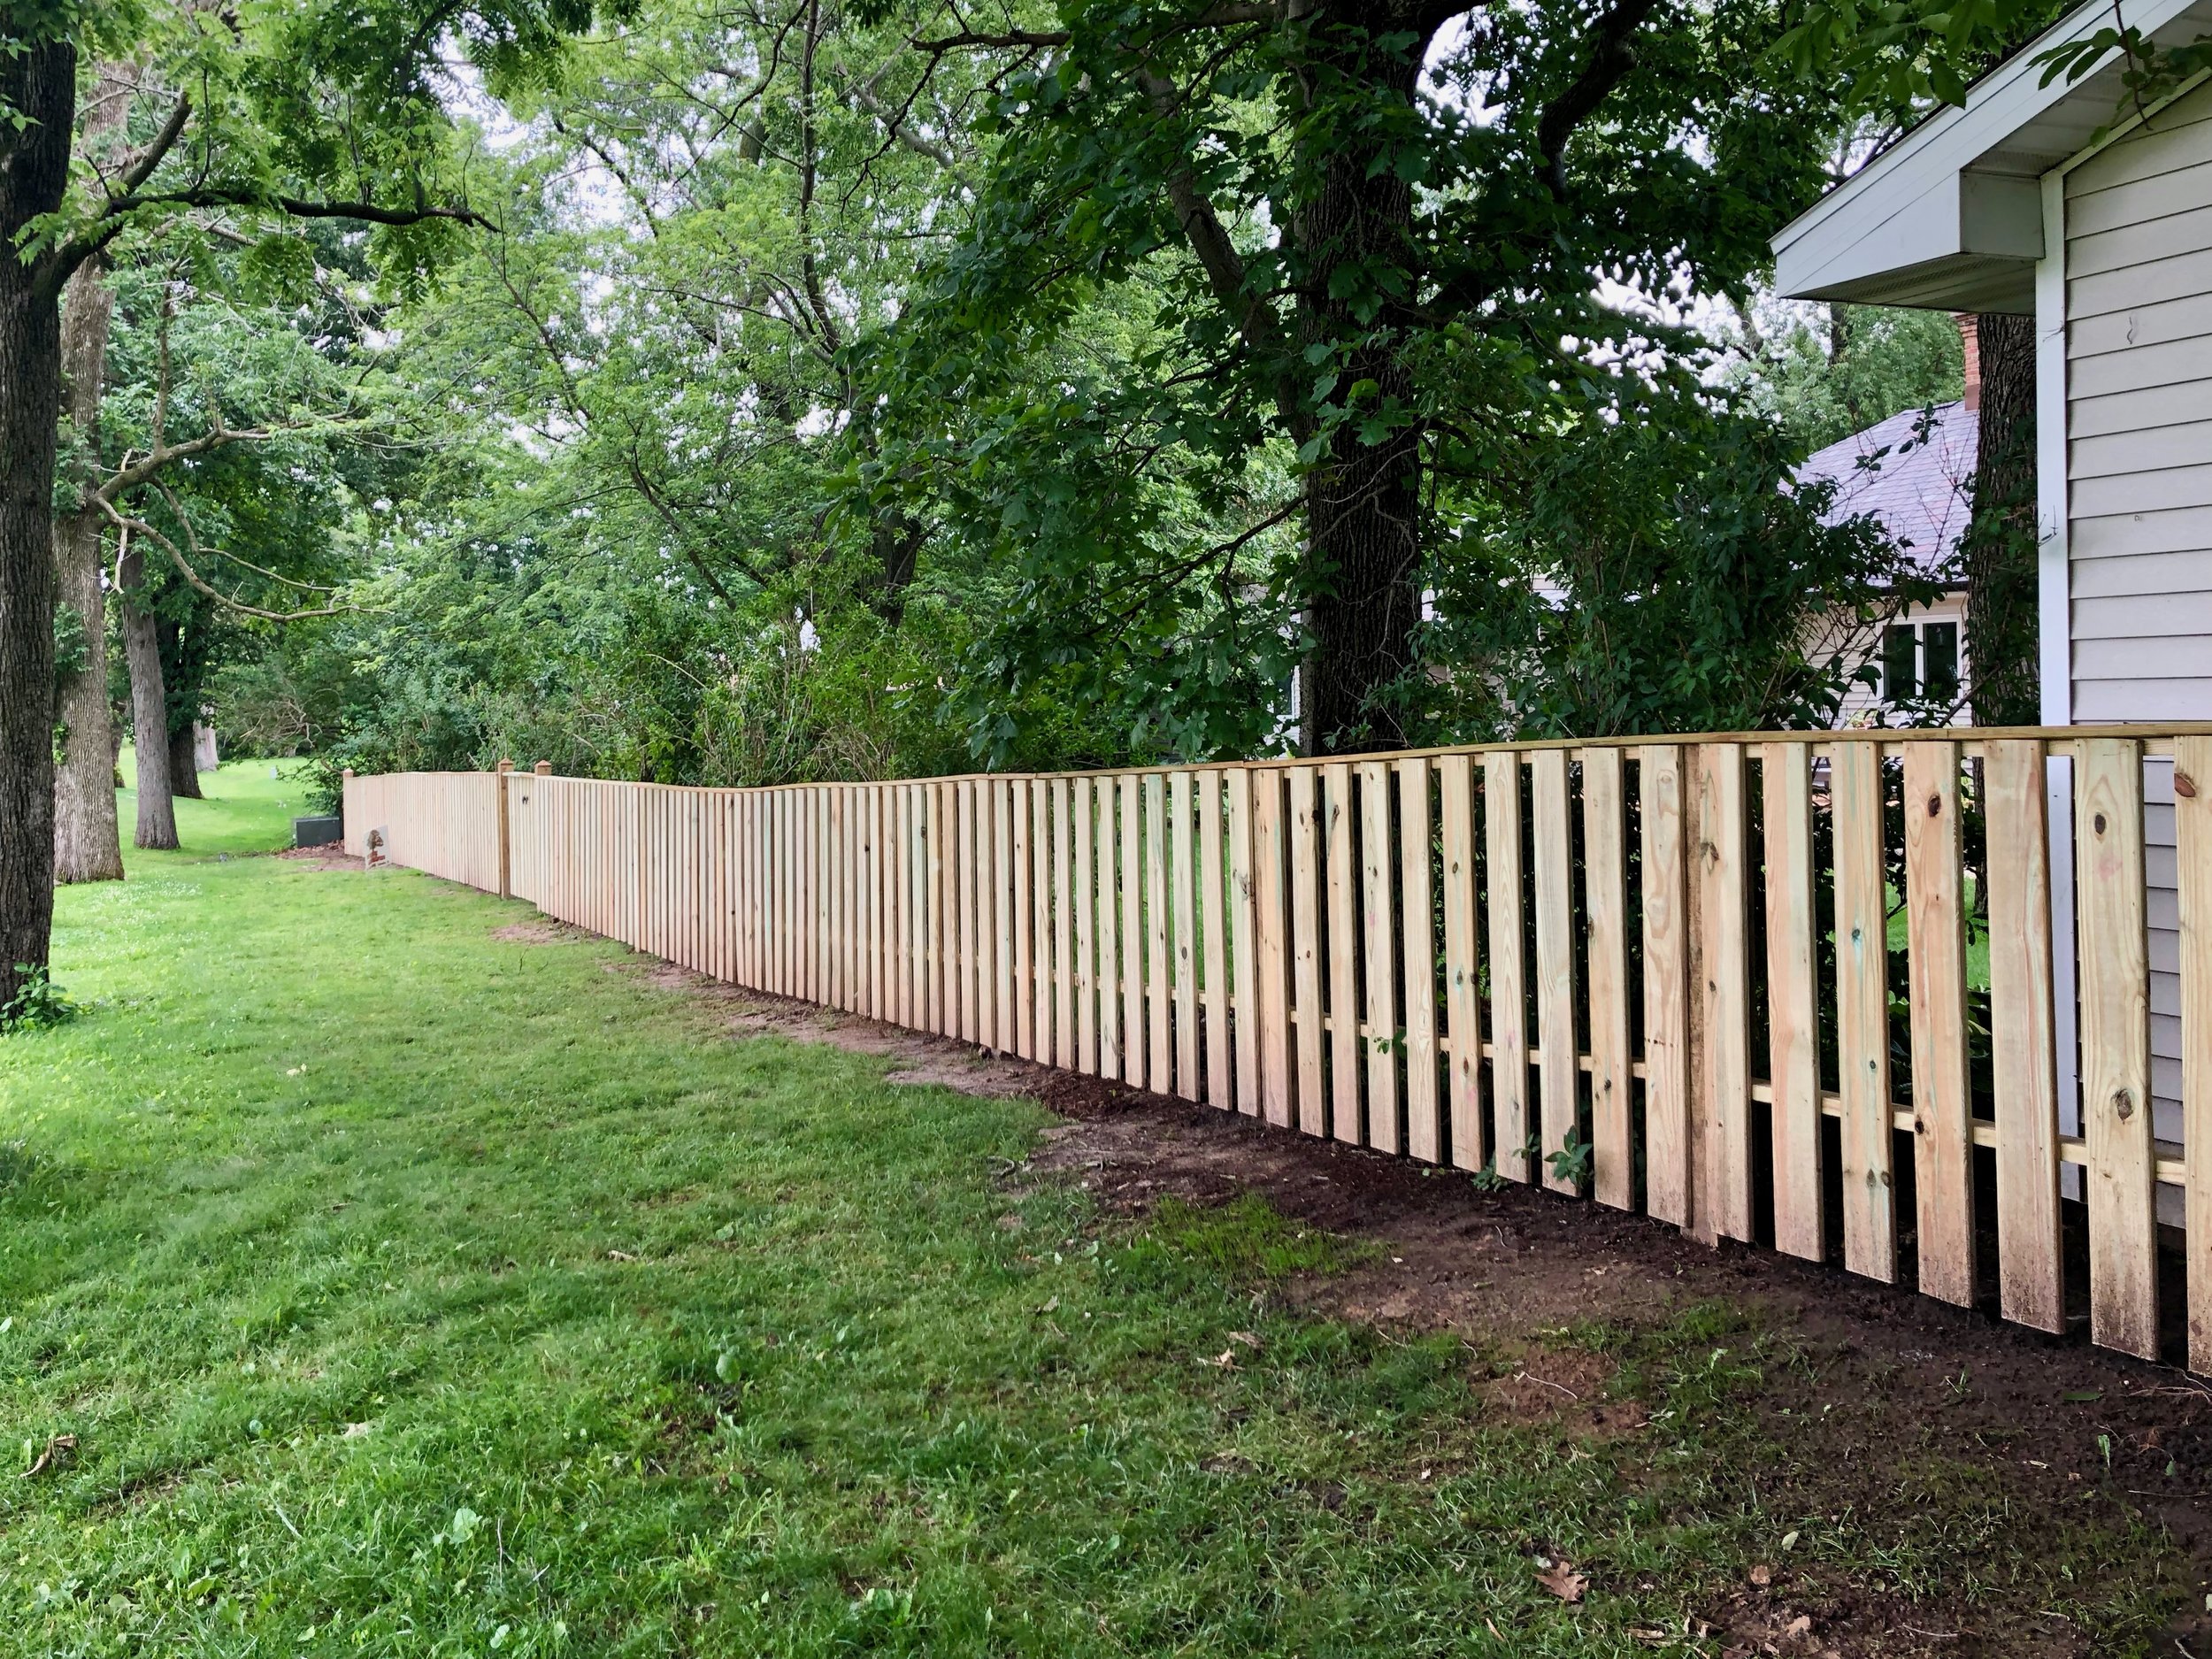
The longest fence run which follows the sloping terrain
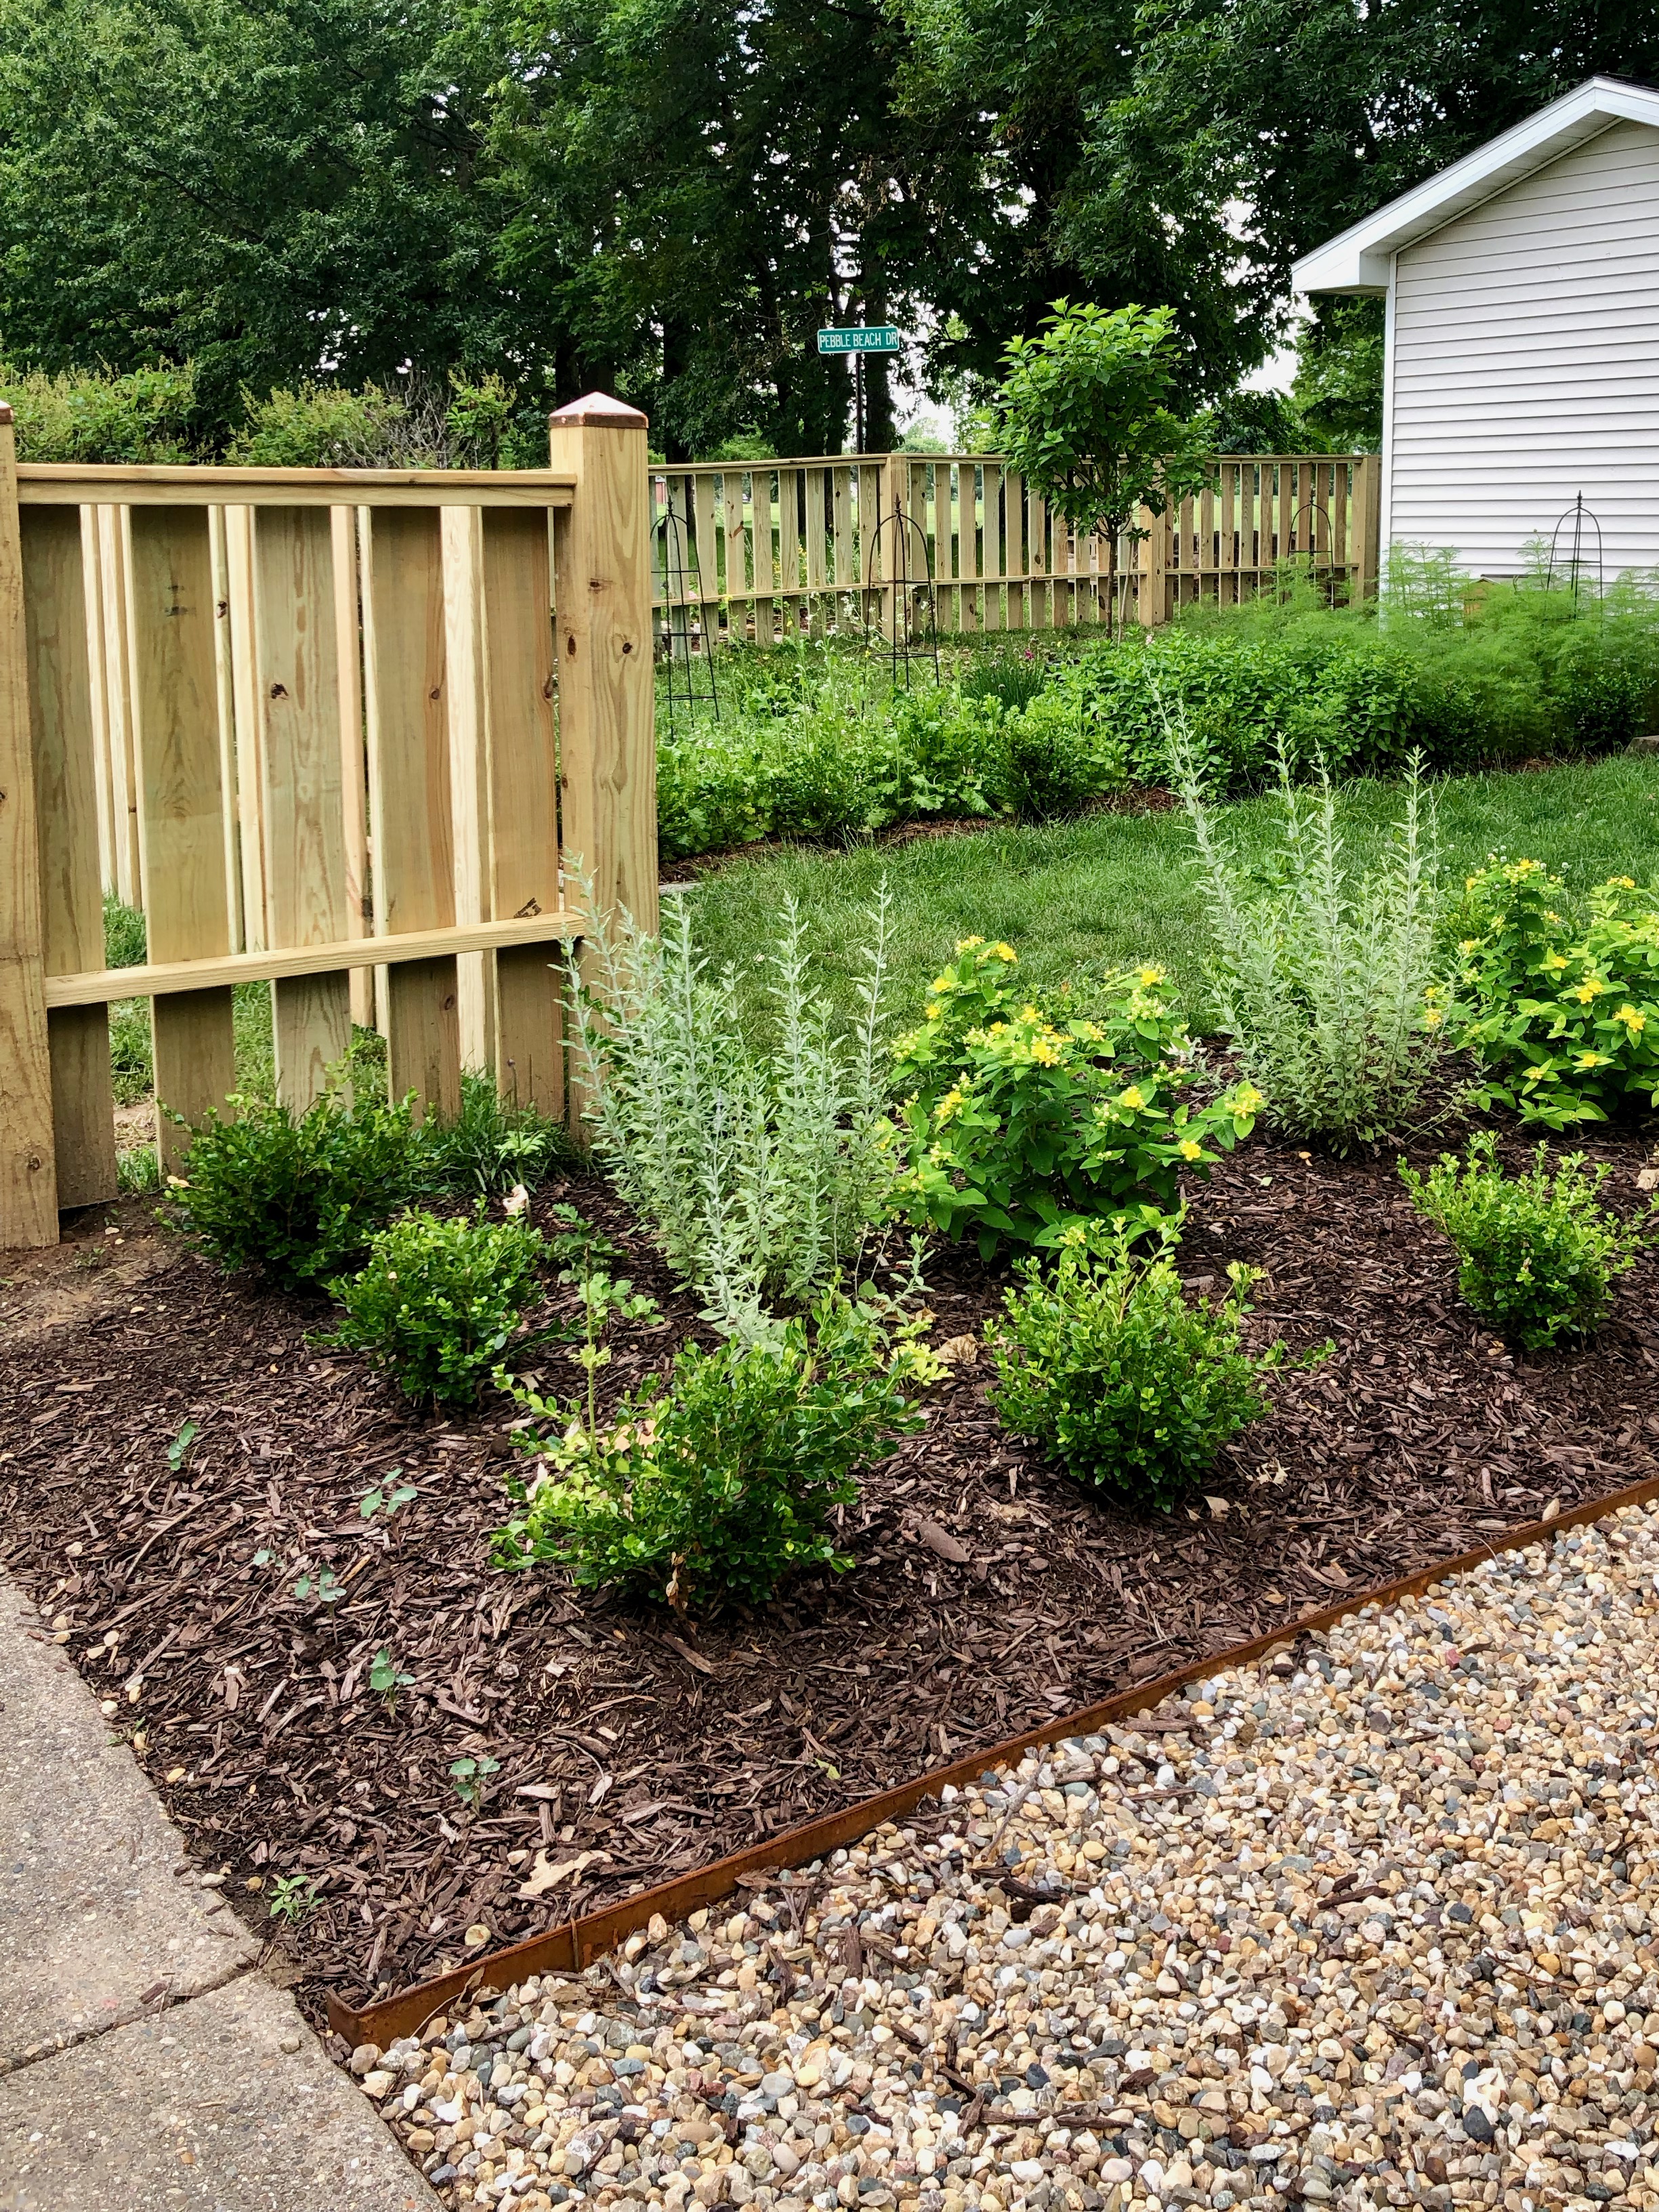
The most fun part of the fence was the hardware selection, which was like picking out jewelry. I knew from the start that I wanted copper post caps, which will patina over time. As for hardware, this decision-making area for all the styles and finishes that exist could have quickly spiraled into the abyss, but I found the Gardenista guides infinitely helpful. I selected these black steel hardware kits for our two single gates and one double gate. These kits have a “dummy” pull handle on the exterior of the gate, and if you’re outside, you can simply reach over to unlatch and open the gate. For the double gate kit, we elected to add an 18” steel cane bolt (gate pin) which is for keeping one gate fixed in place while the other is used for entry, and can be pulled up for both gates to be opened. Factoring in the hardware and some of the extra expense of clearing some of the brush that was in the fence line, I estimate our fence project cost to be around $25 per linear foot. Having a fenced in yard has majorly changed our lives (and the pups’!) for the better! It has also given the woodland creatures that once felt safe a run for their money (one casualty to date). While I am done with projects for the rest of the summer in favor of relaxation and enjoyment, an unexpected bonus of adding these “garden walls” is the percolation of new ideas for landscaping with the fence as the backdrop!
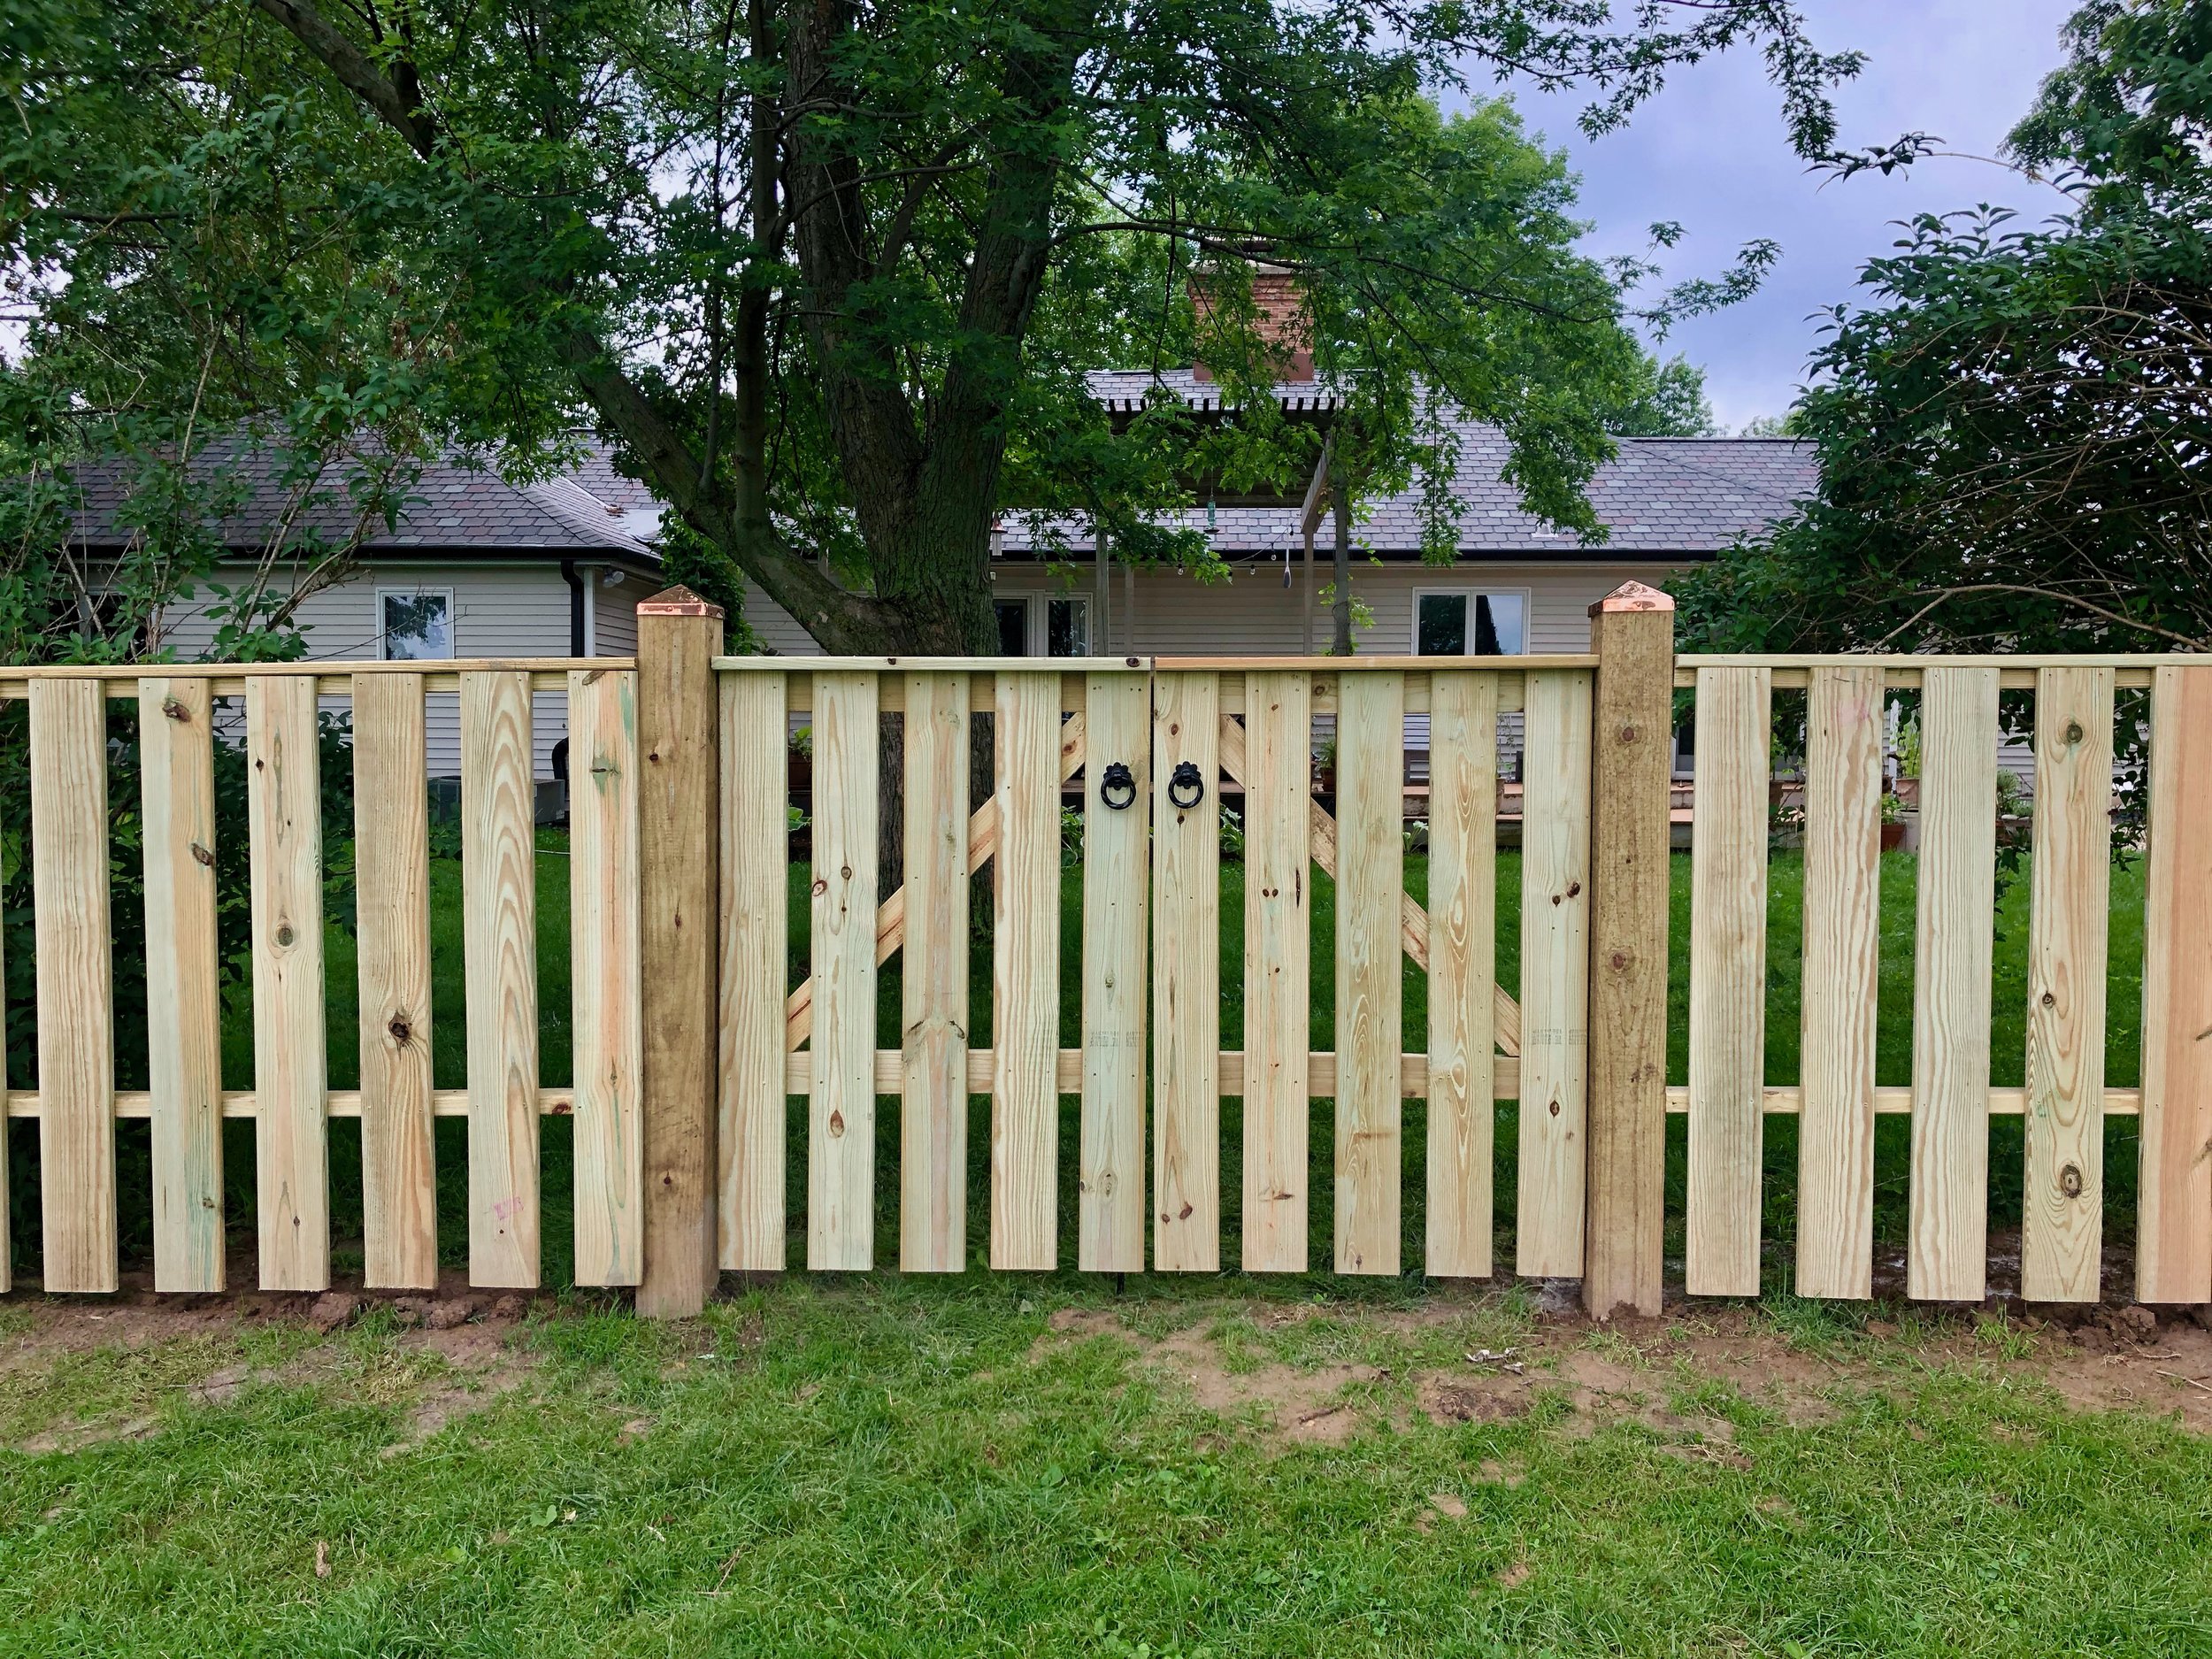
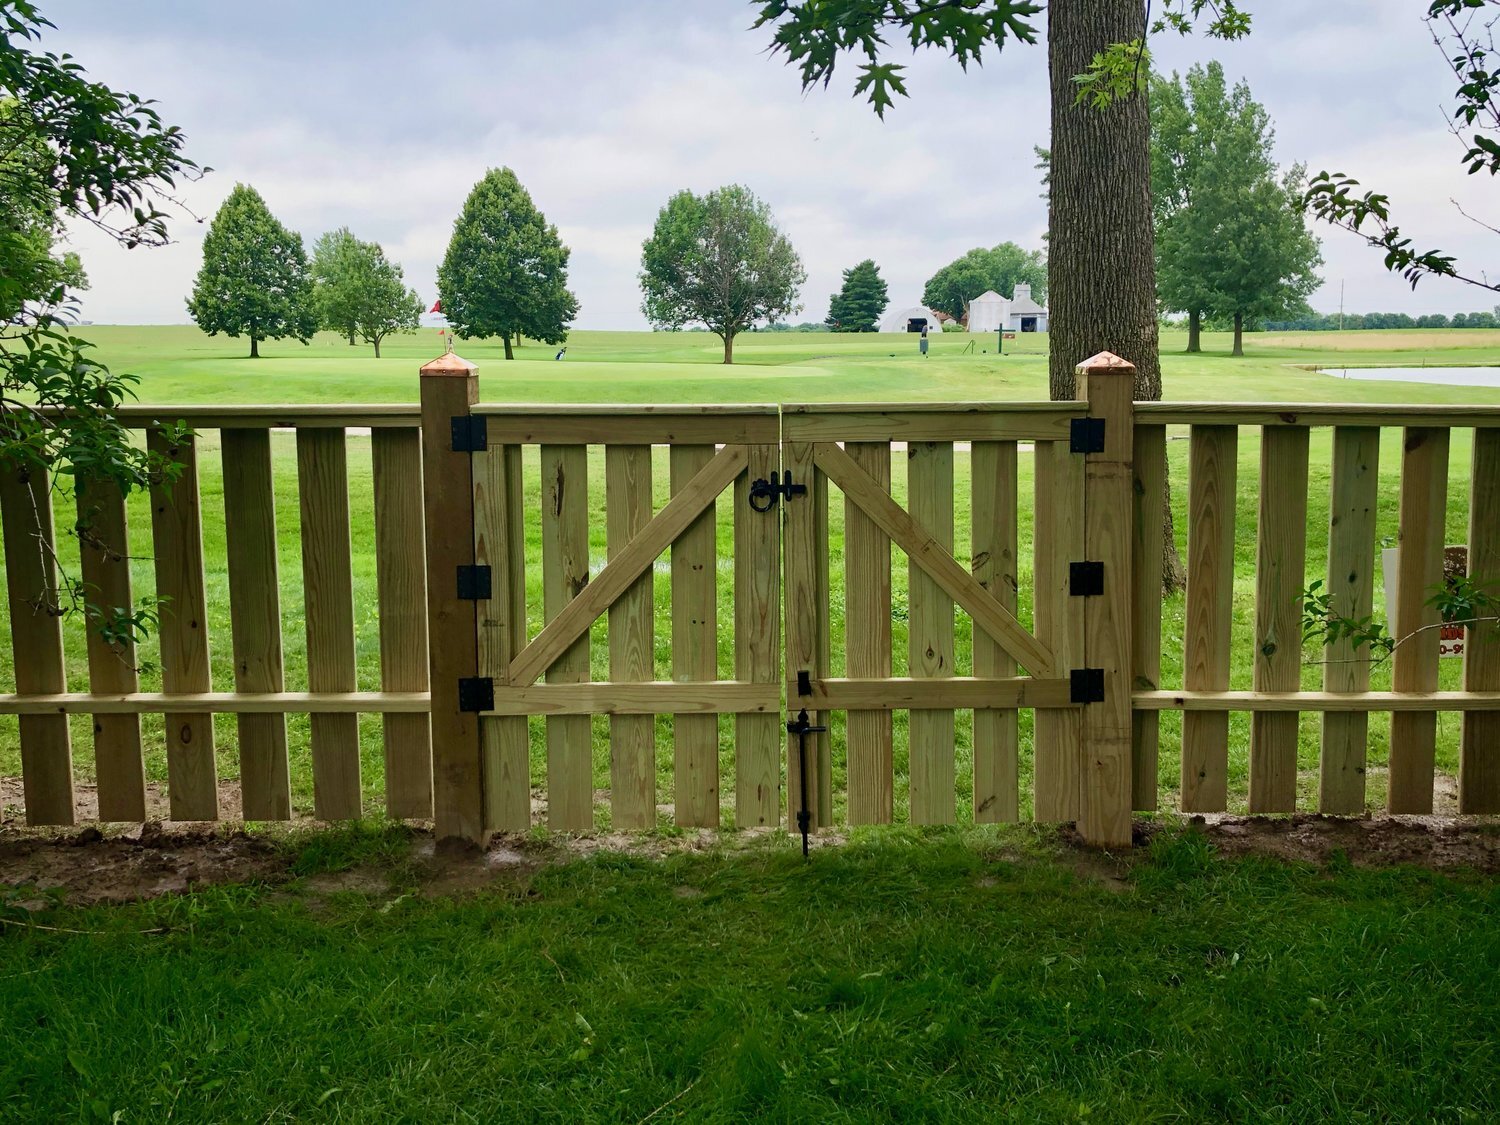
Double gate from the outside

Double gate from inside
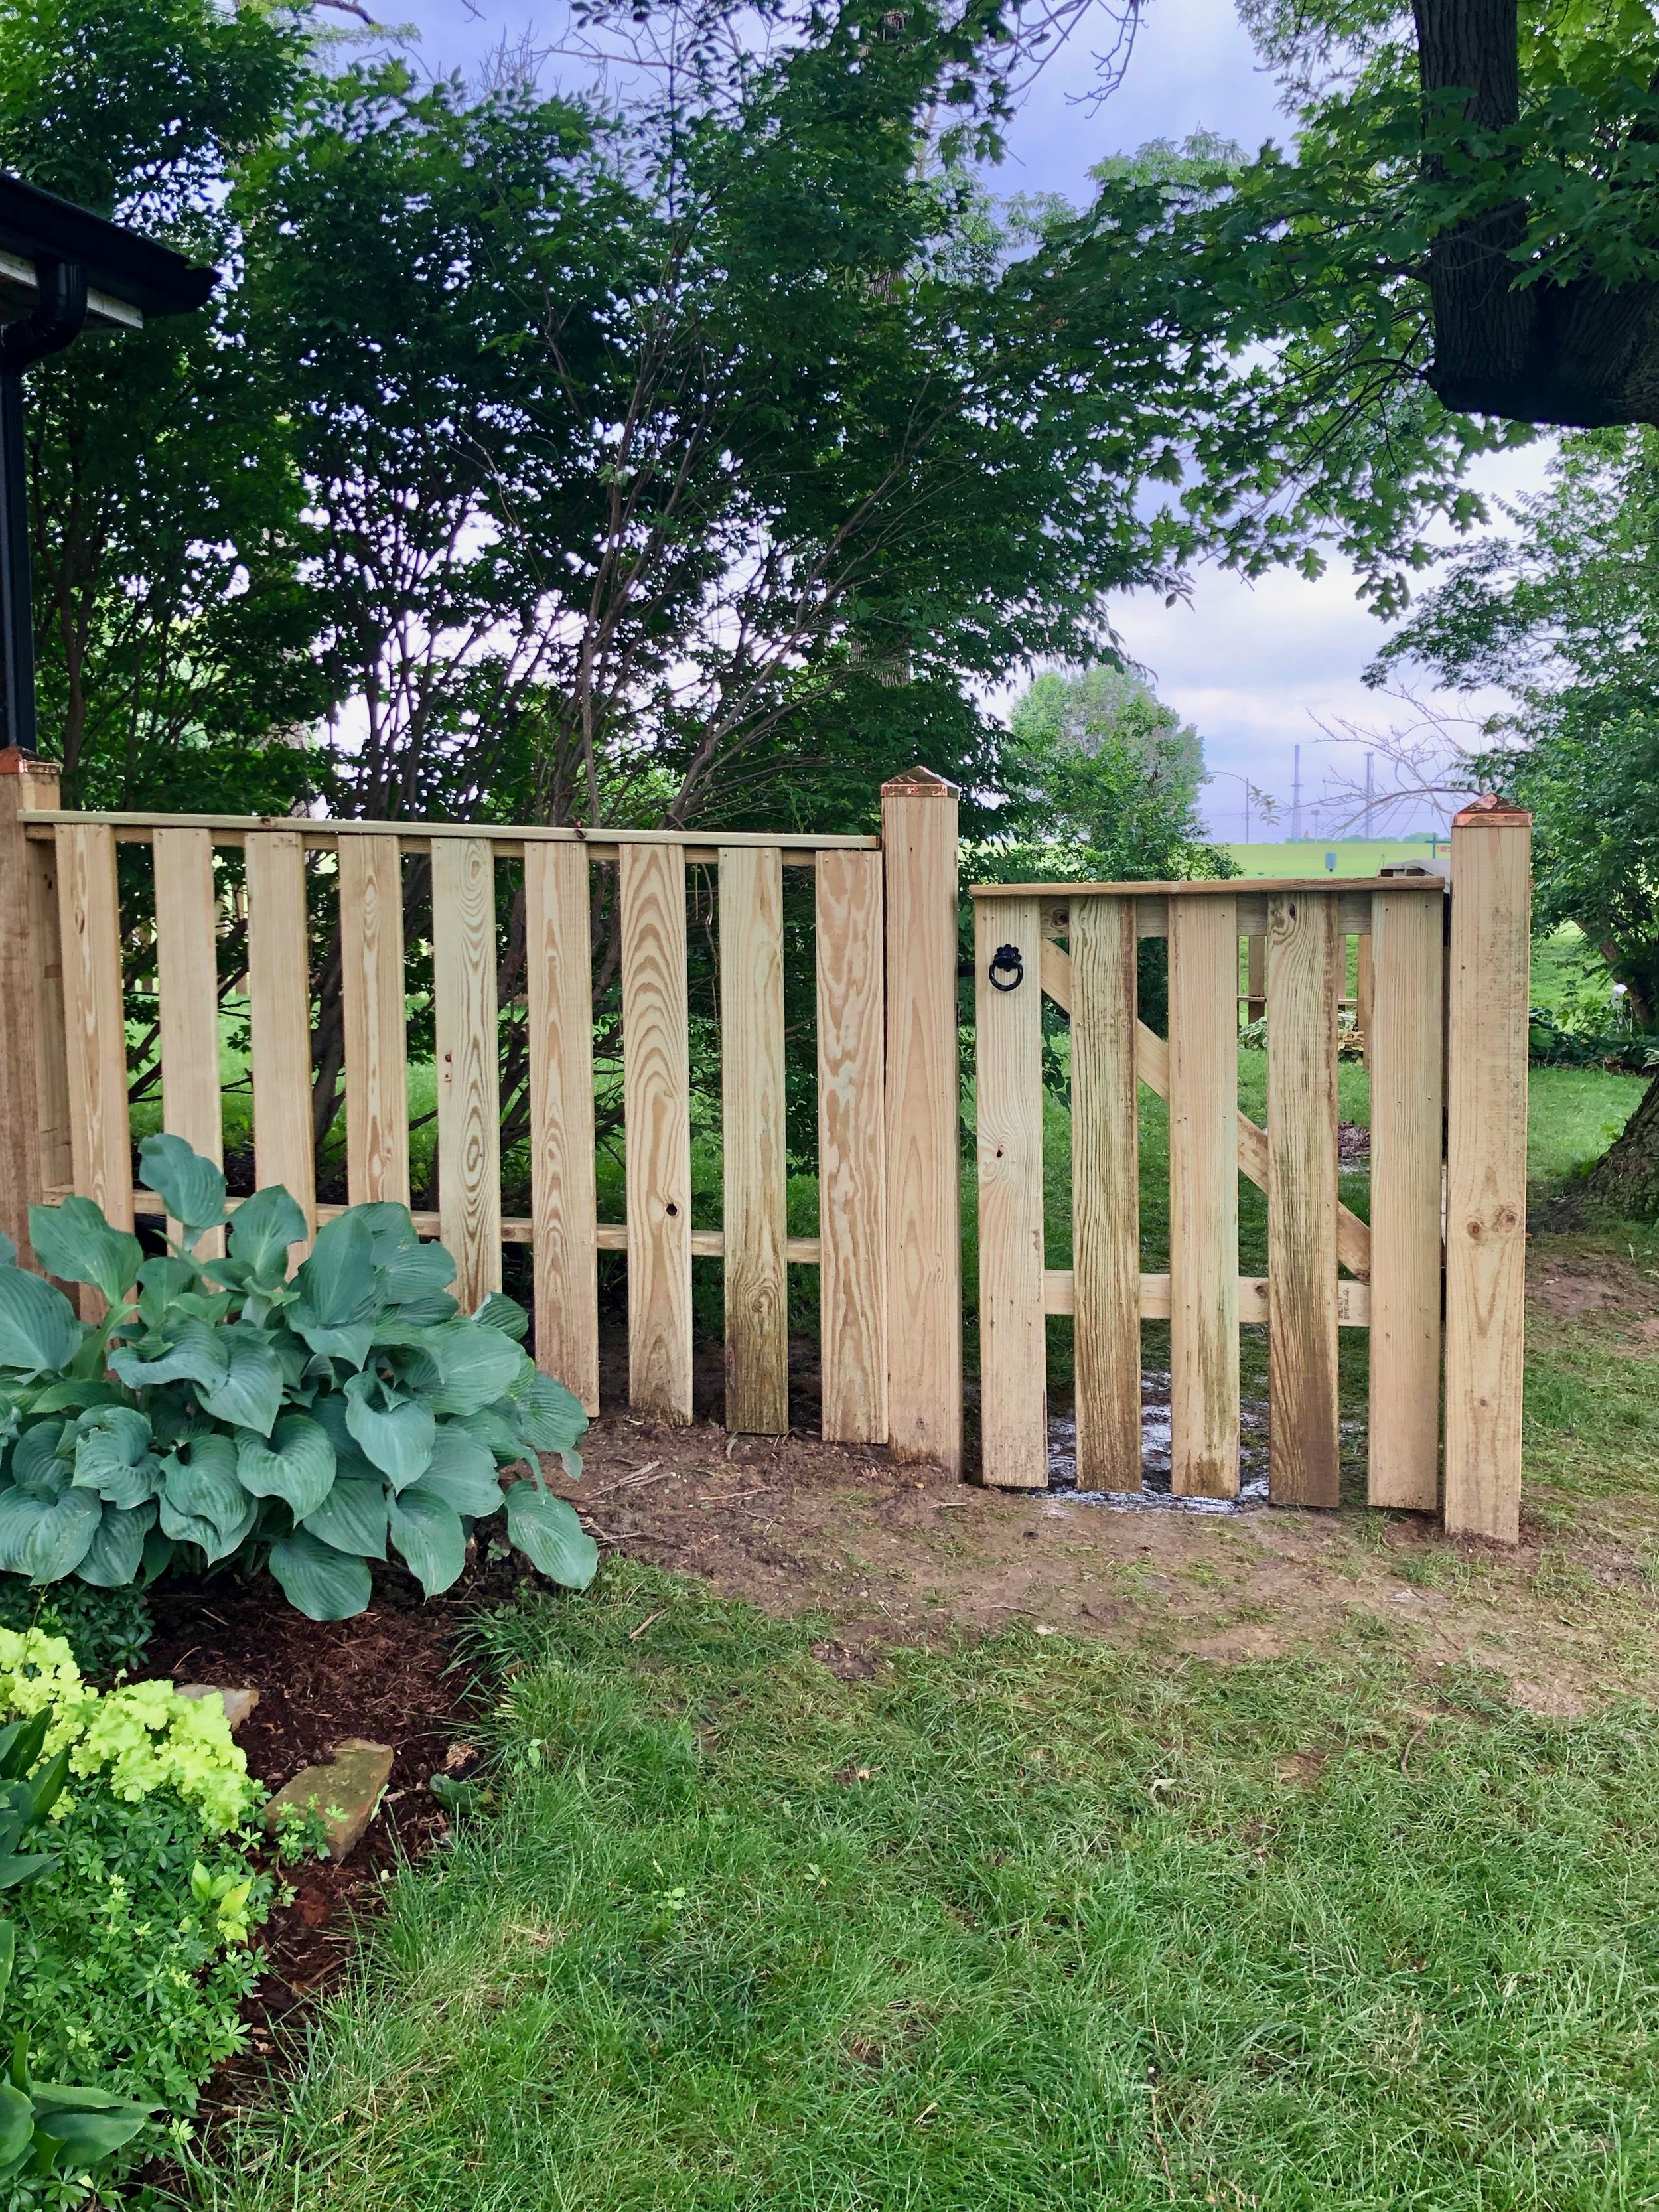
Our third gate, and area of our property with the most pronounced terrain change