Basement Remodel | Craft Room
October 16, 2020
Way back in January, pre-Covid and what feels like a lifetime ago, our basement flooded when our sump pump failed. I was home alone, and on a routine weeknight I had gone down to the basement to fit in an evening workout. It had been raining and at the bottom of the stairs, I was met by almost four inches of standing water. I had no idea how to proceed. Was it a burst pipe? Backed up sewage? Where was the water coming from? Is it getting higher? I was afraid to turn on any light switches in case of electrocution, so I donned some rubber boots and a flashlight and went to investigate. There wasn’t clearly any gushing water coming from anywhere, and the water was not sewage, so after a text to our contractor, he suggested shaking our water-powered sump backup which had somehow gone to sleep and wasn’t running. As soon as I shook it awake, it kicked on and the water started to recede, but the ground water that had been seeping in from the rain had gotten so high we needed professional help.
By the next morning, we had a cleanup crew working and we got in touch with our insurance company to see how to proceed. By the evening, I was scouring my saved pins and had worked out a general design which I wrote about here. I created a checklist and sourced materials ready to hand to our contractor to get started with ordering. While things were drying out over the next week, we hauled most of our stuff out of the basement to assess; we ended up throwing away at least half of what was down there. The silver linings of such a big mess were 1) though it was an inconvenience, nothing truly terrible had happened; 2) we had insurance coverage for making the necessary repairs; 3) we had a little extra money saved that was earmarked for remodeling our master bath (which is a project that has since been sidelined); 4) the basement was probably the last priority on our list of home renovations, but with the help of insurance, we were able to make it nicer than we would probably ever have been able to justify had this not happened; and 5) we simply had too much stuff shoved down there and it was a reminder that owning fewer, better things is so much more freeing than being weighed down by things we’re holding onto for “some day.”
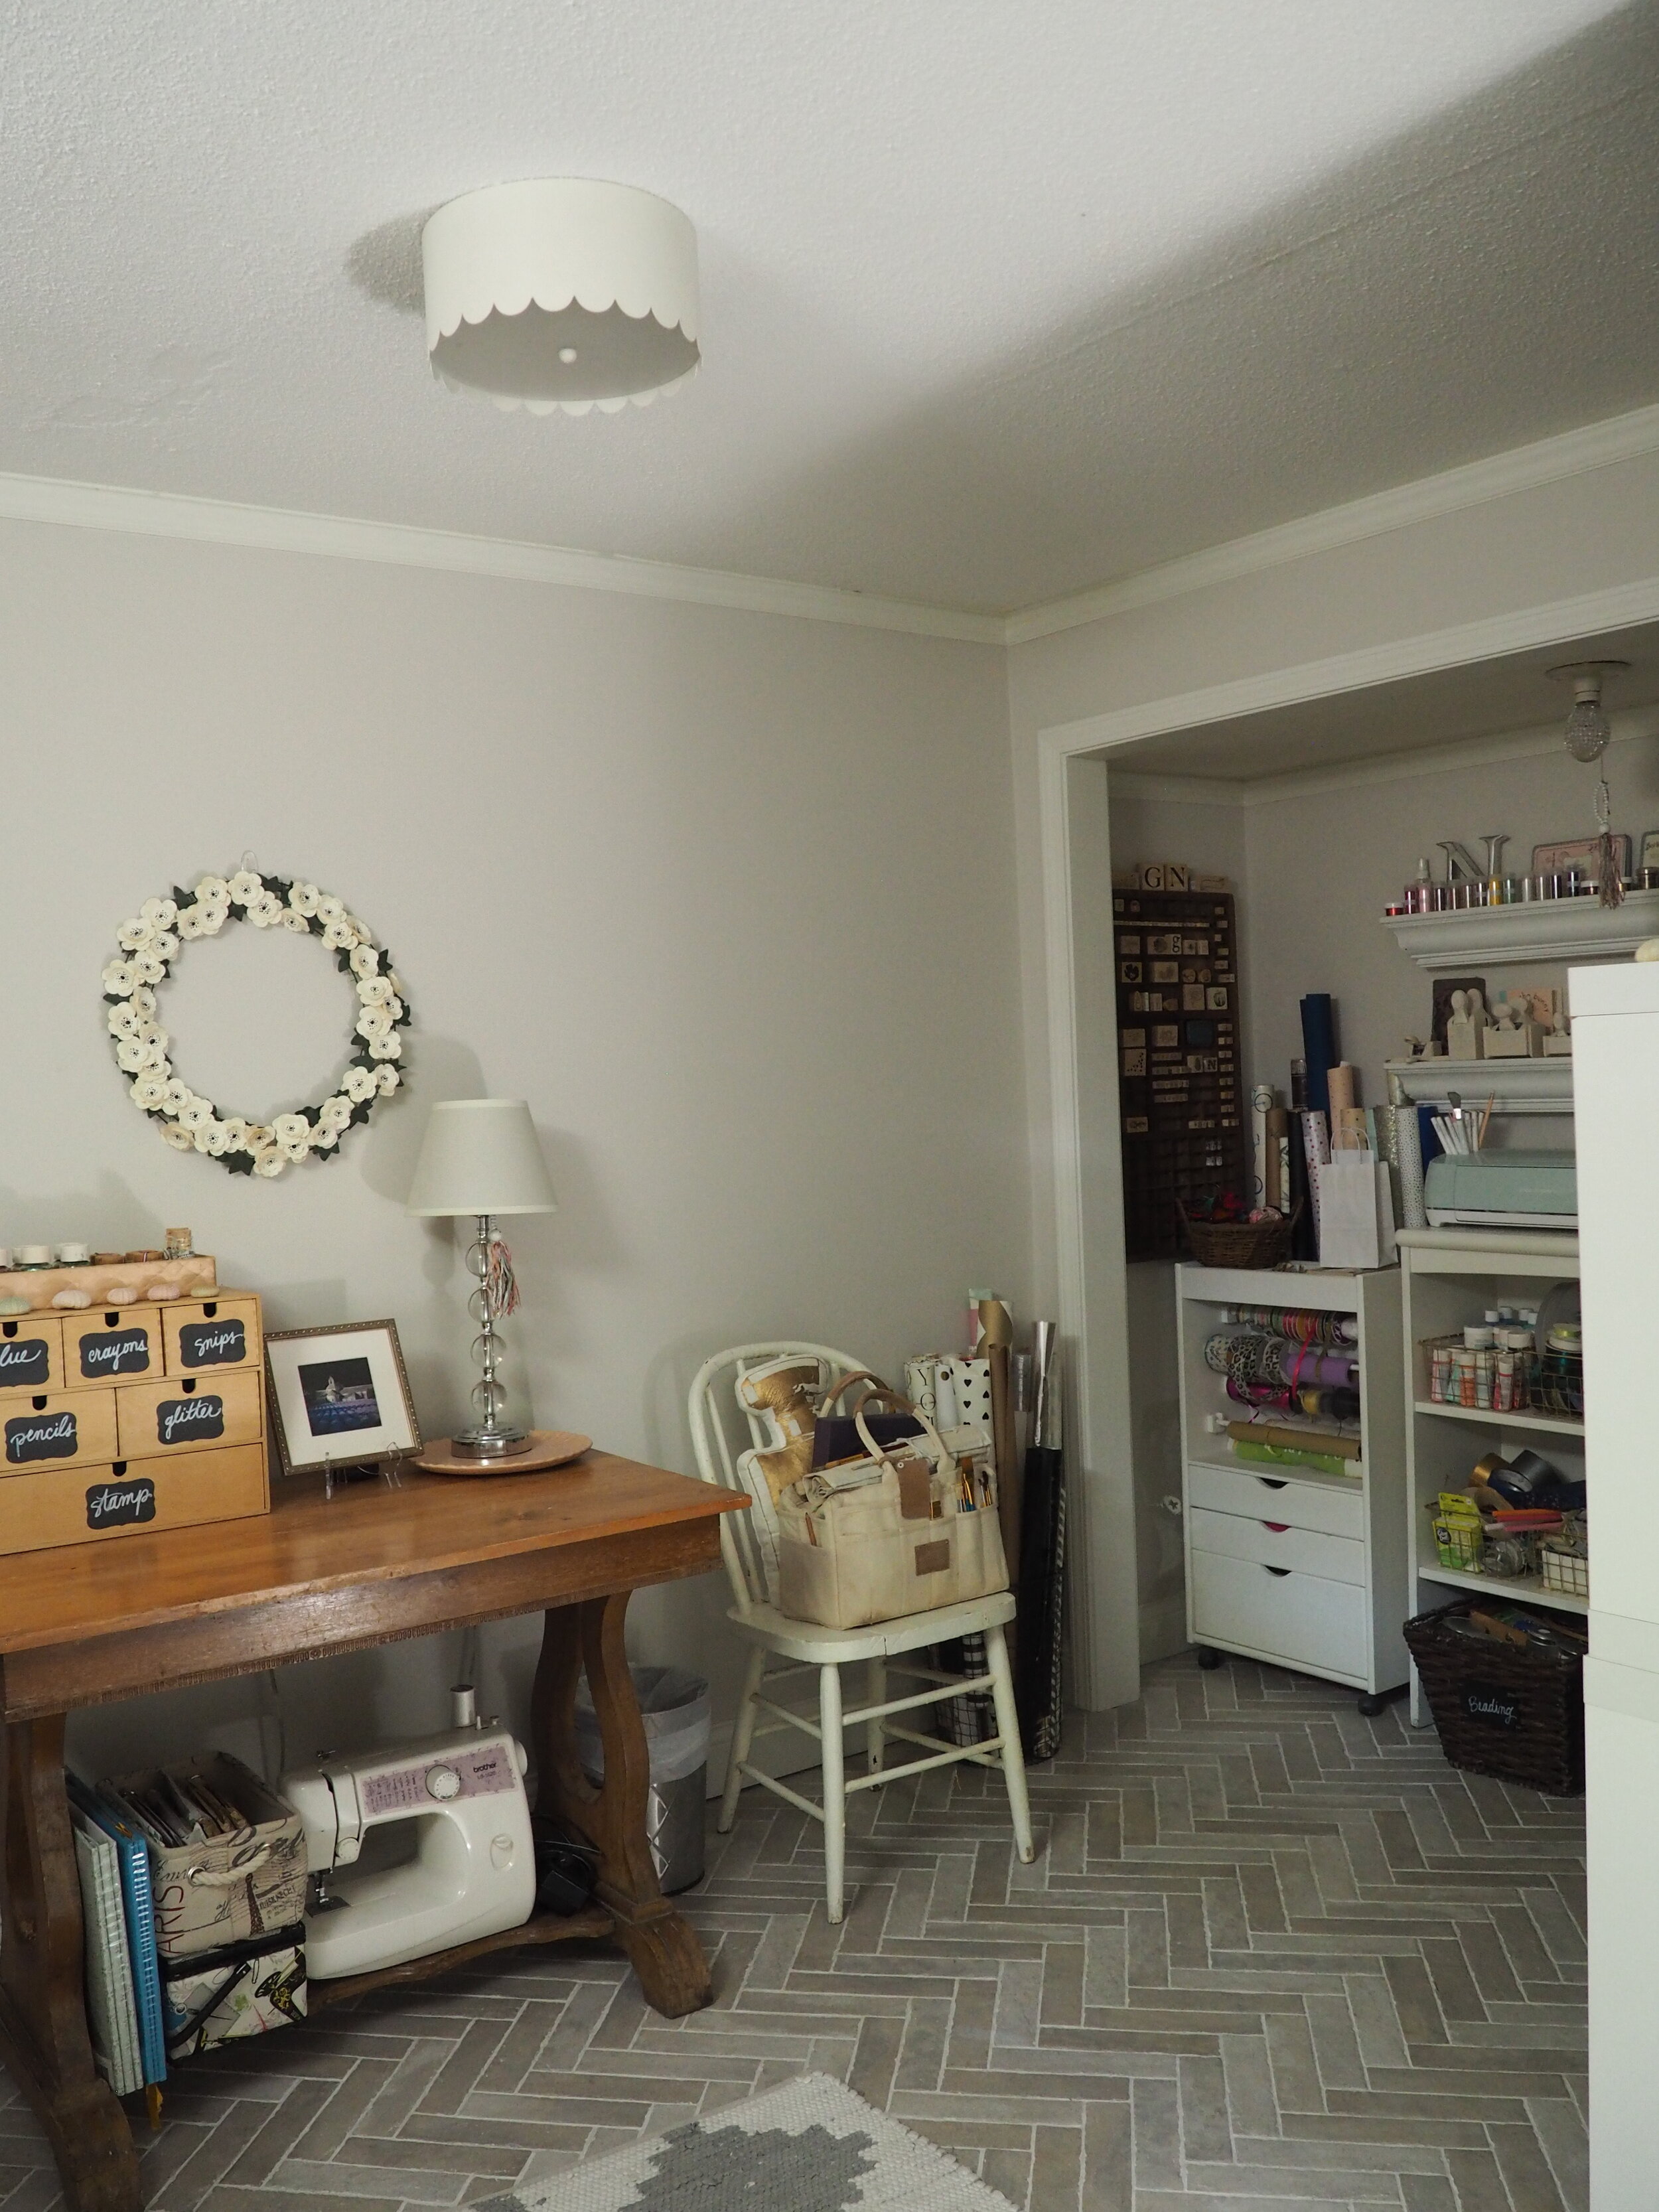
I conveniently have a blog post that I wrote a couple of years ago where you can see all of the before images of how my craft room used to look. Instead of treating each area of our basement (craft room, guest bedroom and bath, and main living space) as separate areas to decorate, I wanted to zoom out to make it all feel more more cohesive and intentional which we did by simply using the same paint and flooring throughout. Here’s the first look at our basement reveal beginning with my craft room.
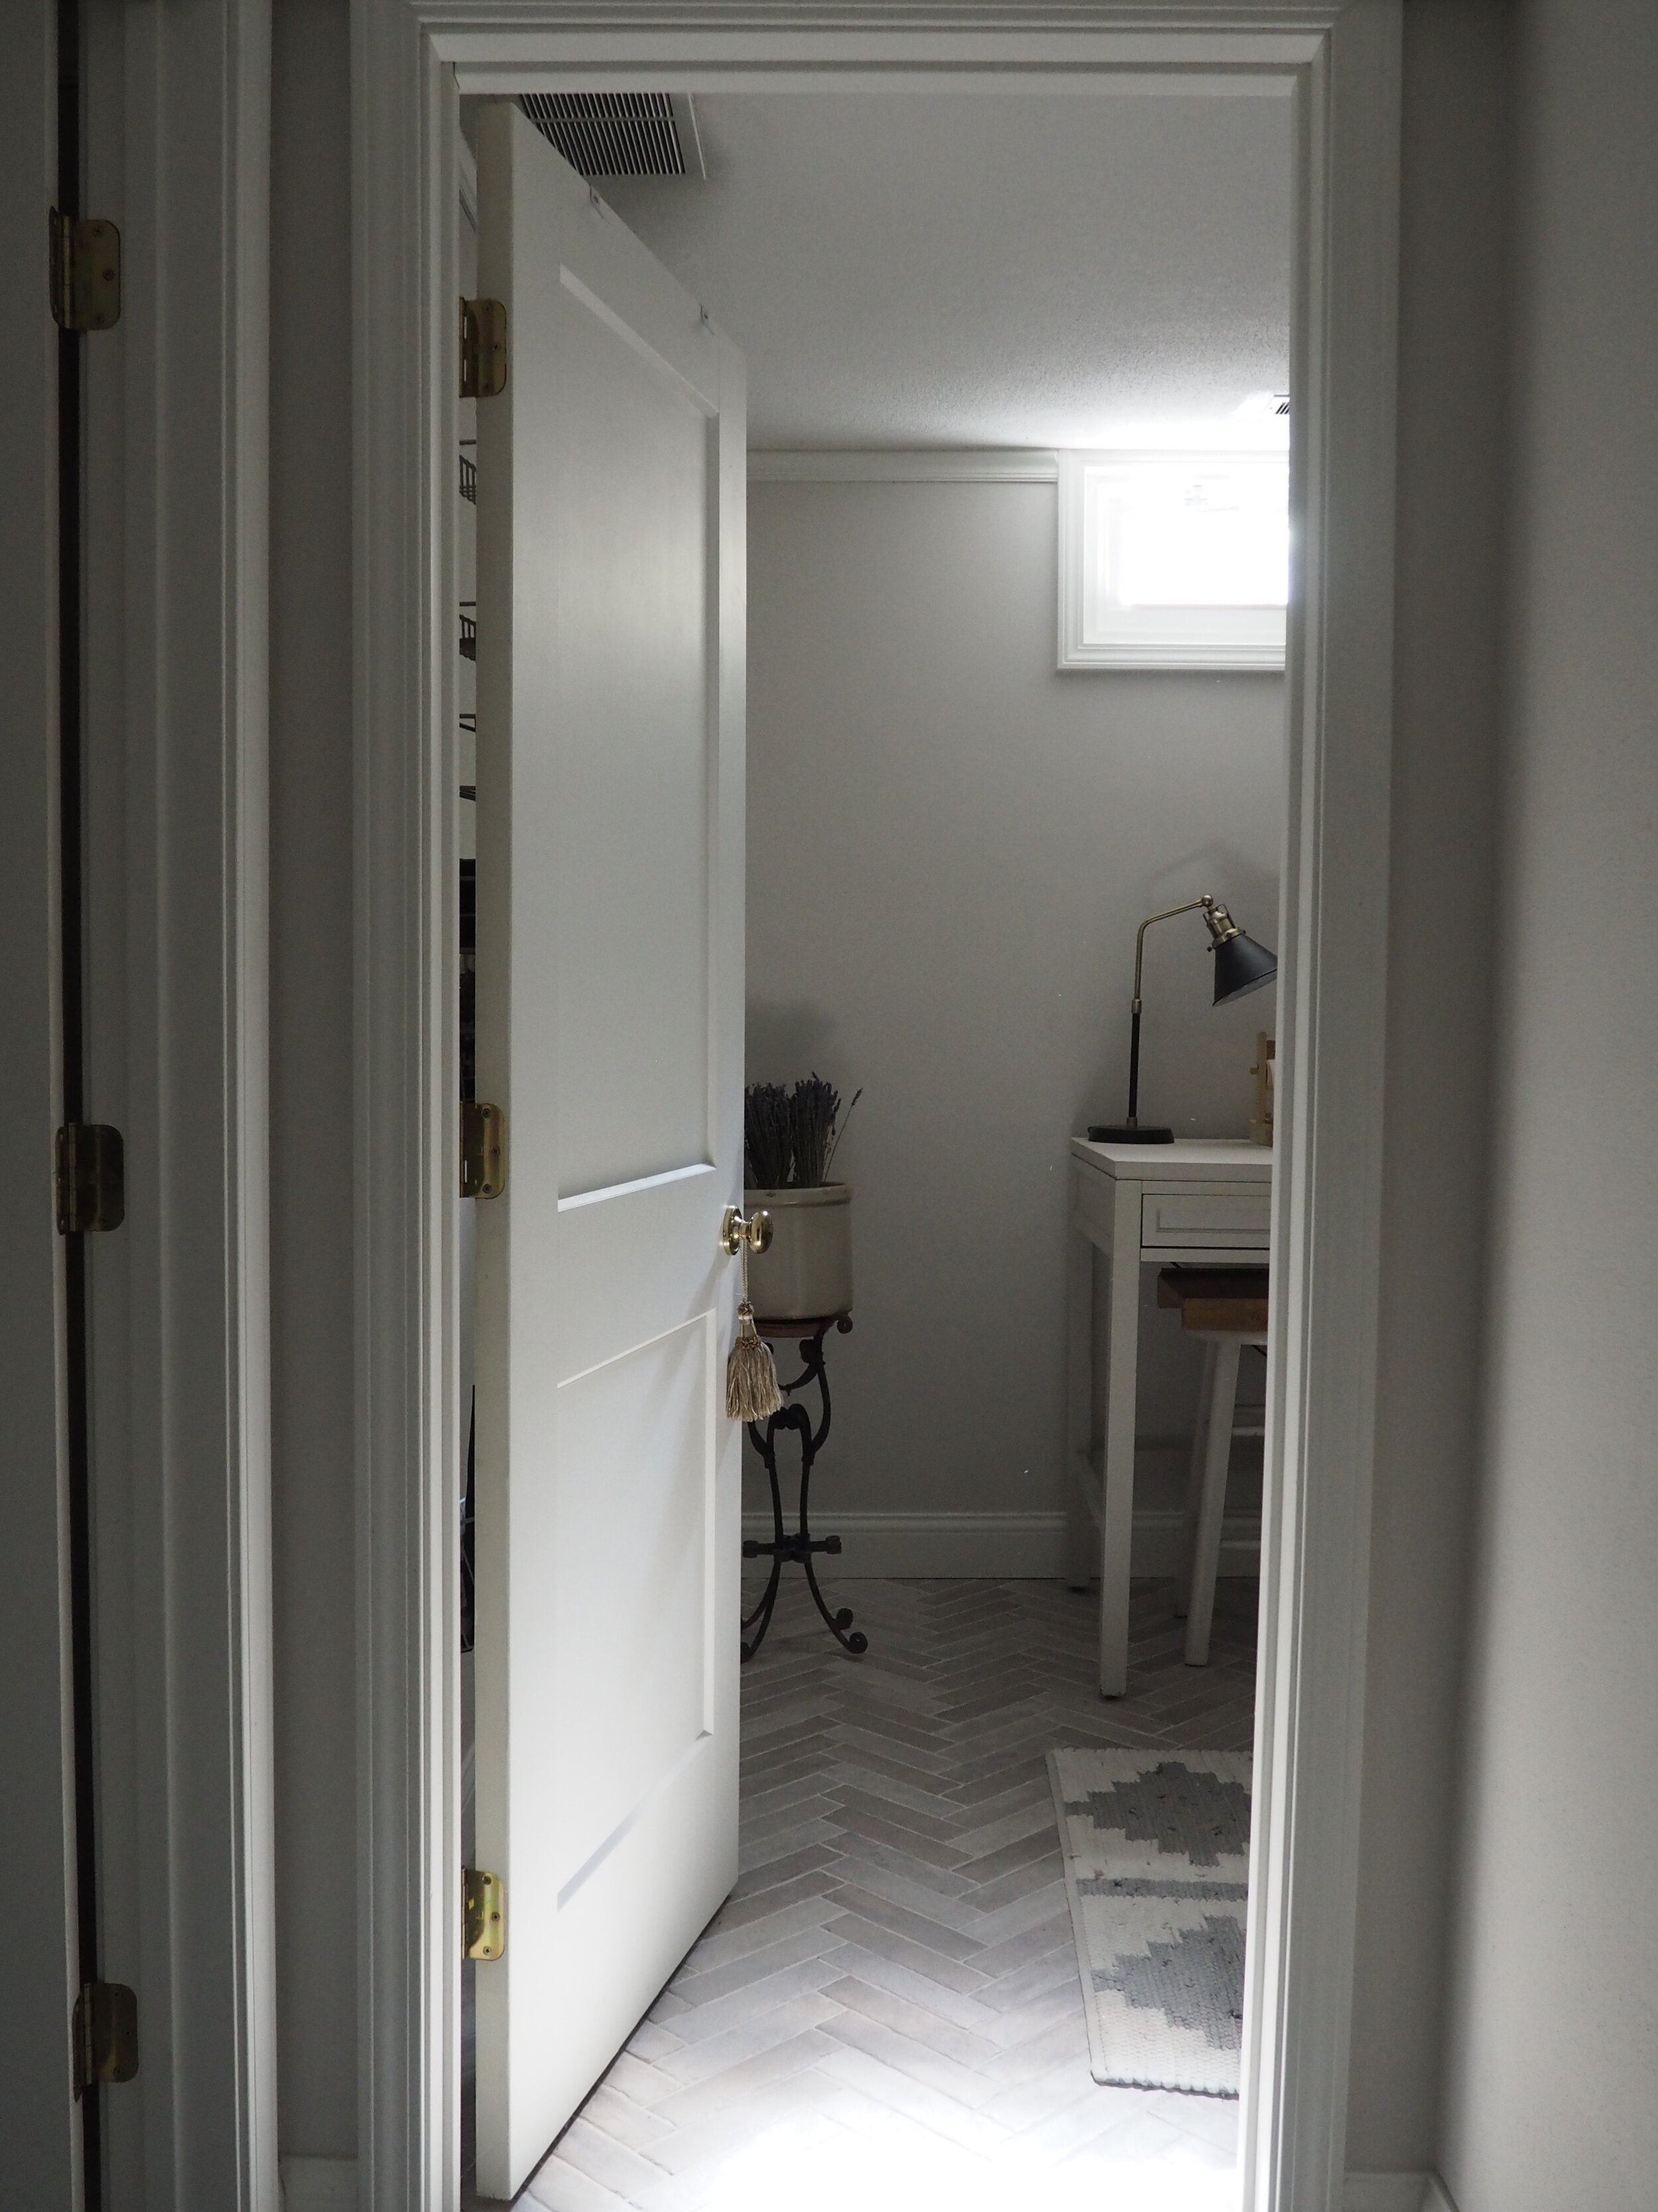
Craft room entry; I wanted flooring that mimicked inlaid brick and absolutely love this brick-look porcelain tile, set in a herringbone pattern.
Flooring | Wall Color: SW ‘City Loft’ | Trim Color SW ‘Alabaster’ | Door | Door Hardware
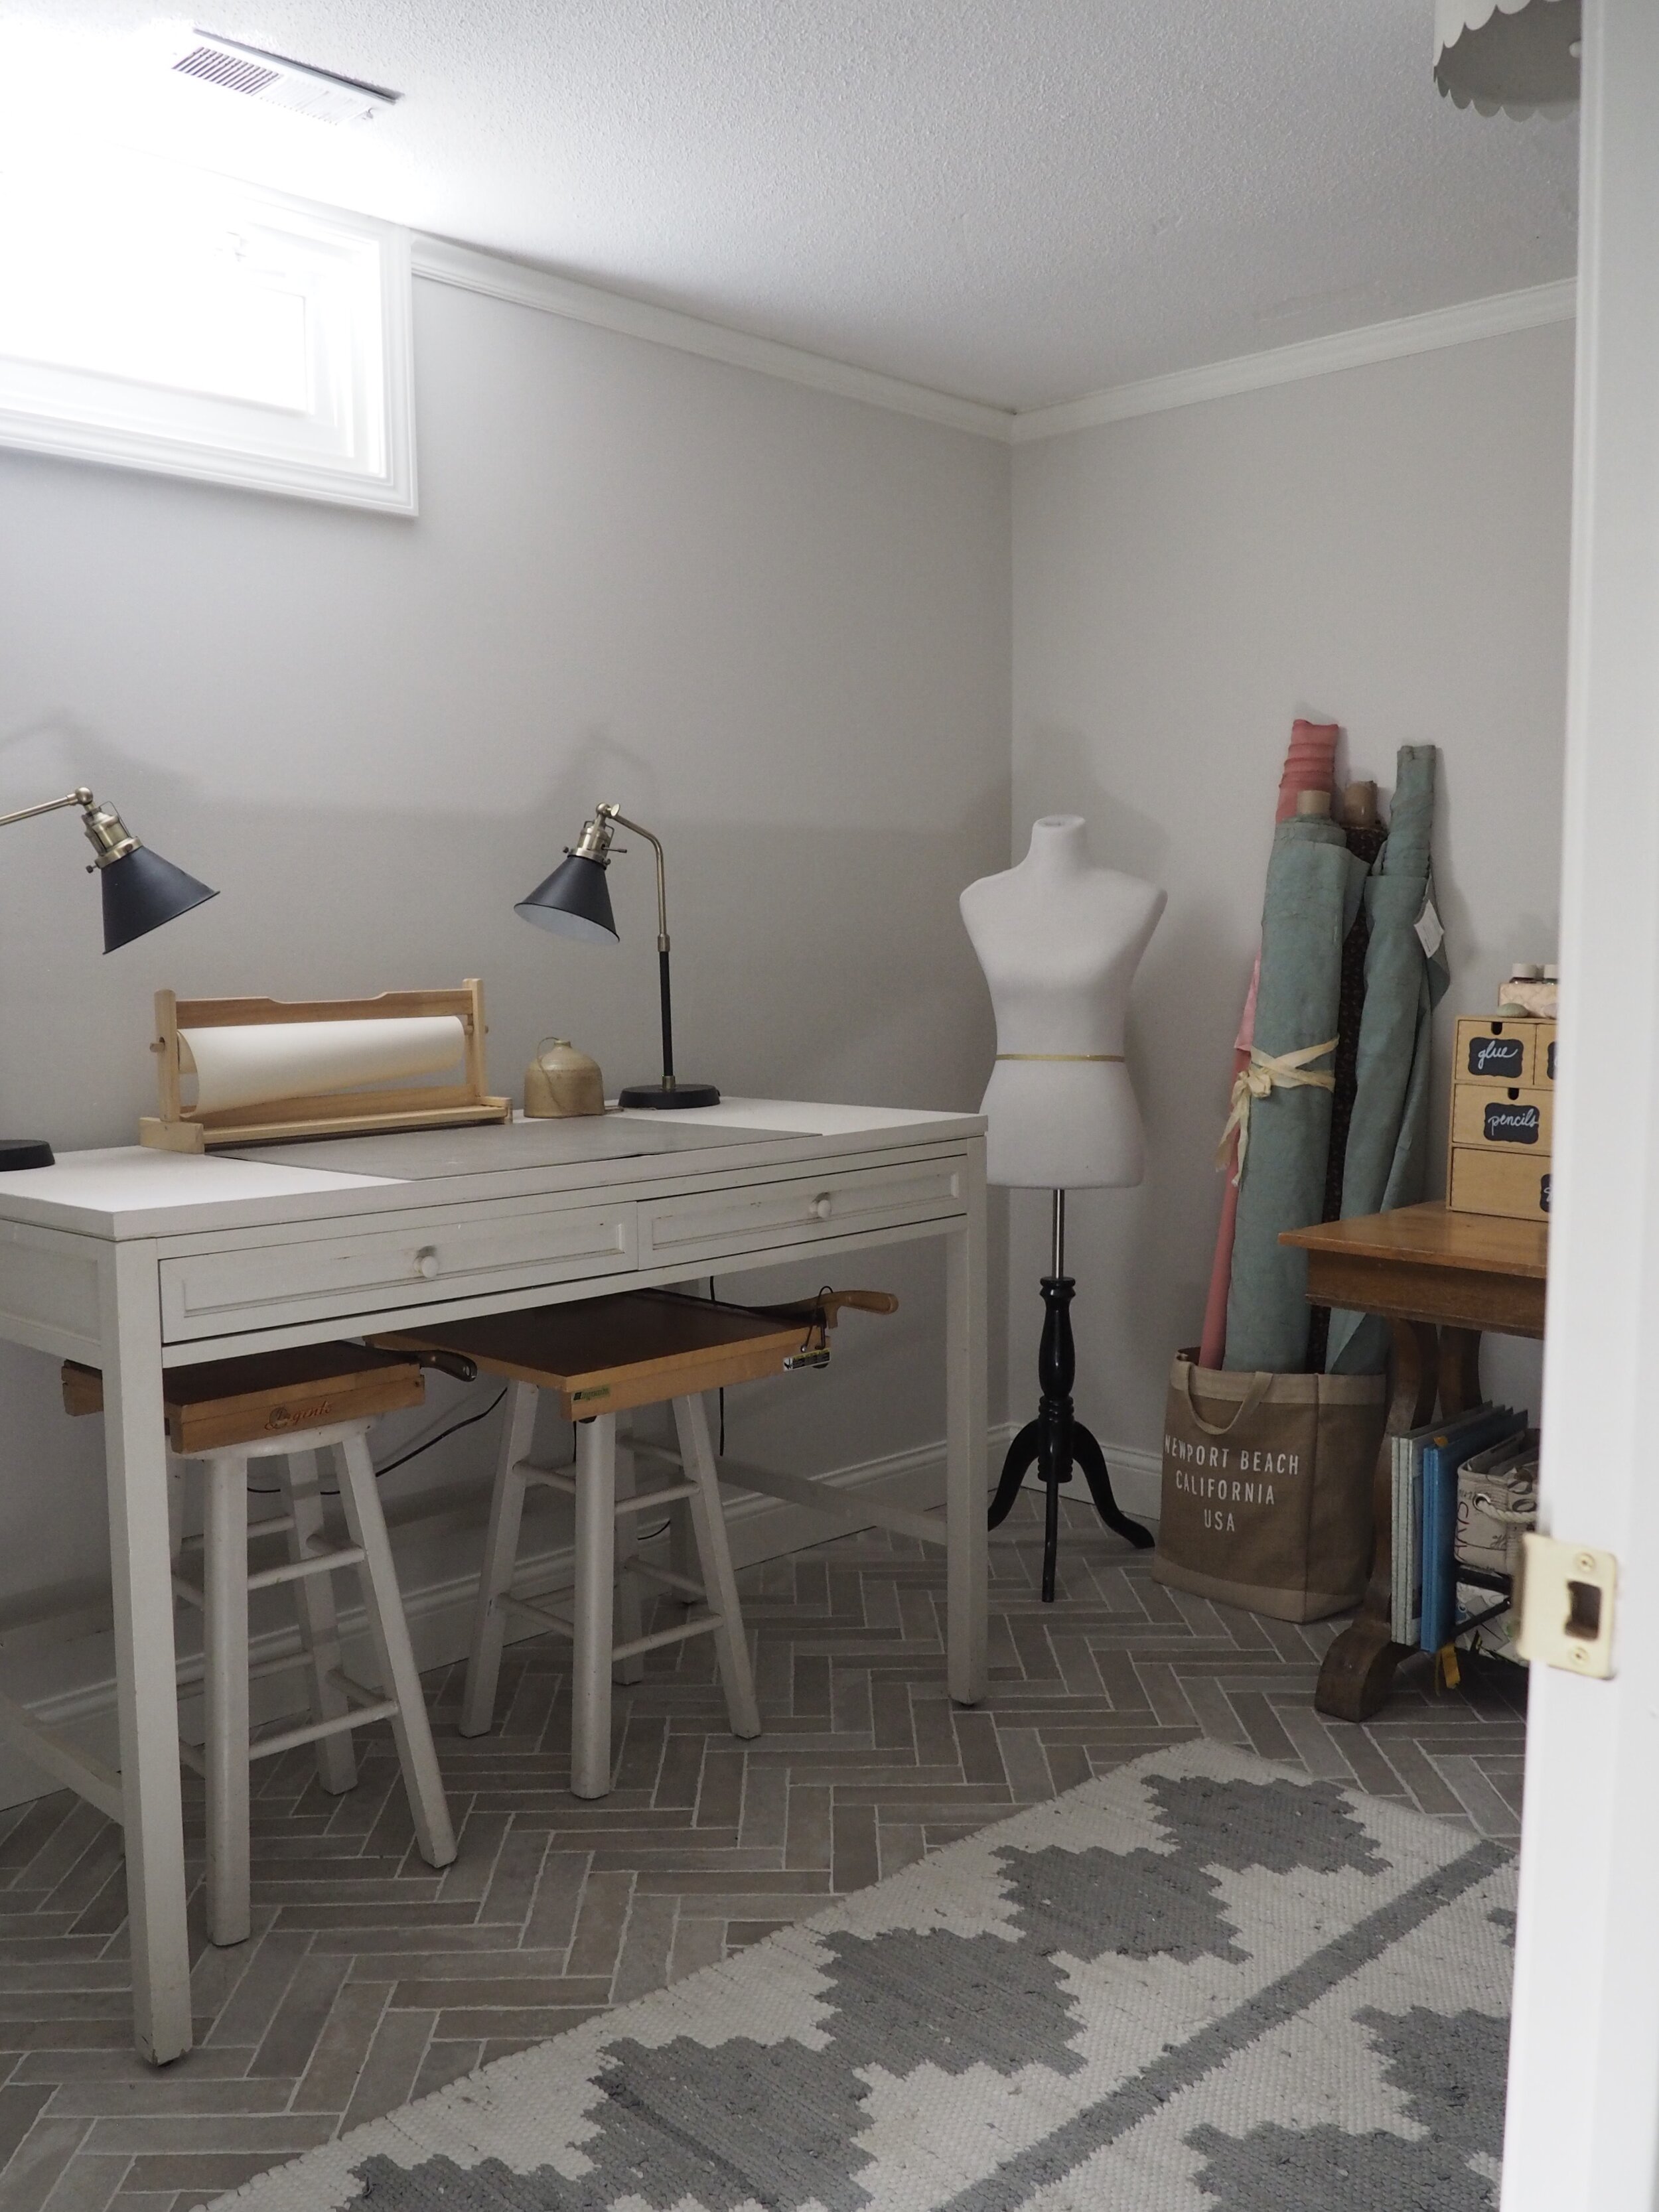
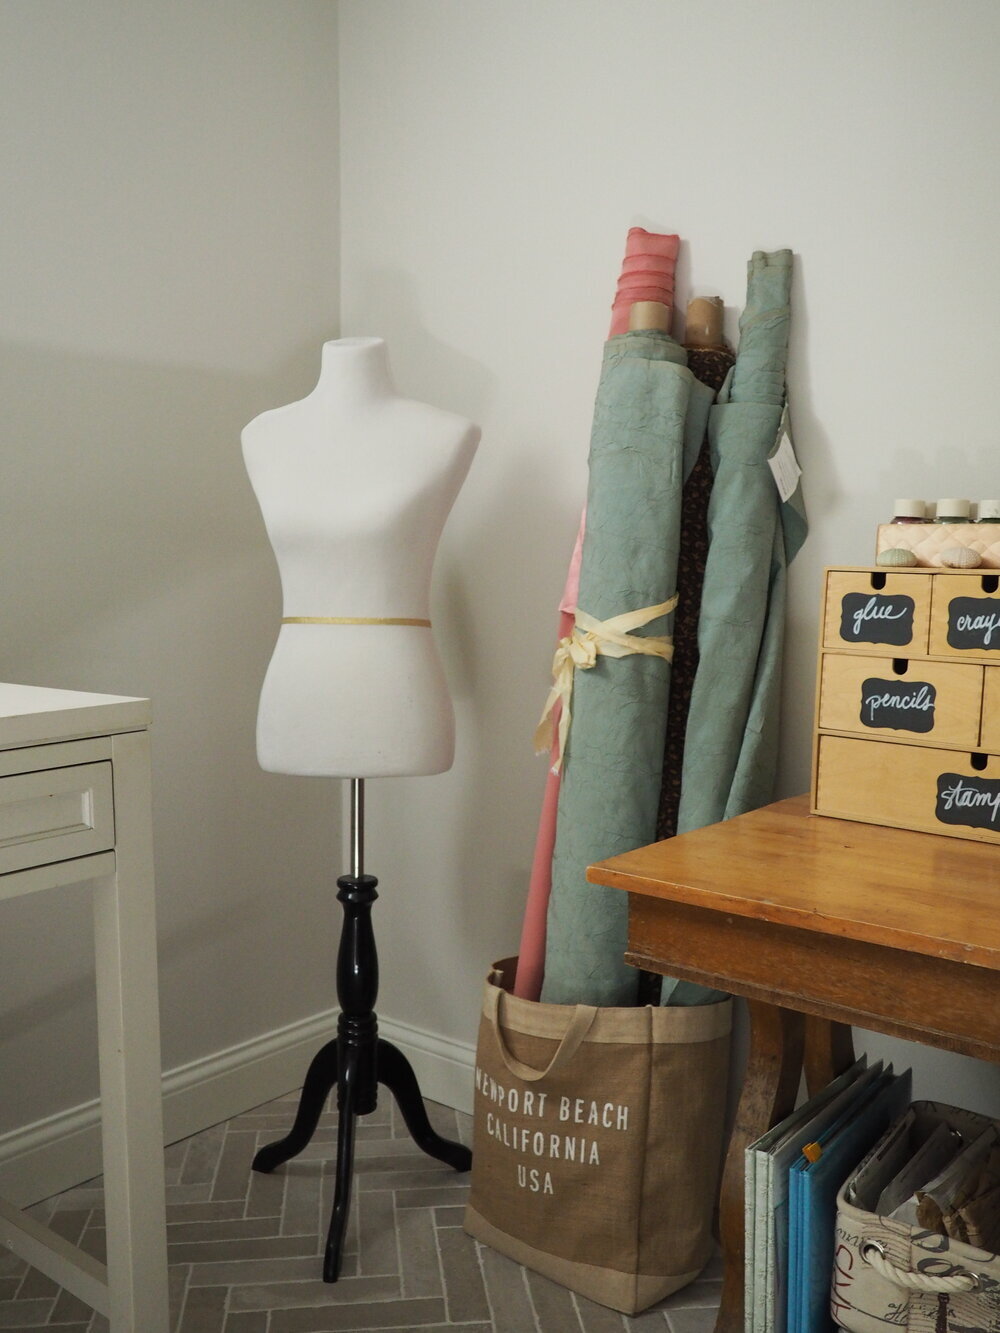
It’s so important to have a big work surface in a craft room. This one is the right height for standing with optional counter stools for a seated project. My vintage paper cutters rest on the stools when not in use.
Task Lamps | Dress Form | Craft Table (similar) | Stools (painted to match)
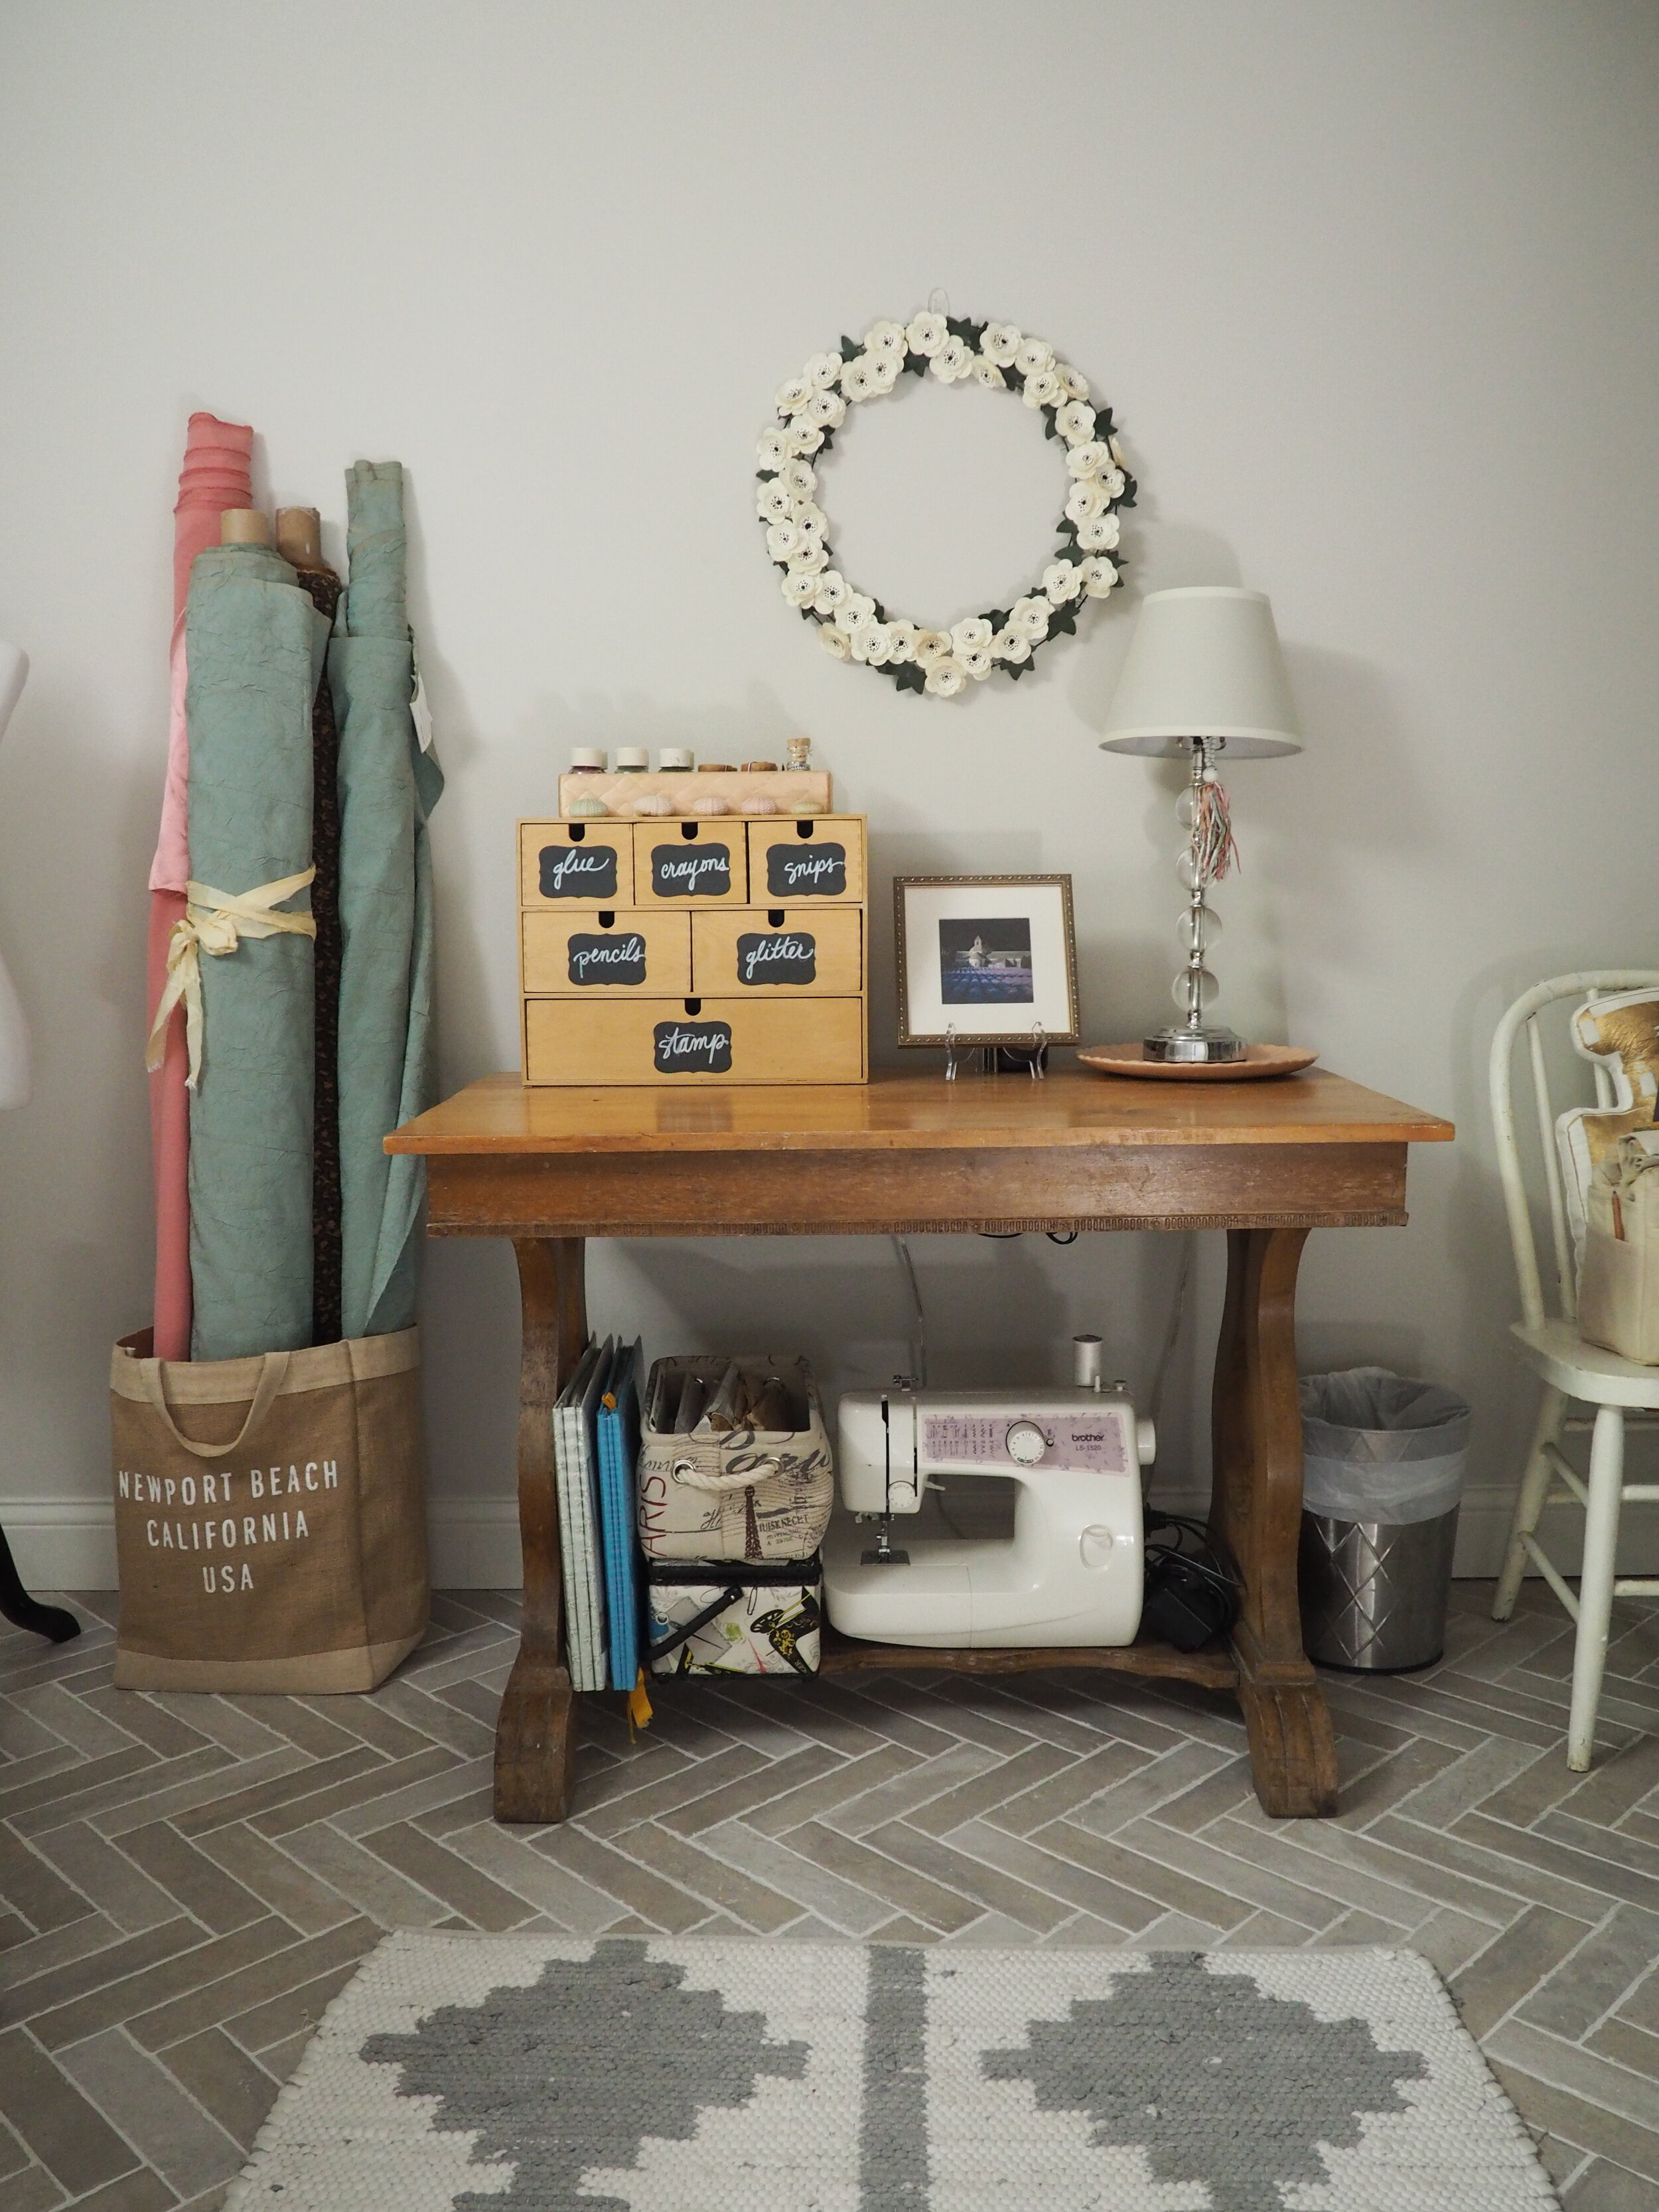
I love this old drafting table that was once my mom’s. It has been in every home I’ve ever lived in and now is where I practice calligraphy.

This is the only room in our basement that gets natural light which makes for quite a welcoming space to create.
Now everything in my craft room has a home and I *try* to respect the limits of this space. In the alcove of the former closet inset, I have a letterpress drawer used as a shelf to hold and display stamps as well as lots of organized baskets on shelving and a rolling cart.
Ceiling Fixture | Wrapping Paper Cart | Lamp (similar) | Metal Rolling Cart
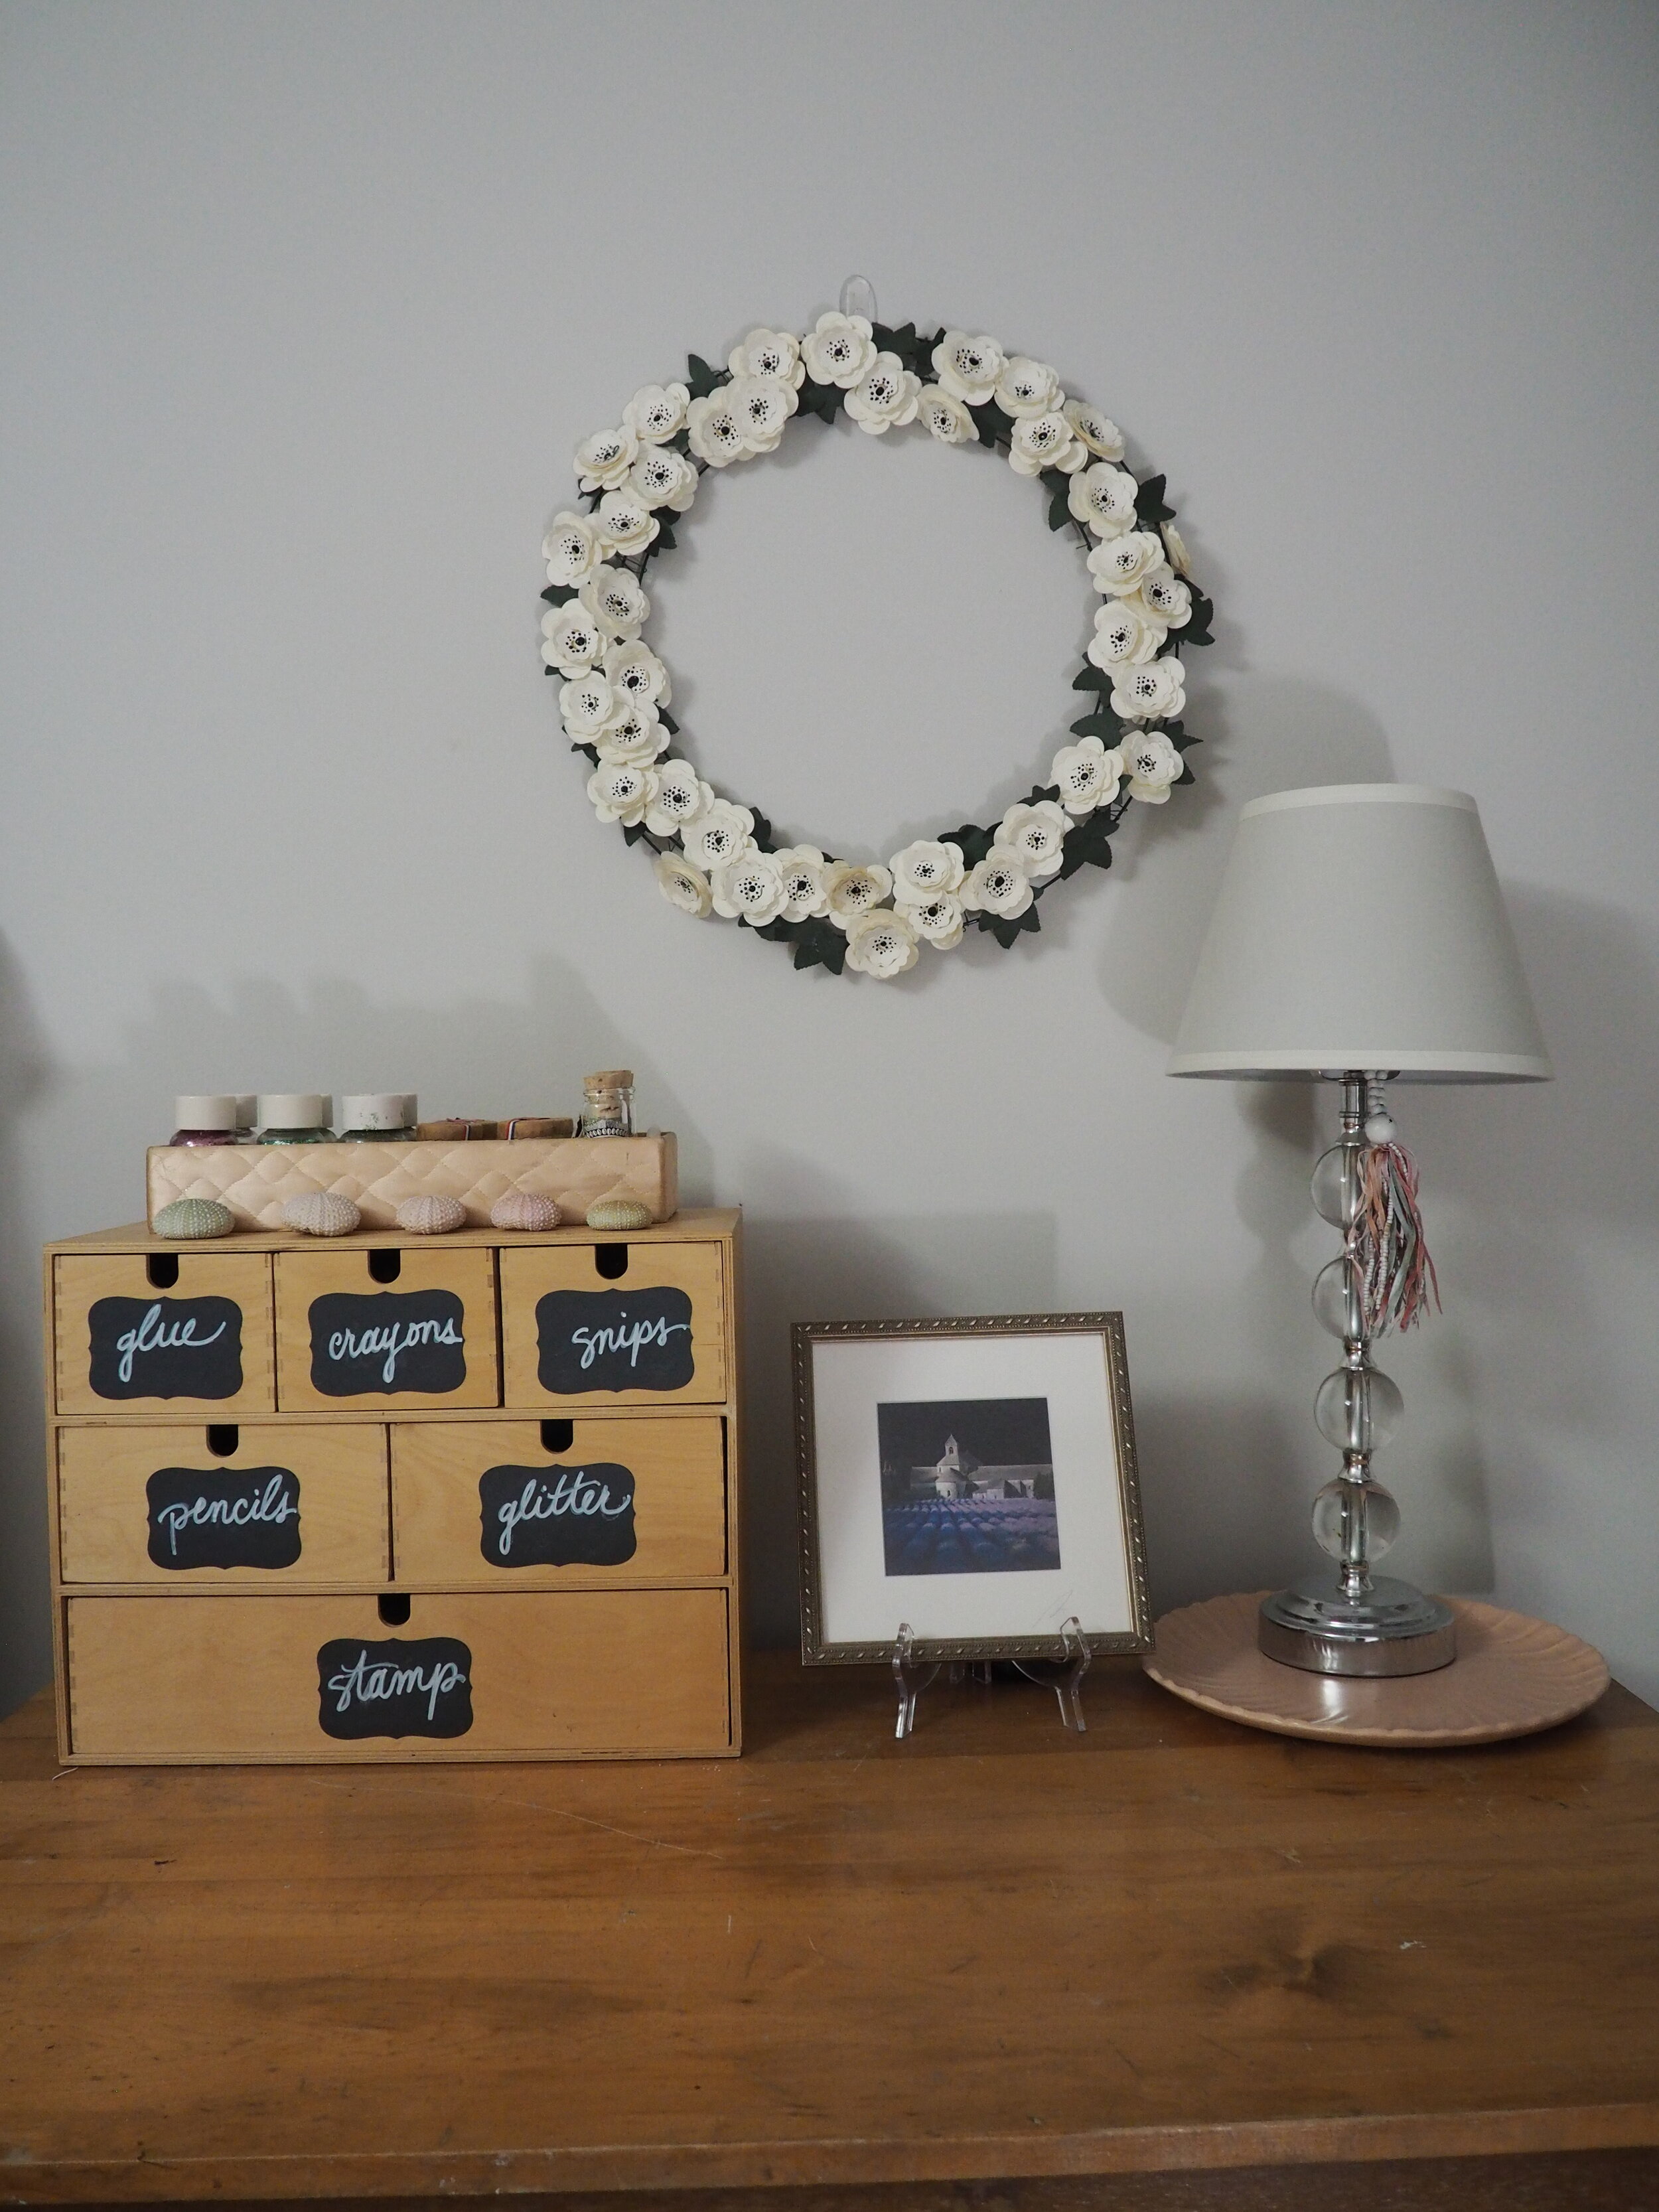
This little pine chest of drawers was the first craft storage I ever purchased. I got it from Ikea in middle school and my dad stained it with a clear coat of polyurethane. I added some adhesive chalkboard labels for organization.

This paper roll dispenser is also from Ikea (love their children’s section!) and I use it all the time for anything from a quick scratch pad and shipping to simple and chic gift wrap. I also keep out this self-healing craft mat for protecting the surface of the table, and I recently found this ceramic twine dispenser at a resale shop in town.
Craft storage extravaganza!
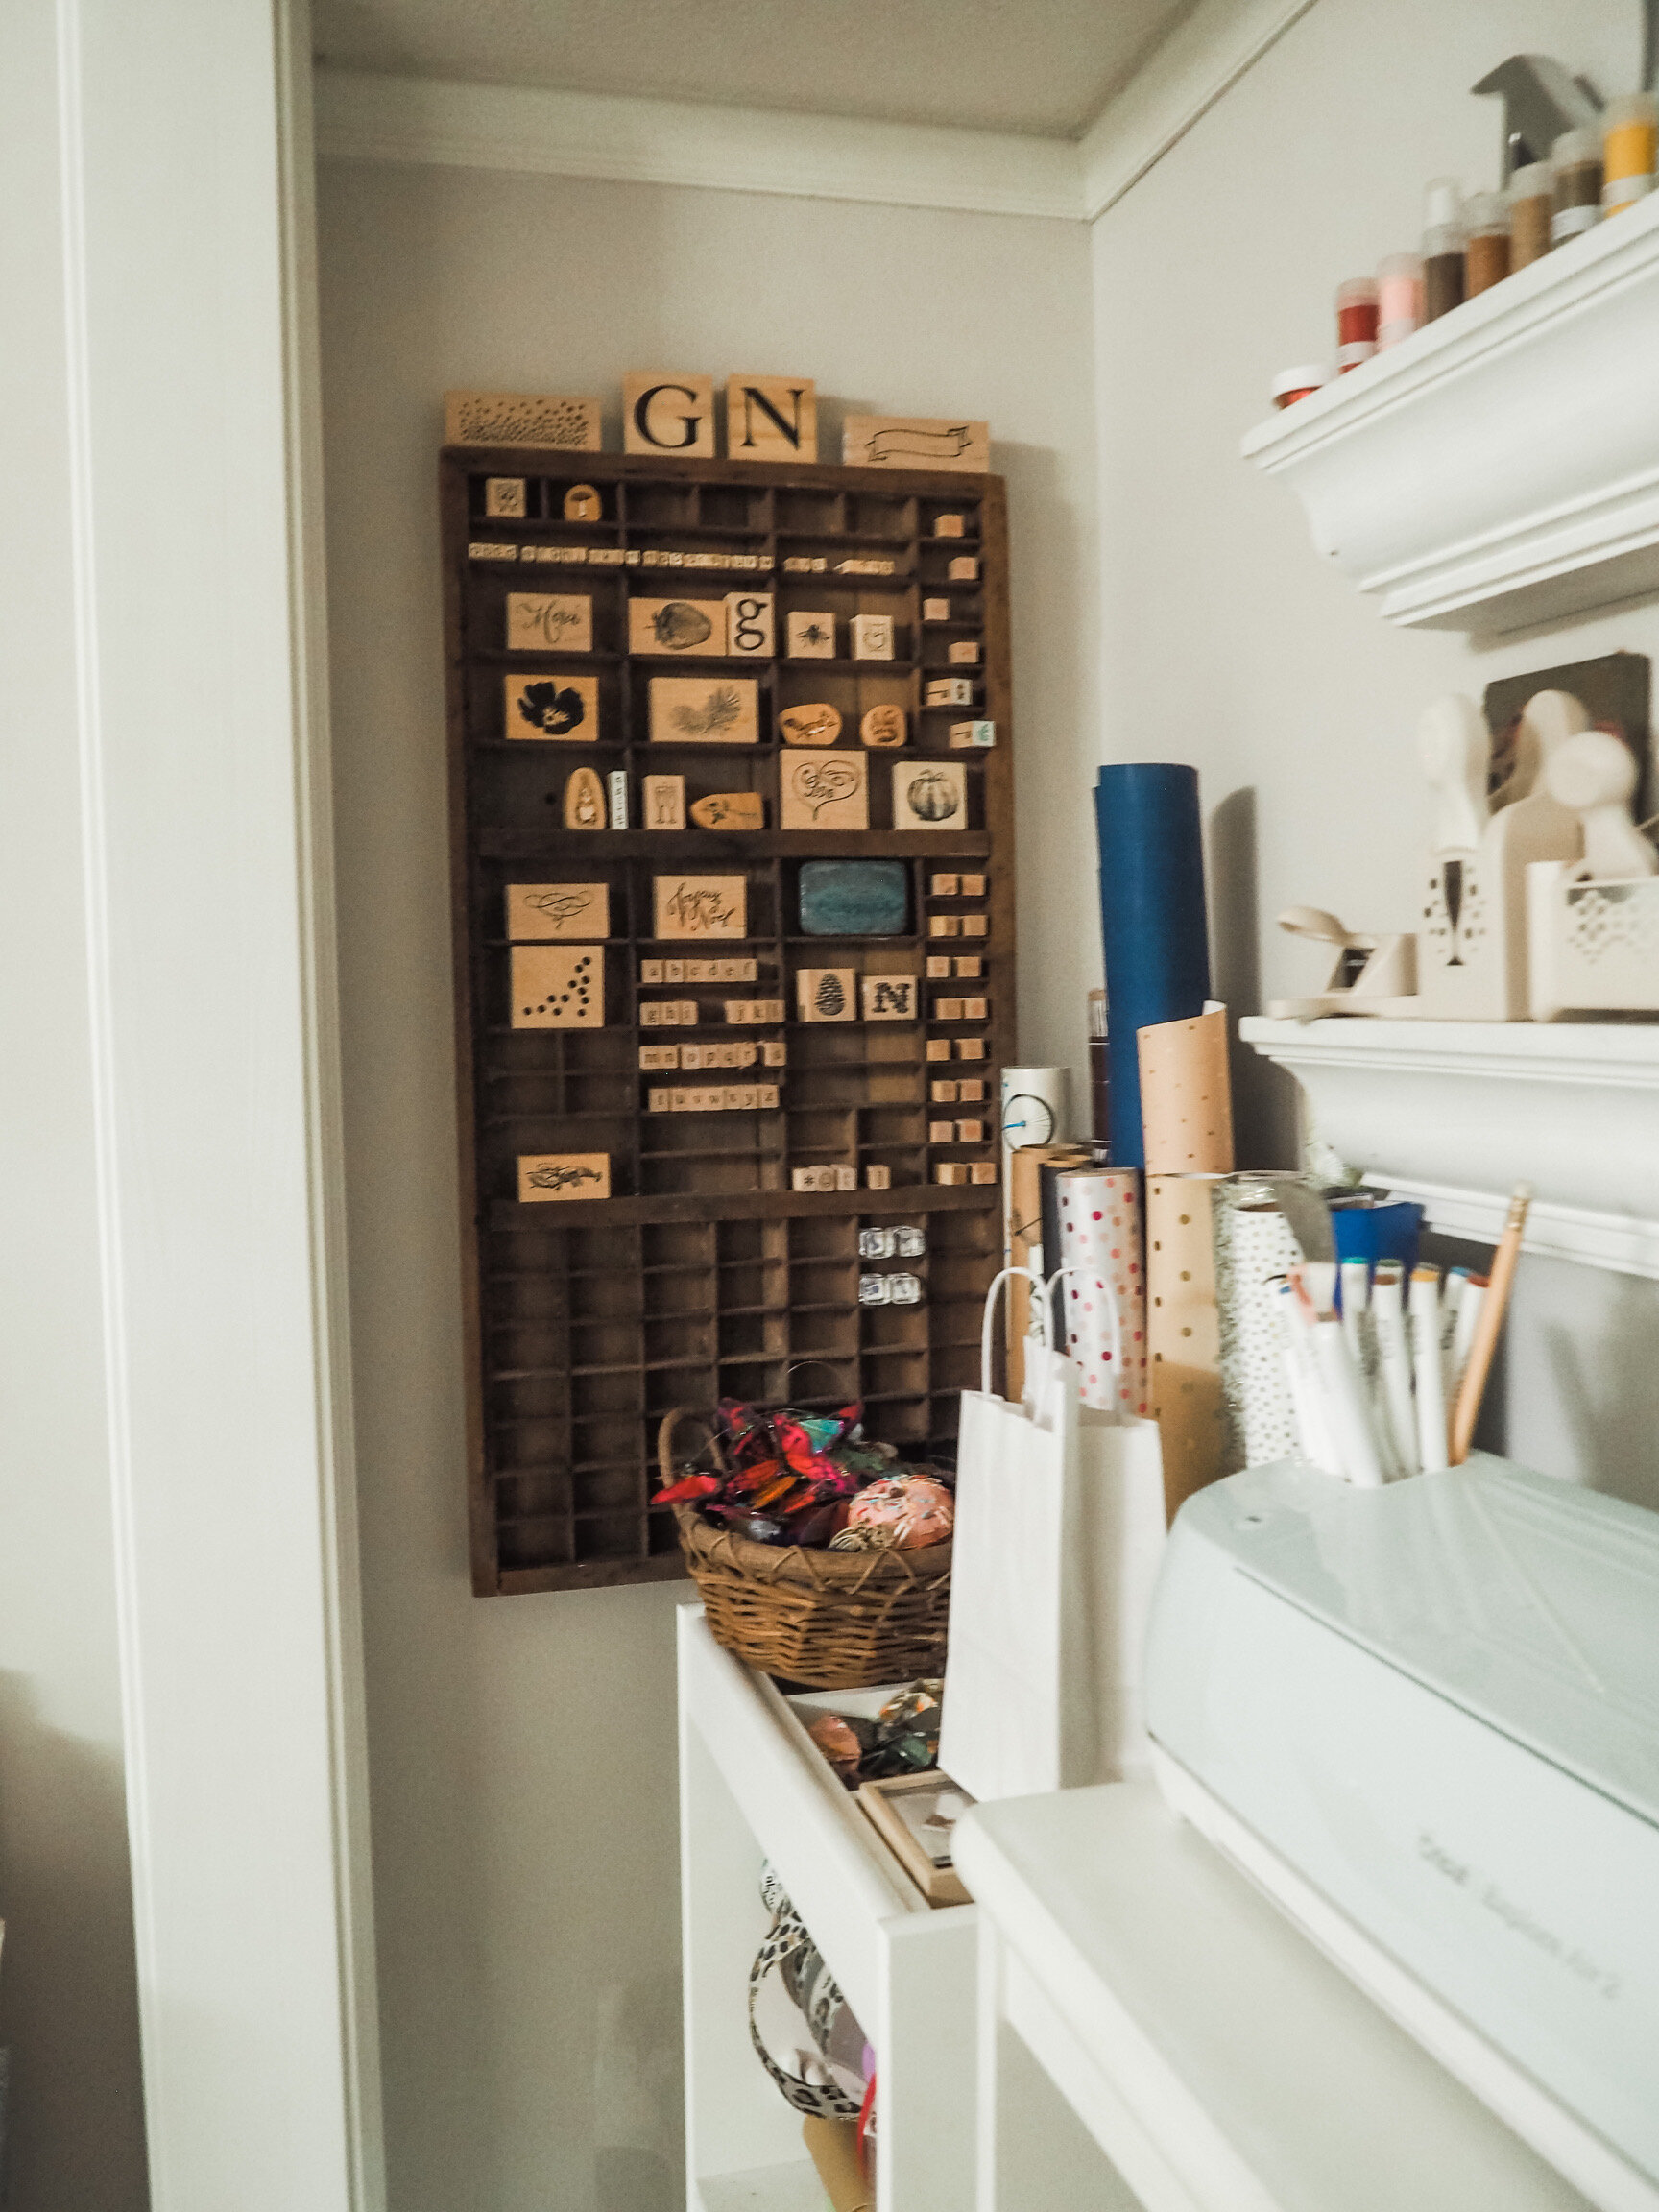
Letterpress drawer repurposed as a stamp shelf
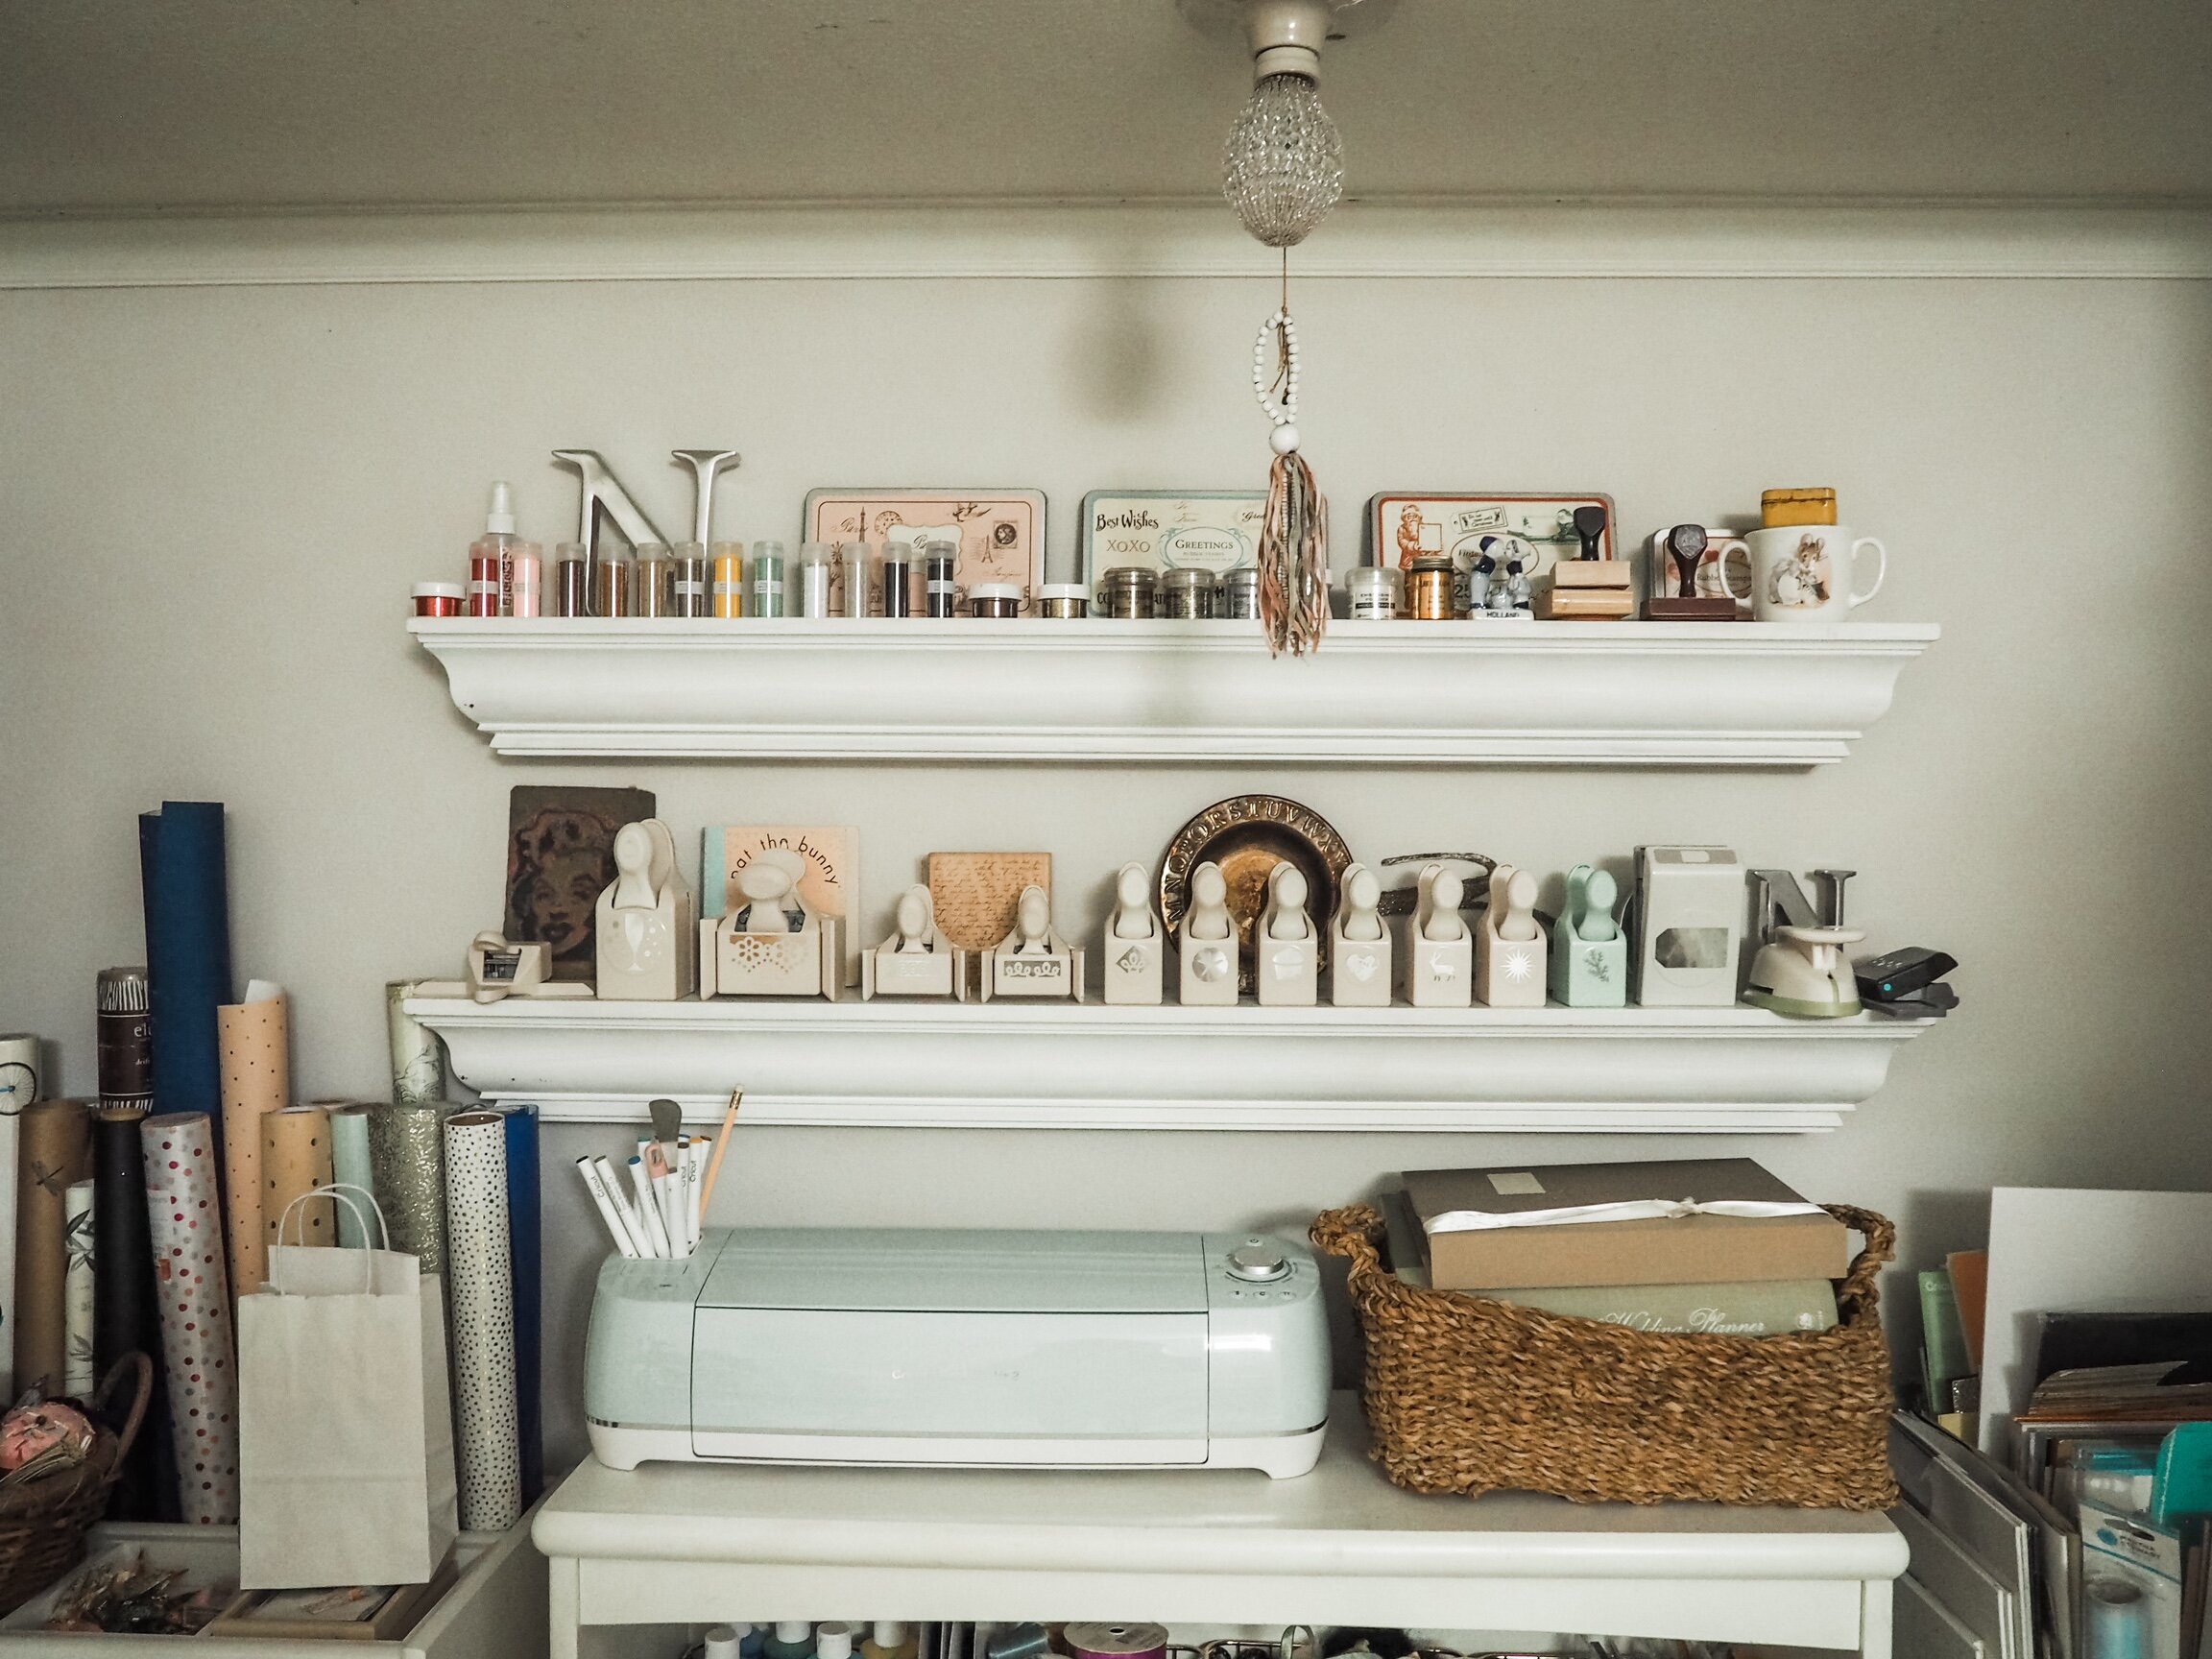
Photo shelves serve as display and open storage for embossing powders, stamps and decorative punches.
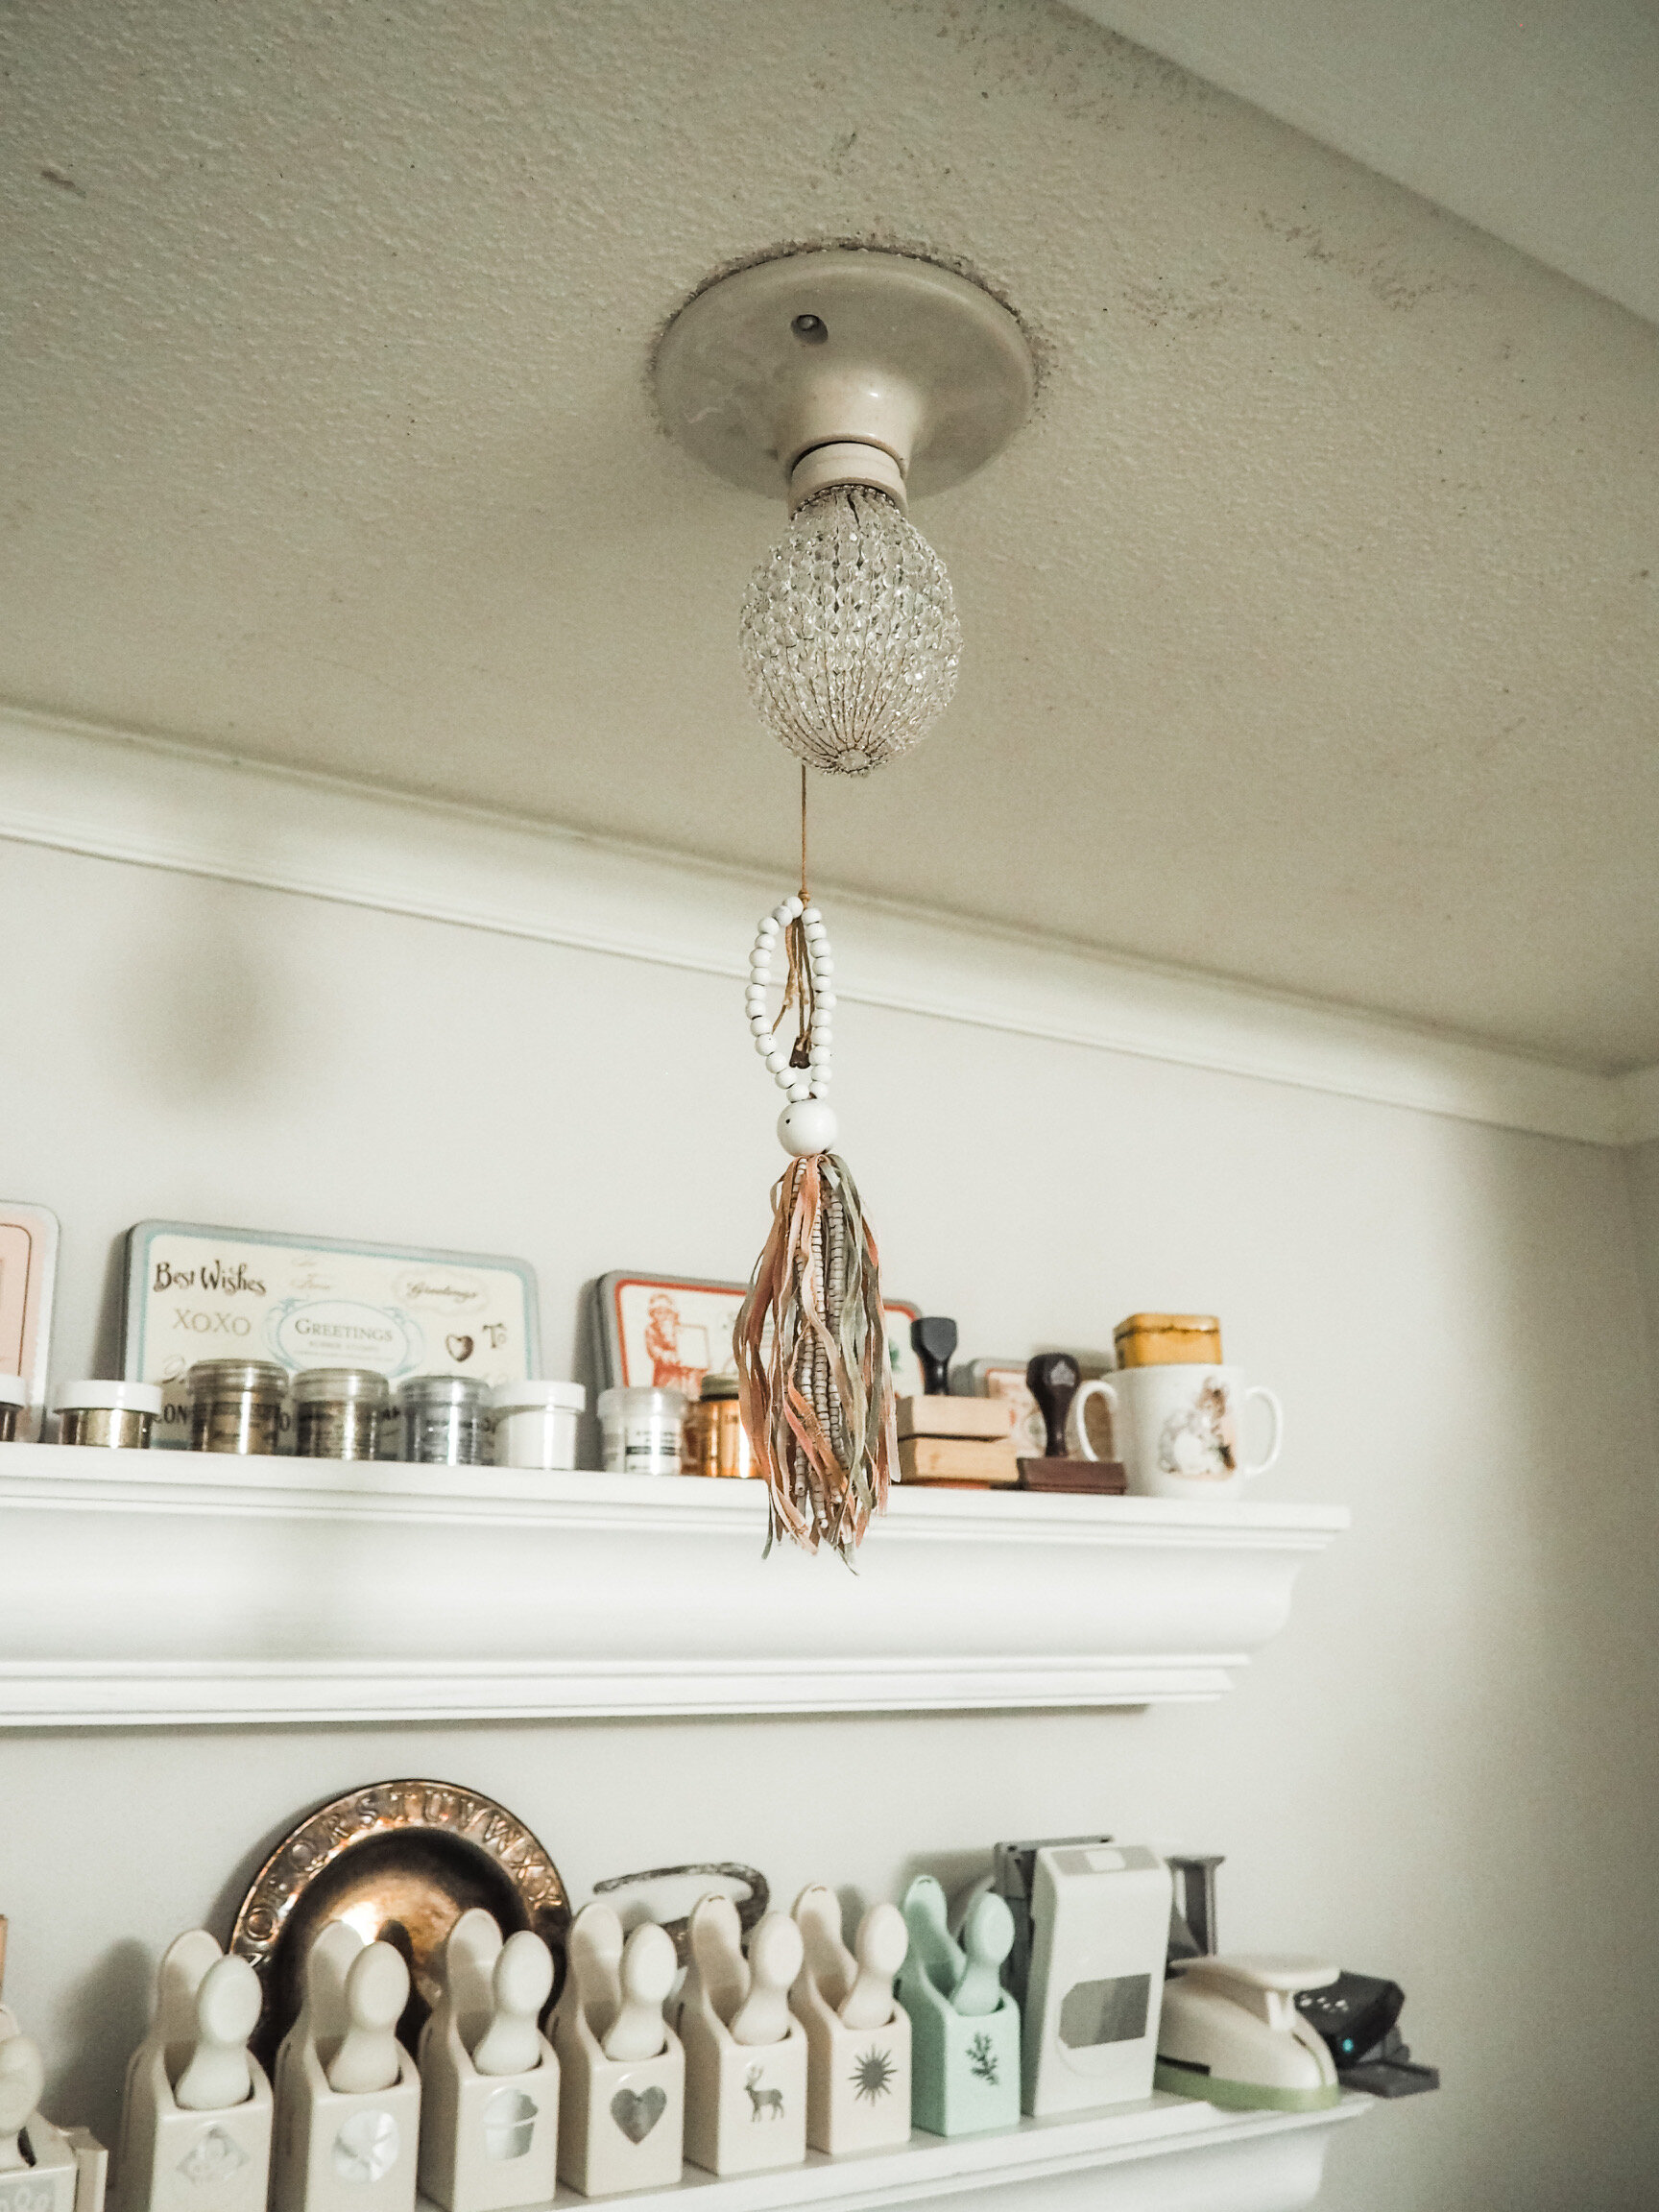
I found these super cute ‘chandelier’ beaded light bulb covers on Etsy to elevate a bare bulb.
Crystal Beaded Light Bulb Cover | Photo Shelves
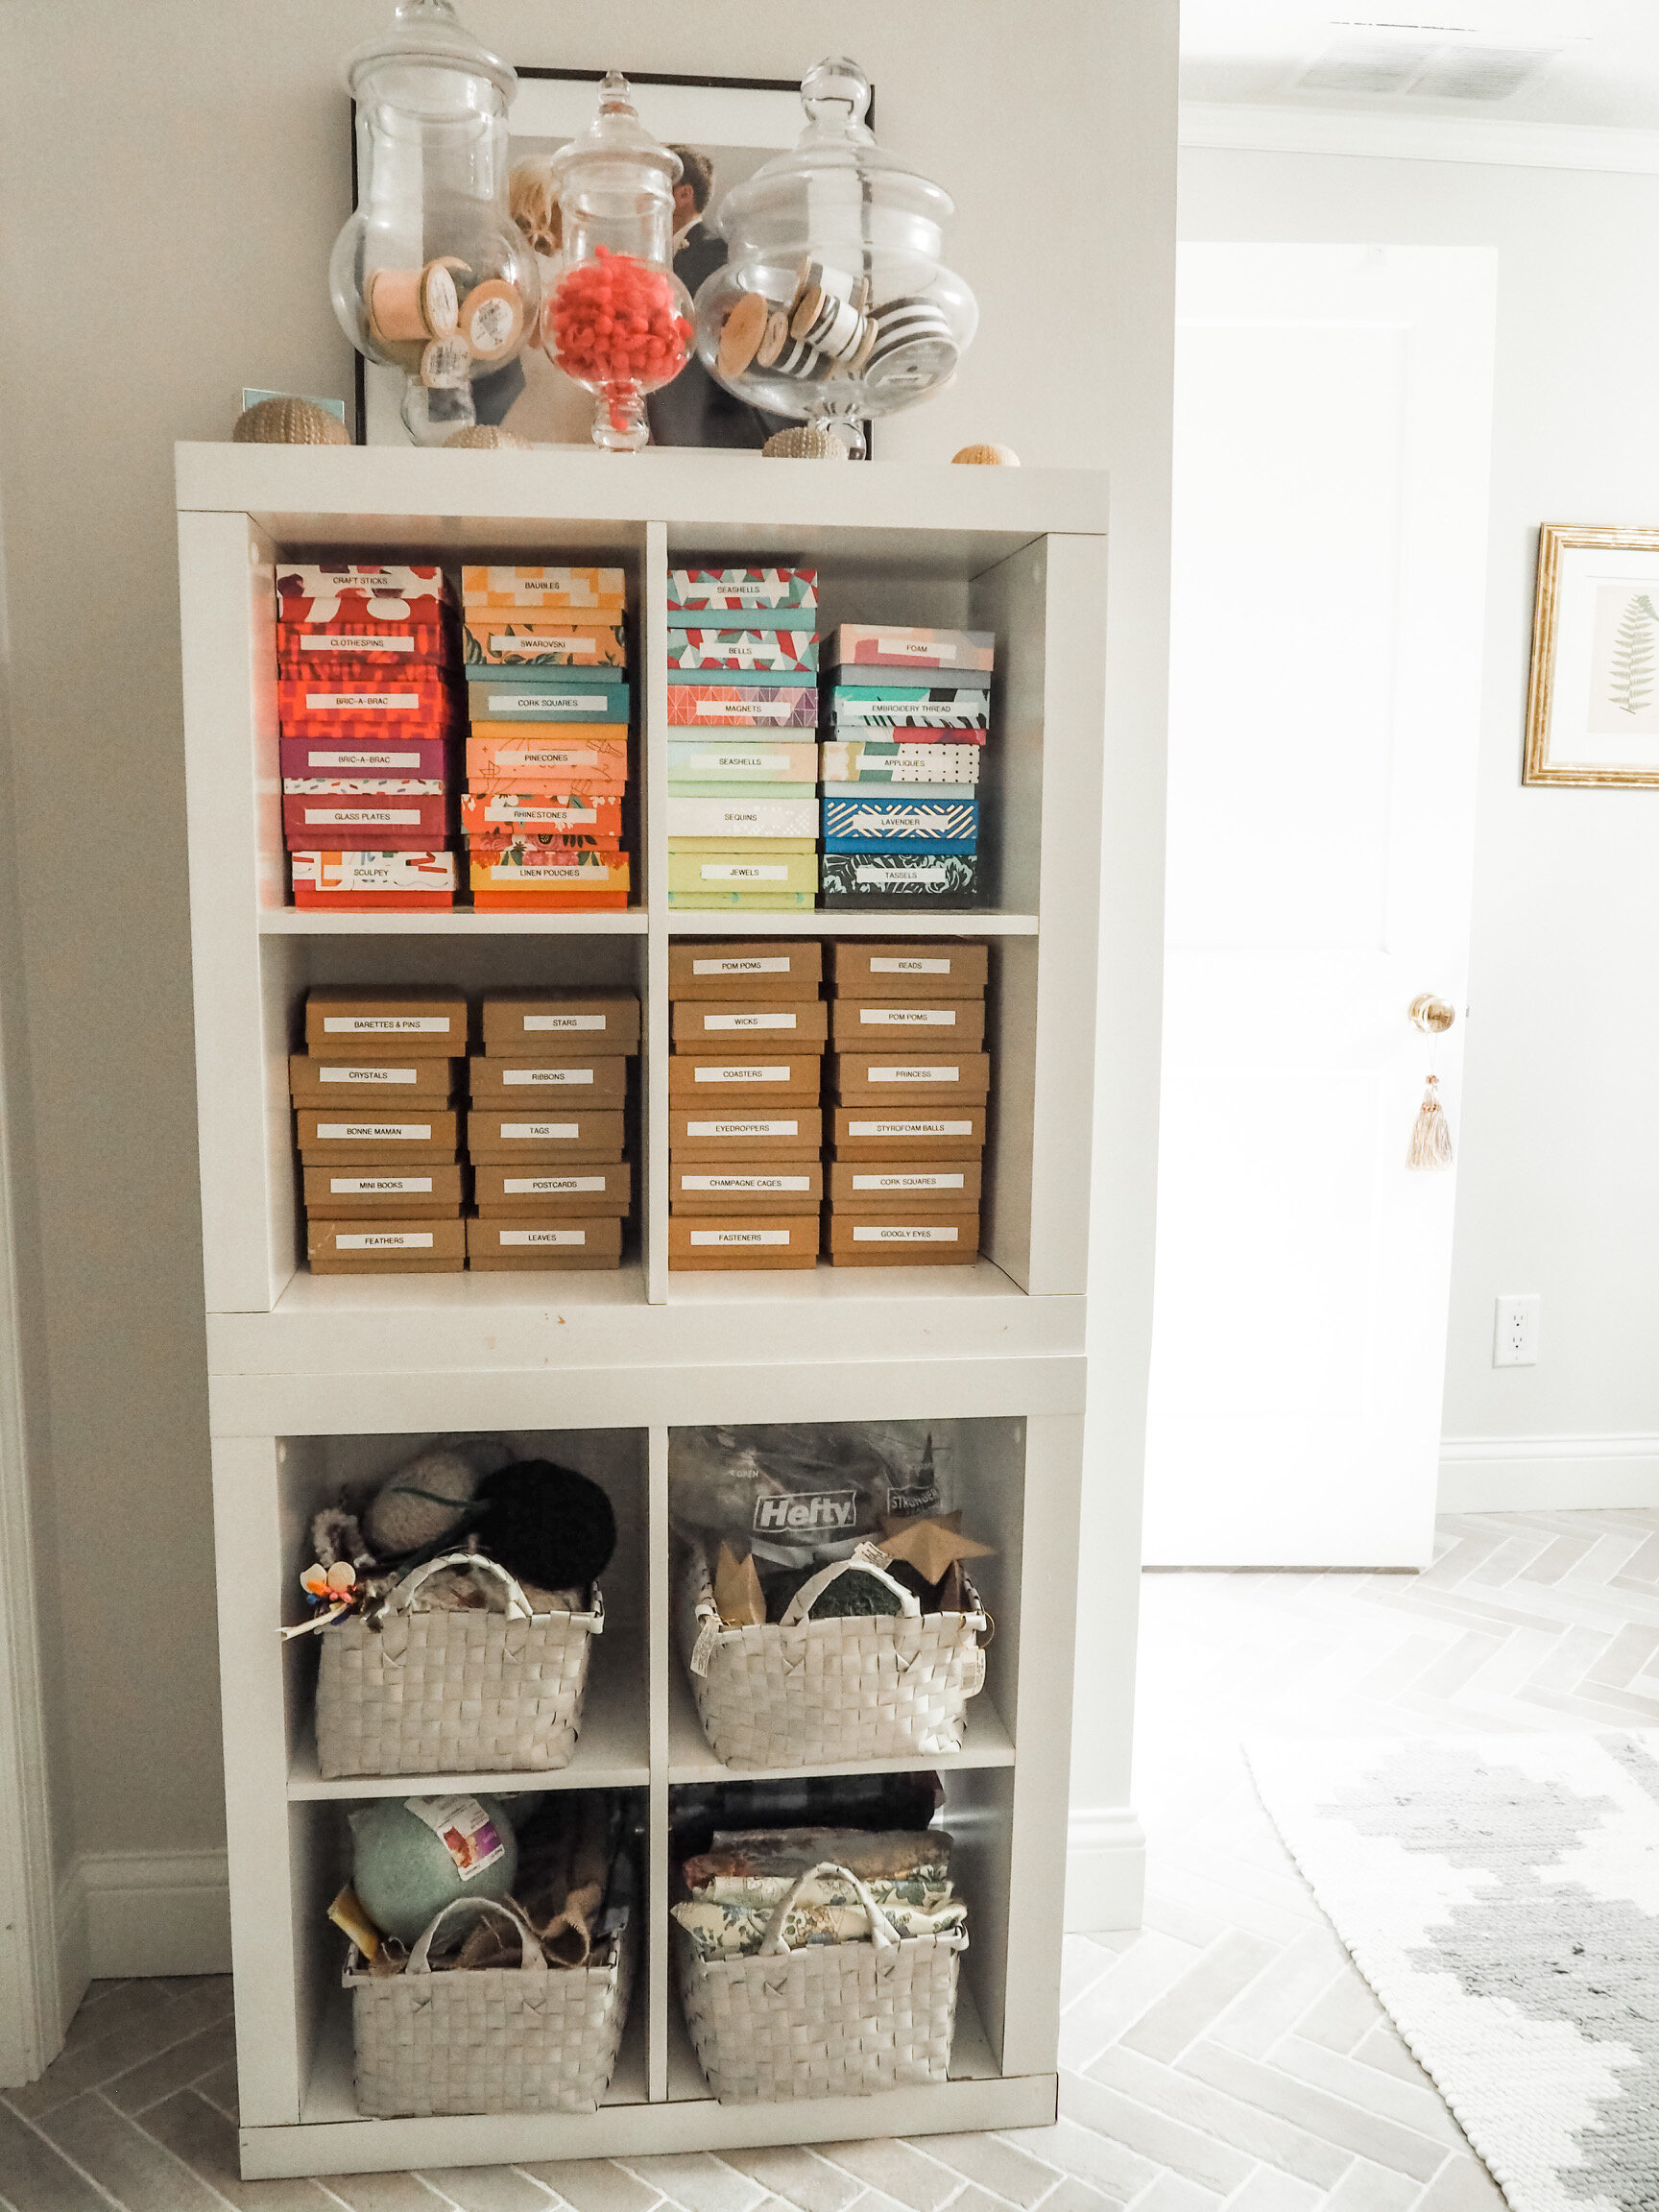
I subscribed to Birchbox for a little while and saved all my boxes. I found a great use for them by using to corral miscellaneous craft supplies that used to live in a jumbled bin from googly eyes to Sculpey clay. Beneath are woven baskets that hold floral design supplies, fabrics, and knitting materials.
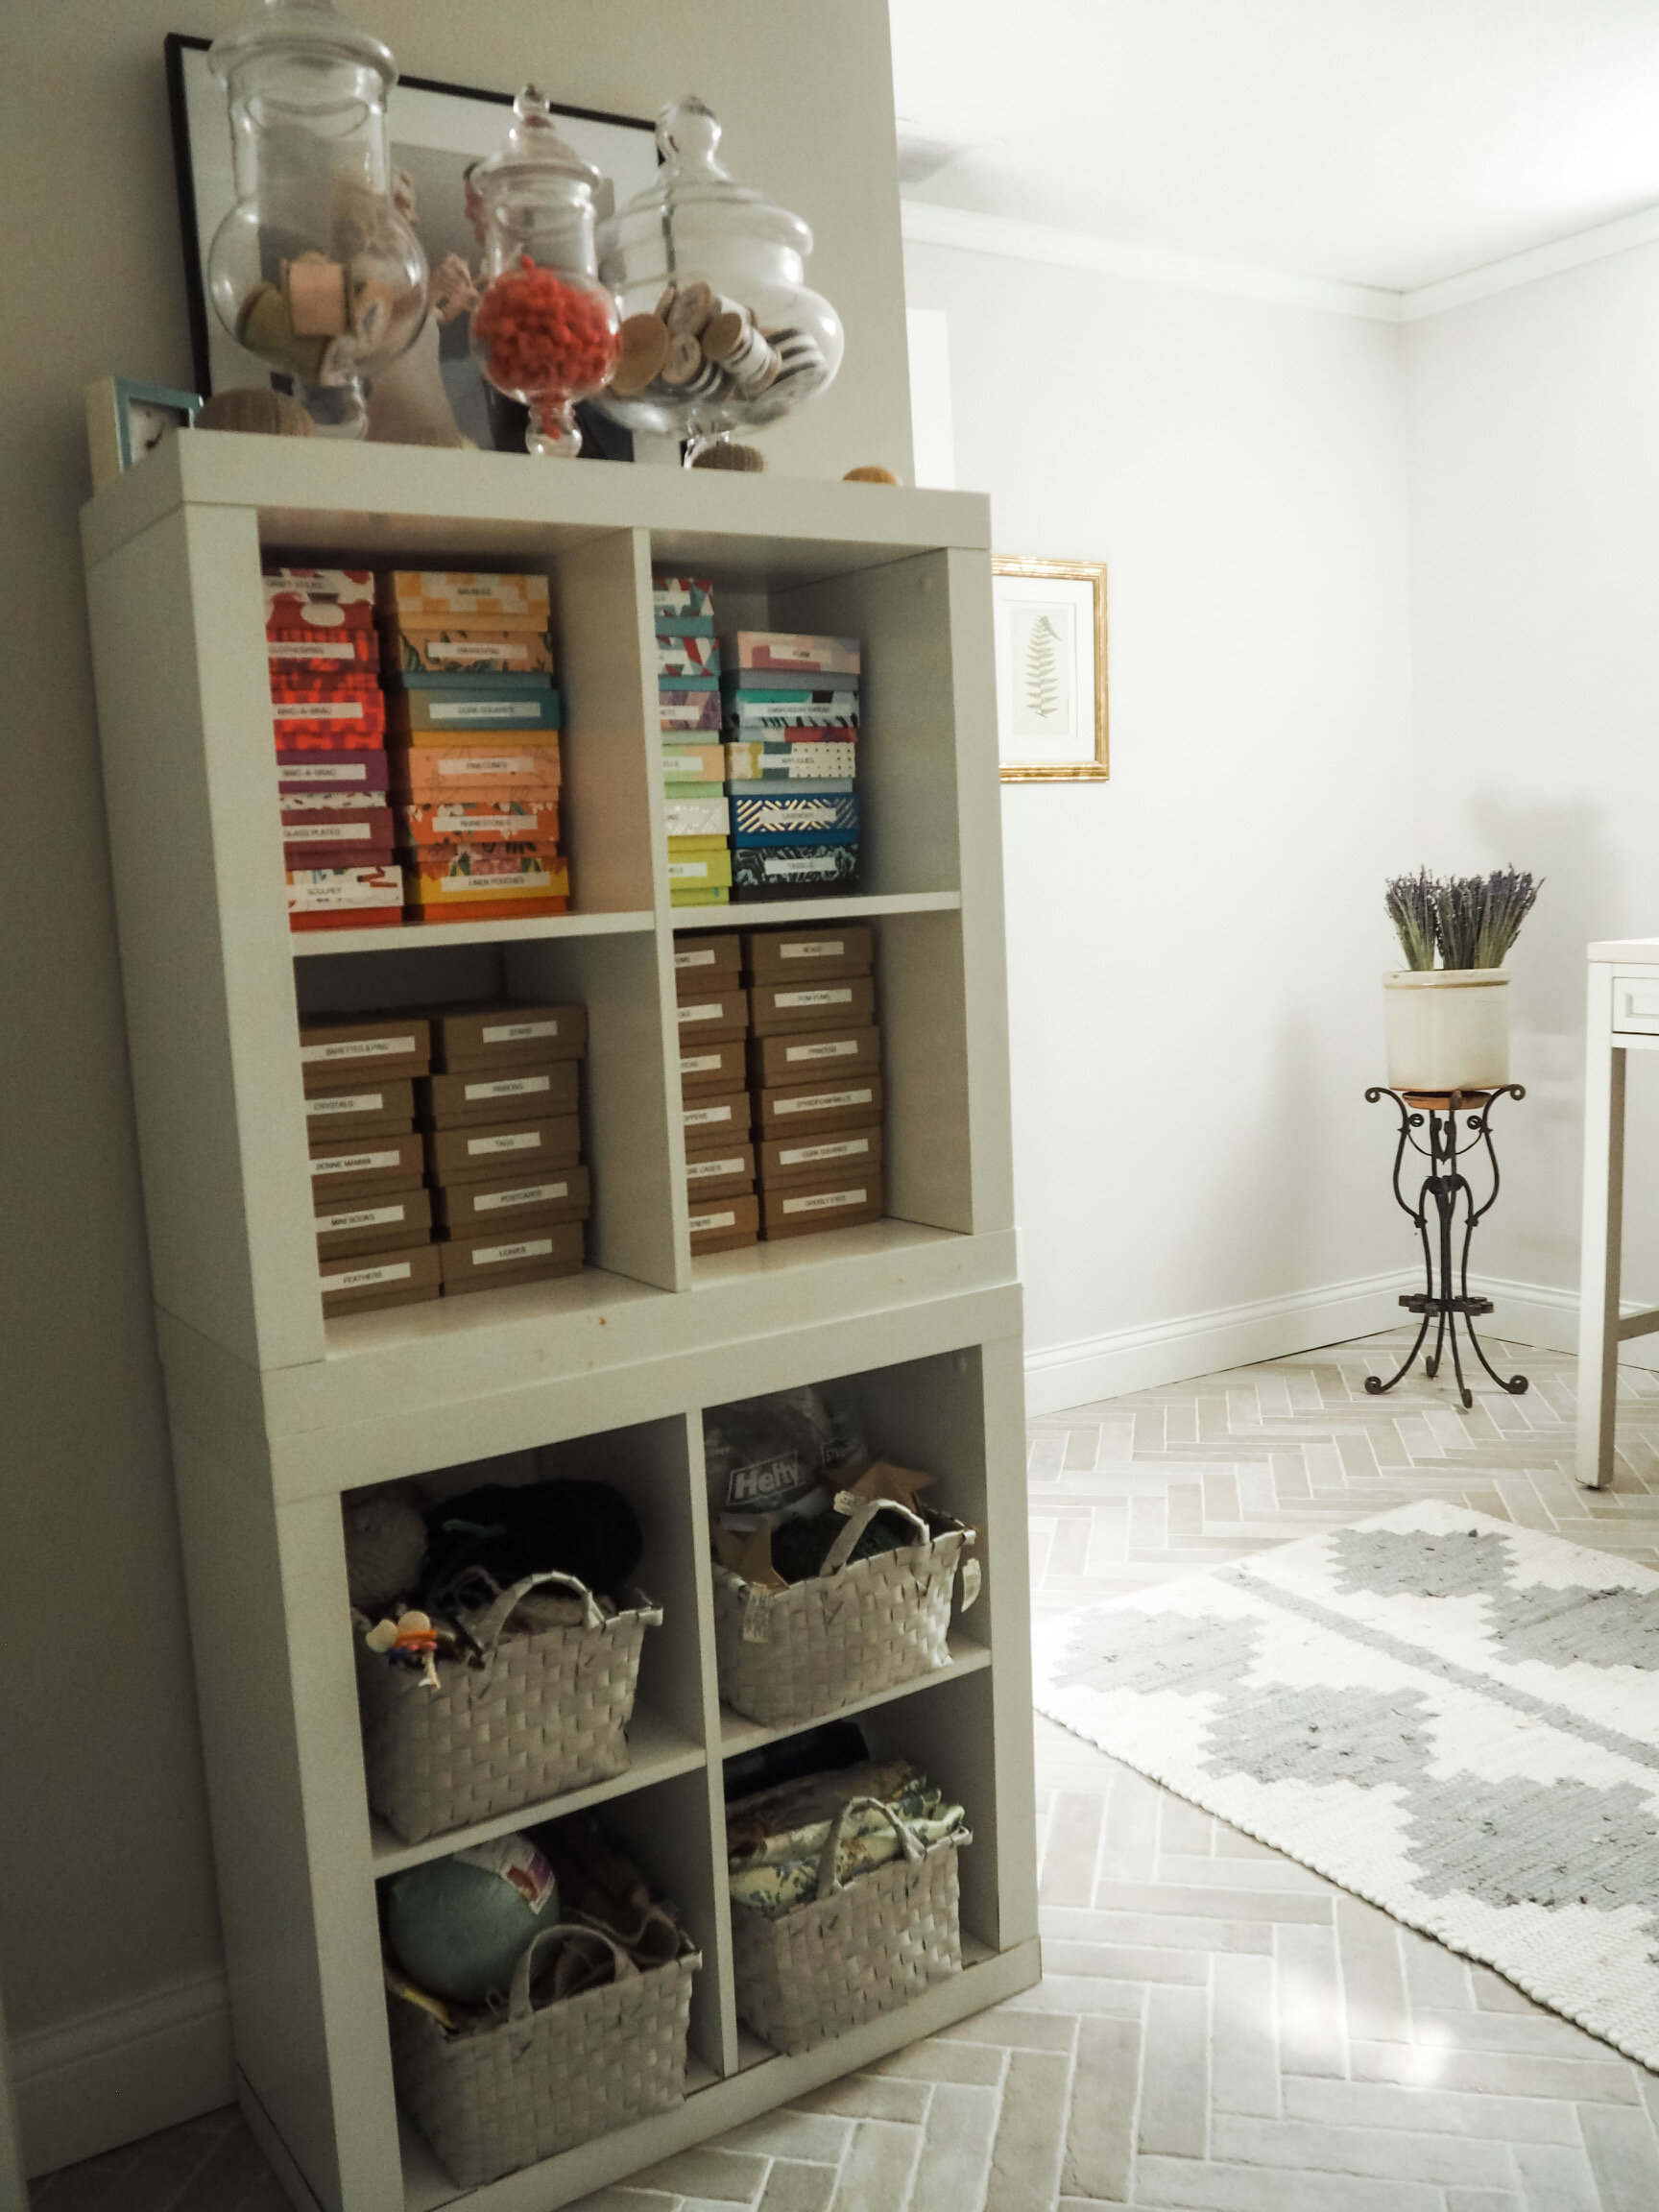
Atop the double-stacked cube shelving is an assortment of apothecary jars that hold pretty ribbons and trims.

I have a little bit of wrought iron in each area of our newly finished basement. It is represented in the craft room by this antique wrought iron plant stand that holds a crock filled with dried lavender. Not only does it smell wonderful, I like to take a sprig to tie to packages or baked goods.
Throughout the basement before was wainscoting halfway up the wall (which we scrapped) and chair rail trim bisecting the wall. We repurposed the chair rail as “crown molding” in the craft room, powder room and guest bedroom, and added a thicker 4” baseboard throughout.
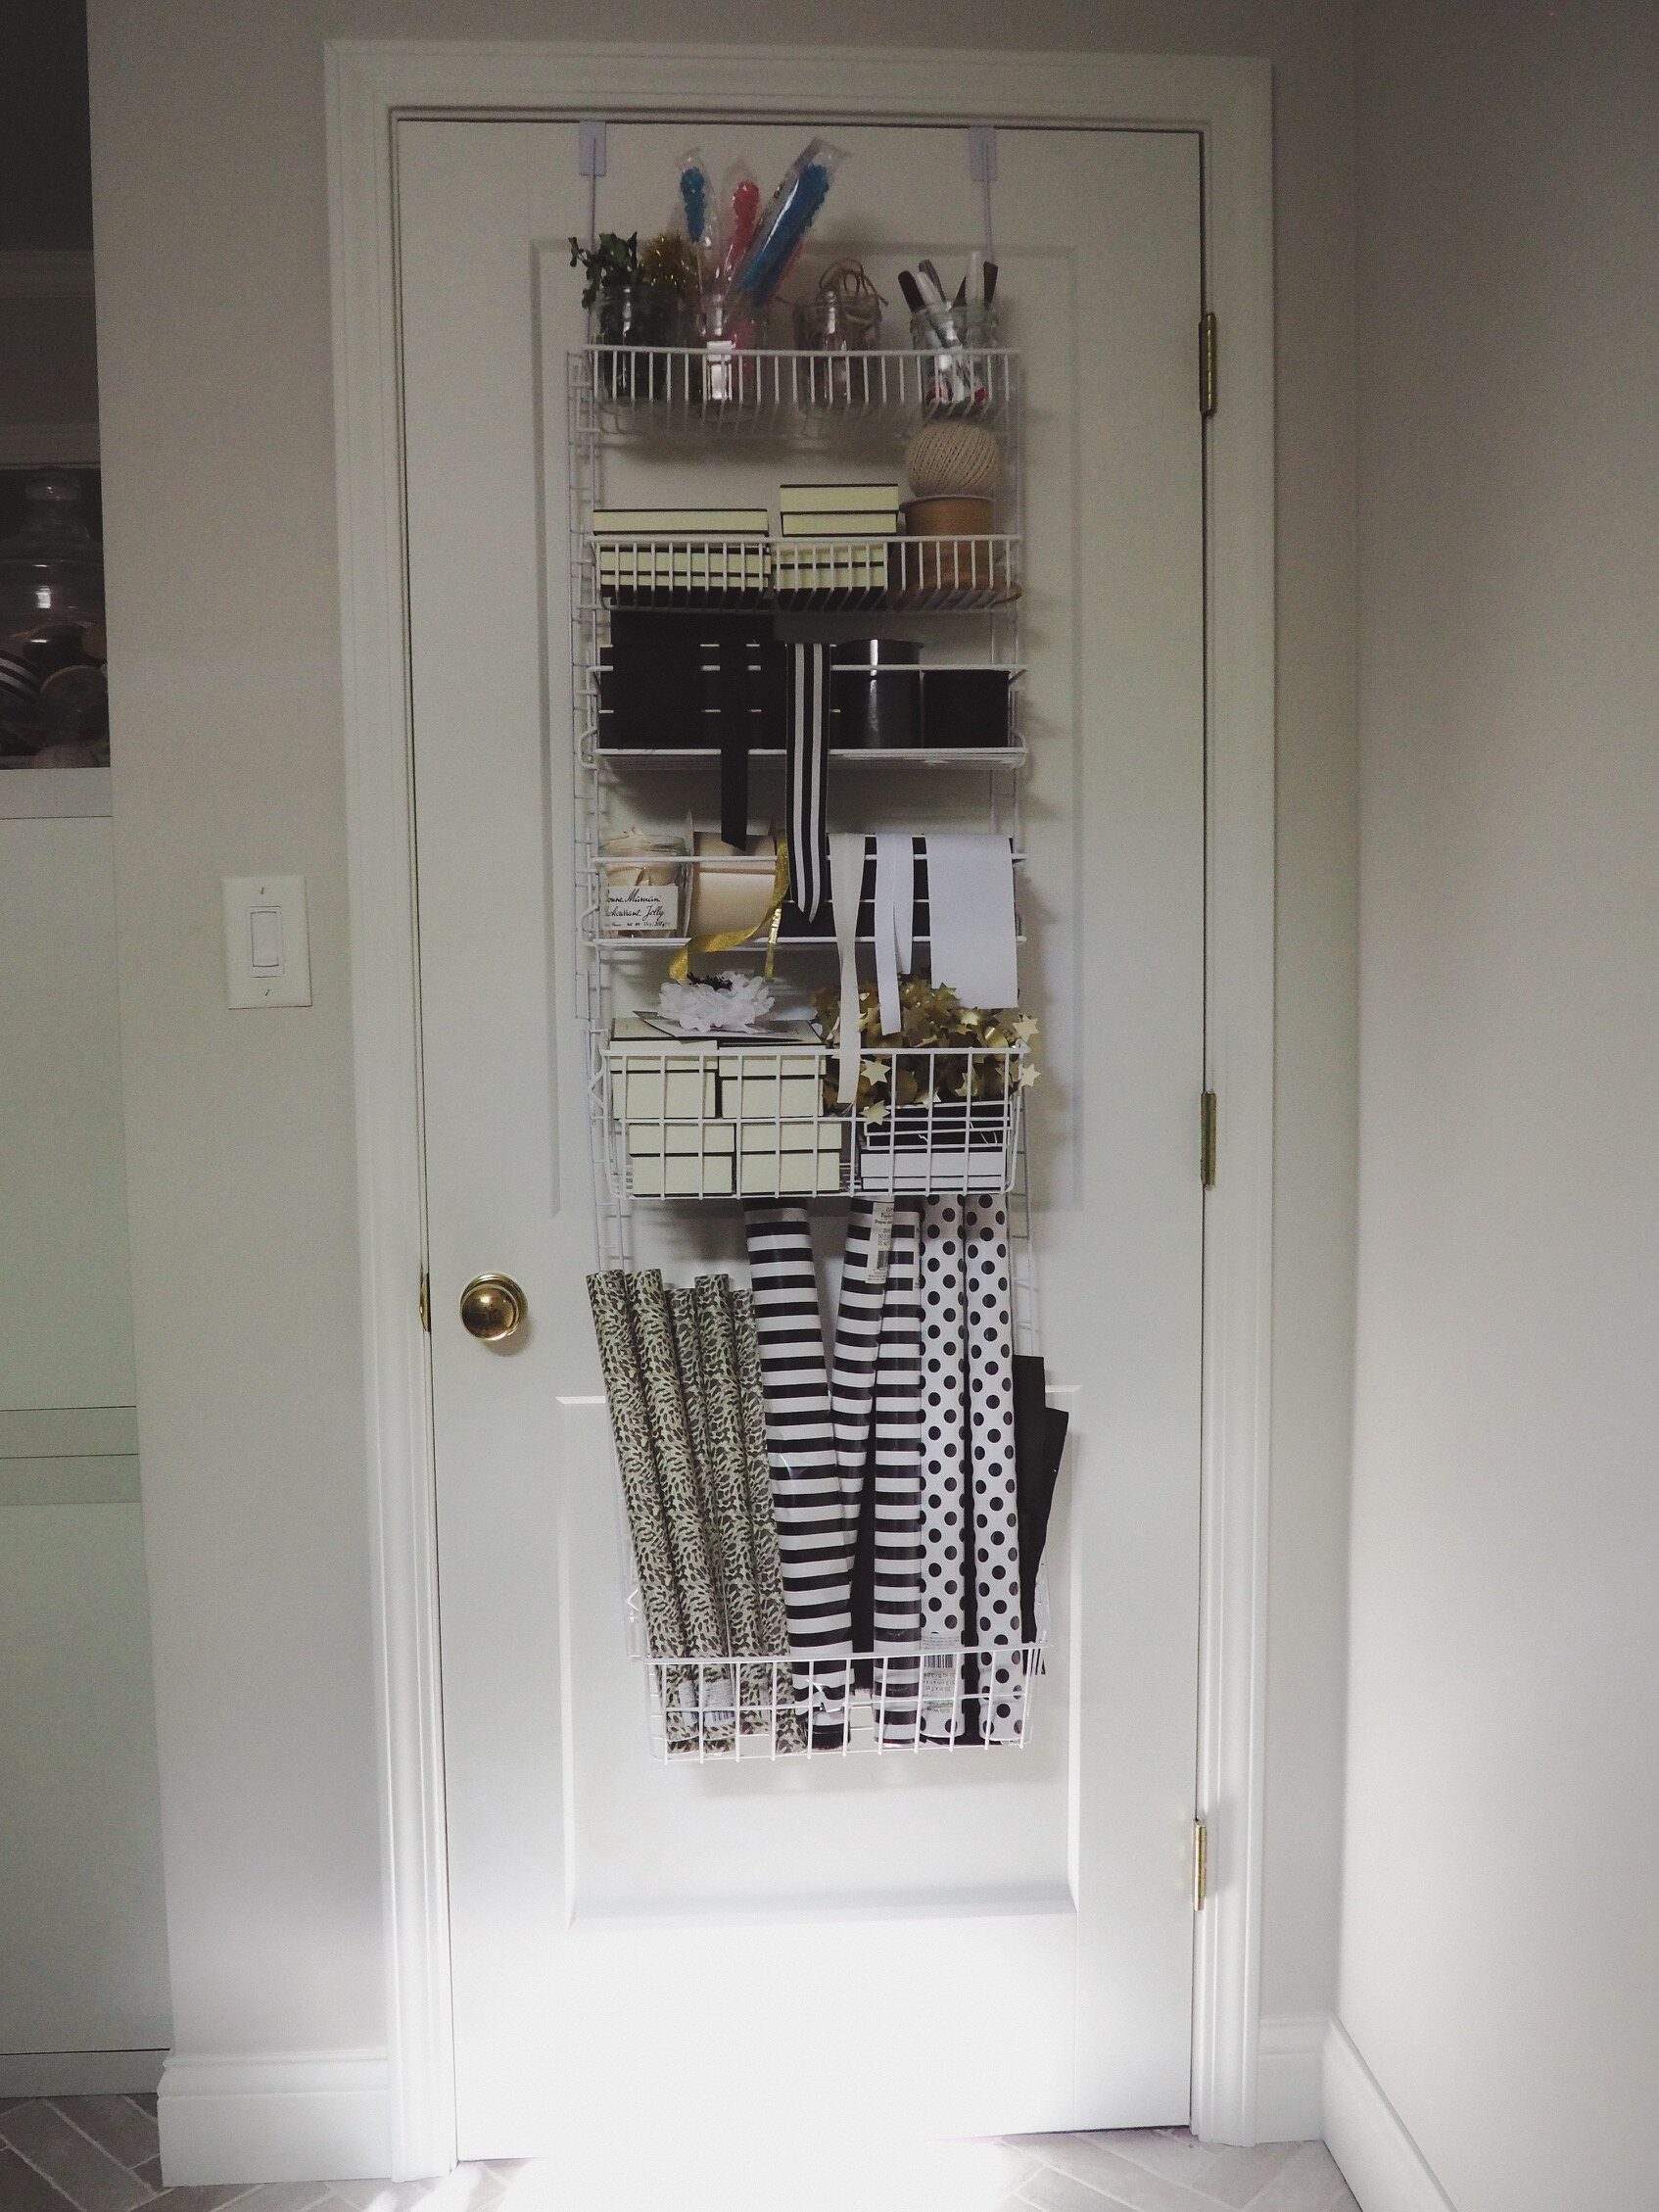
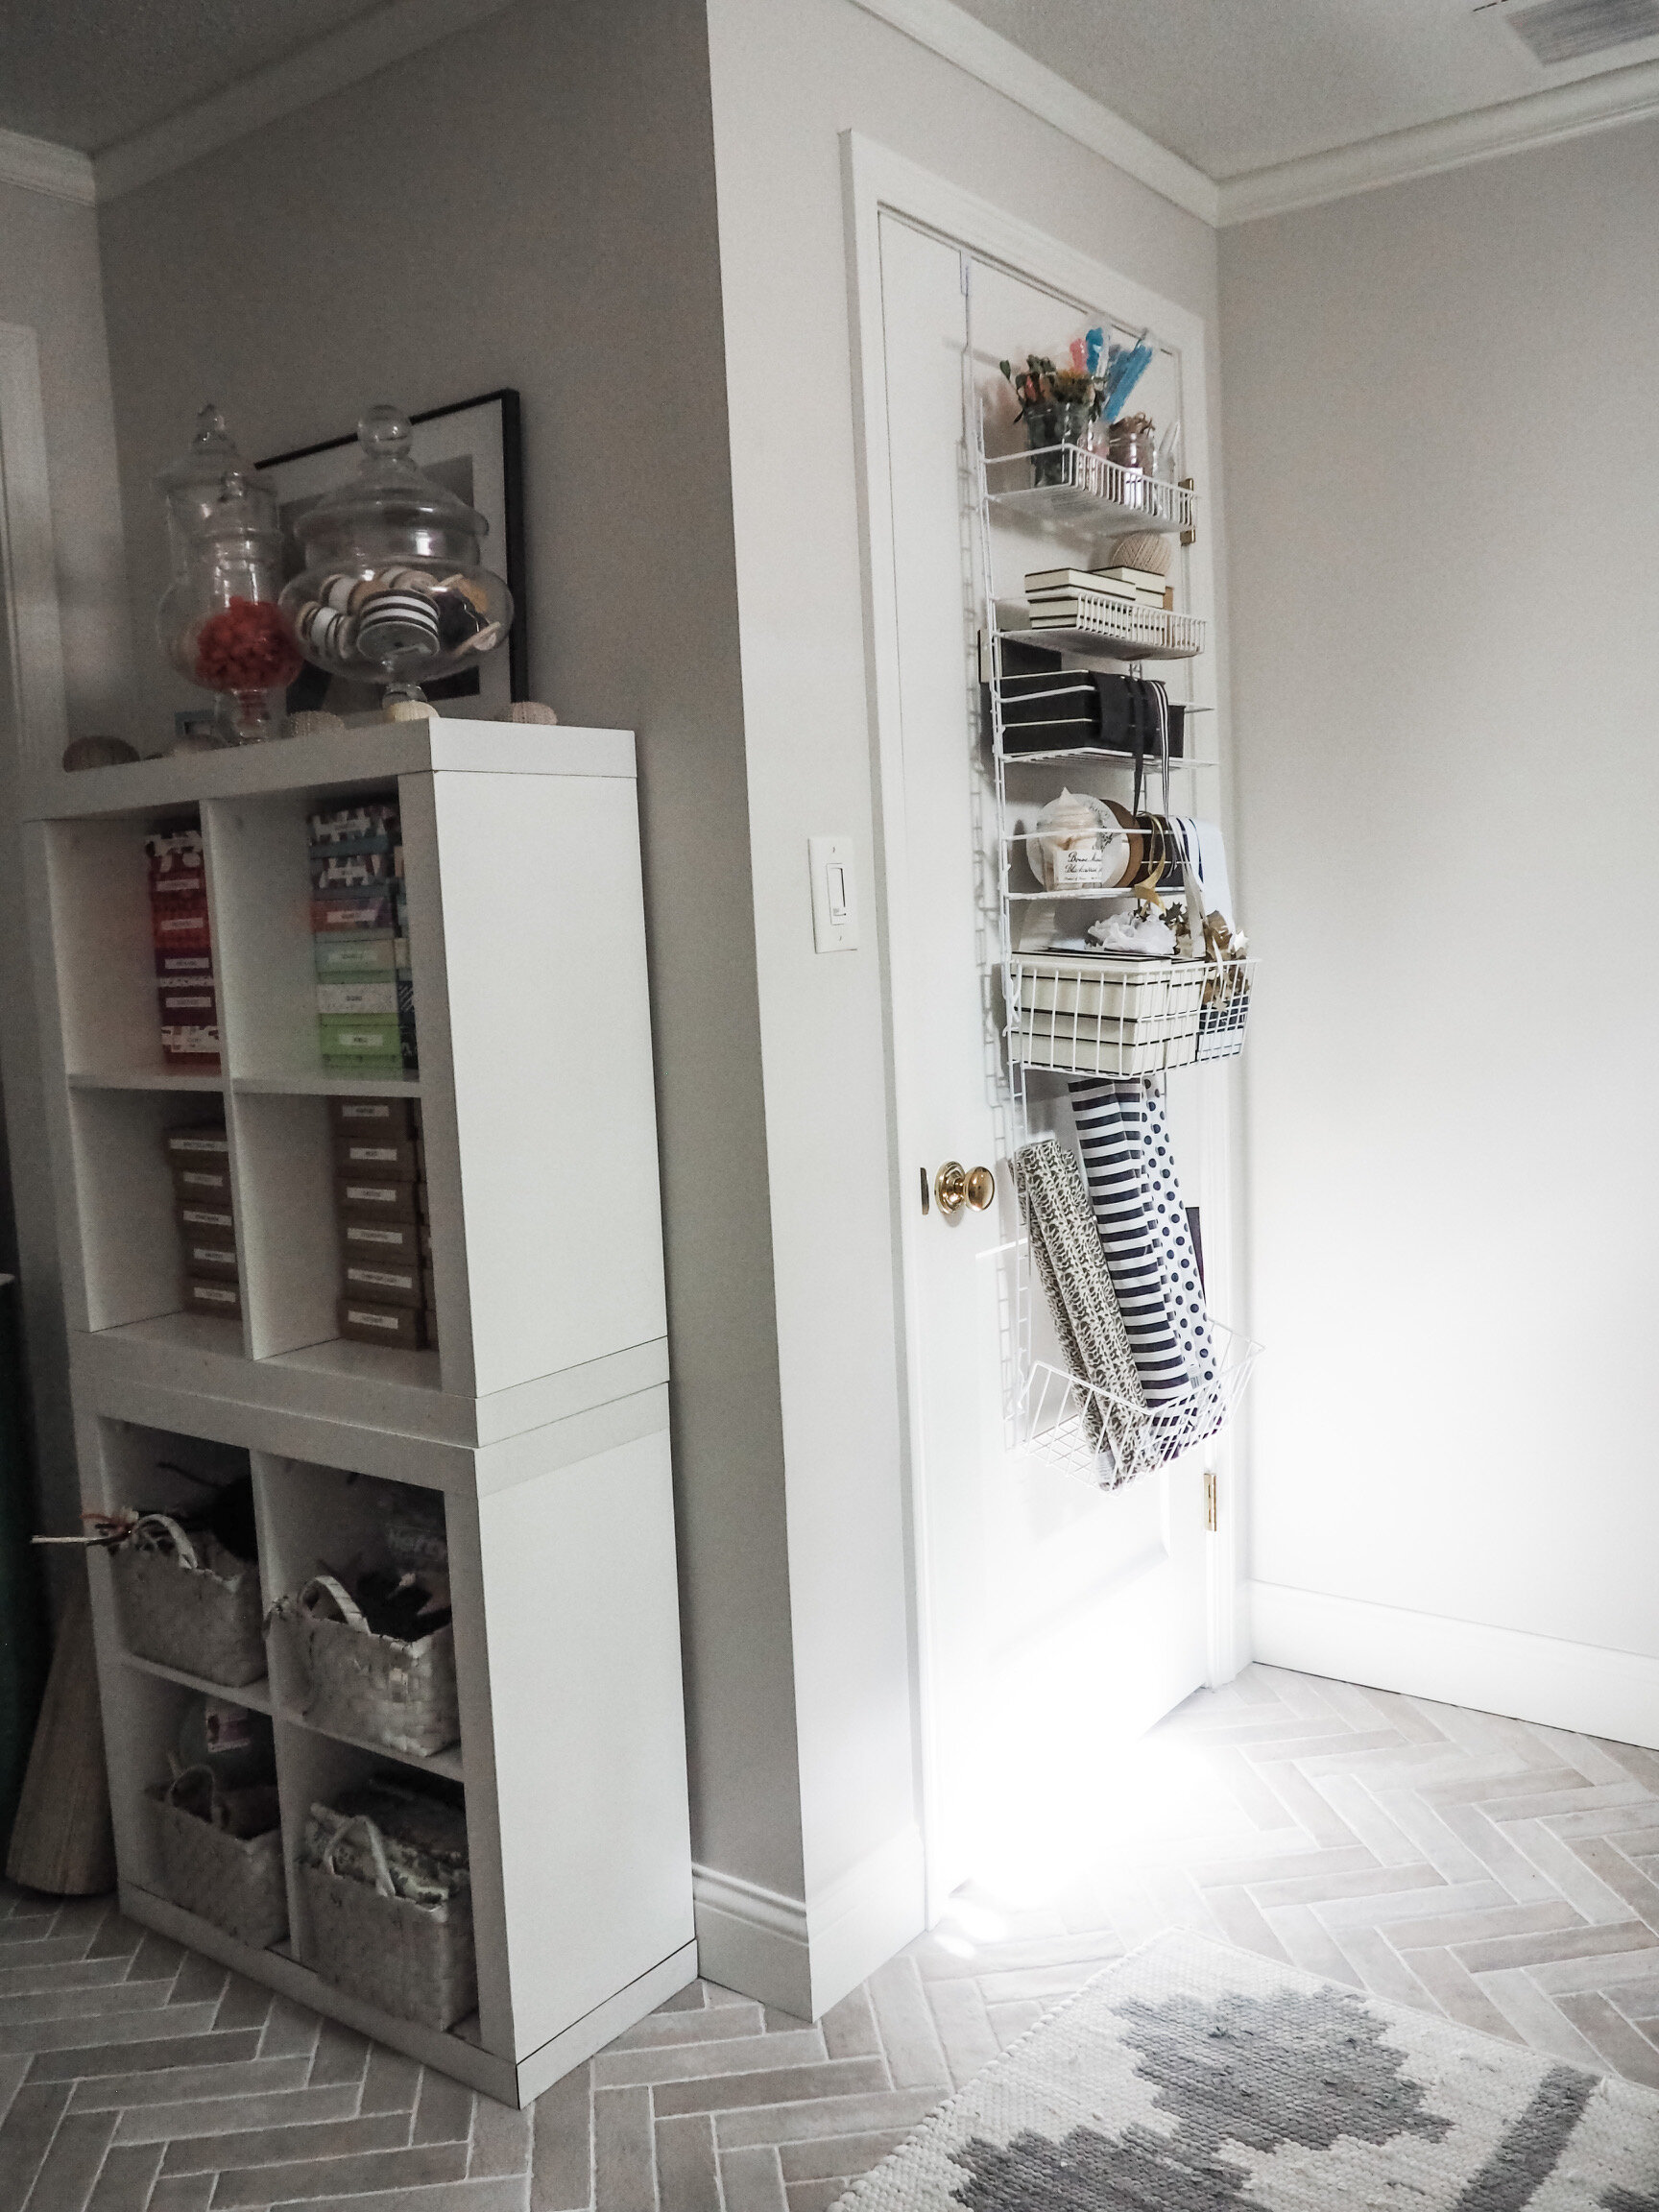
My primary gift wrap station, which I wrote about here
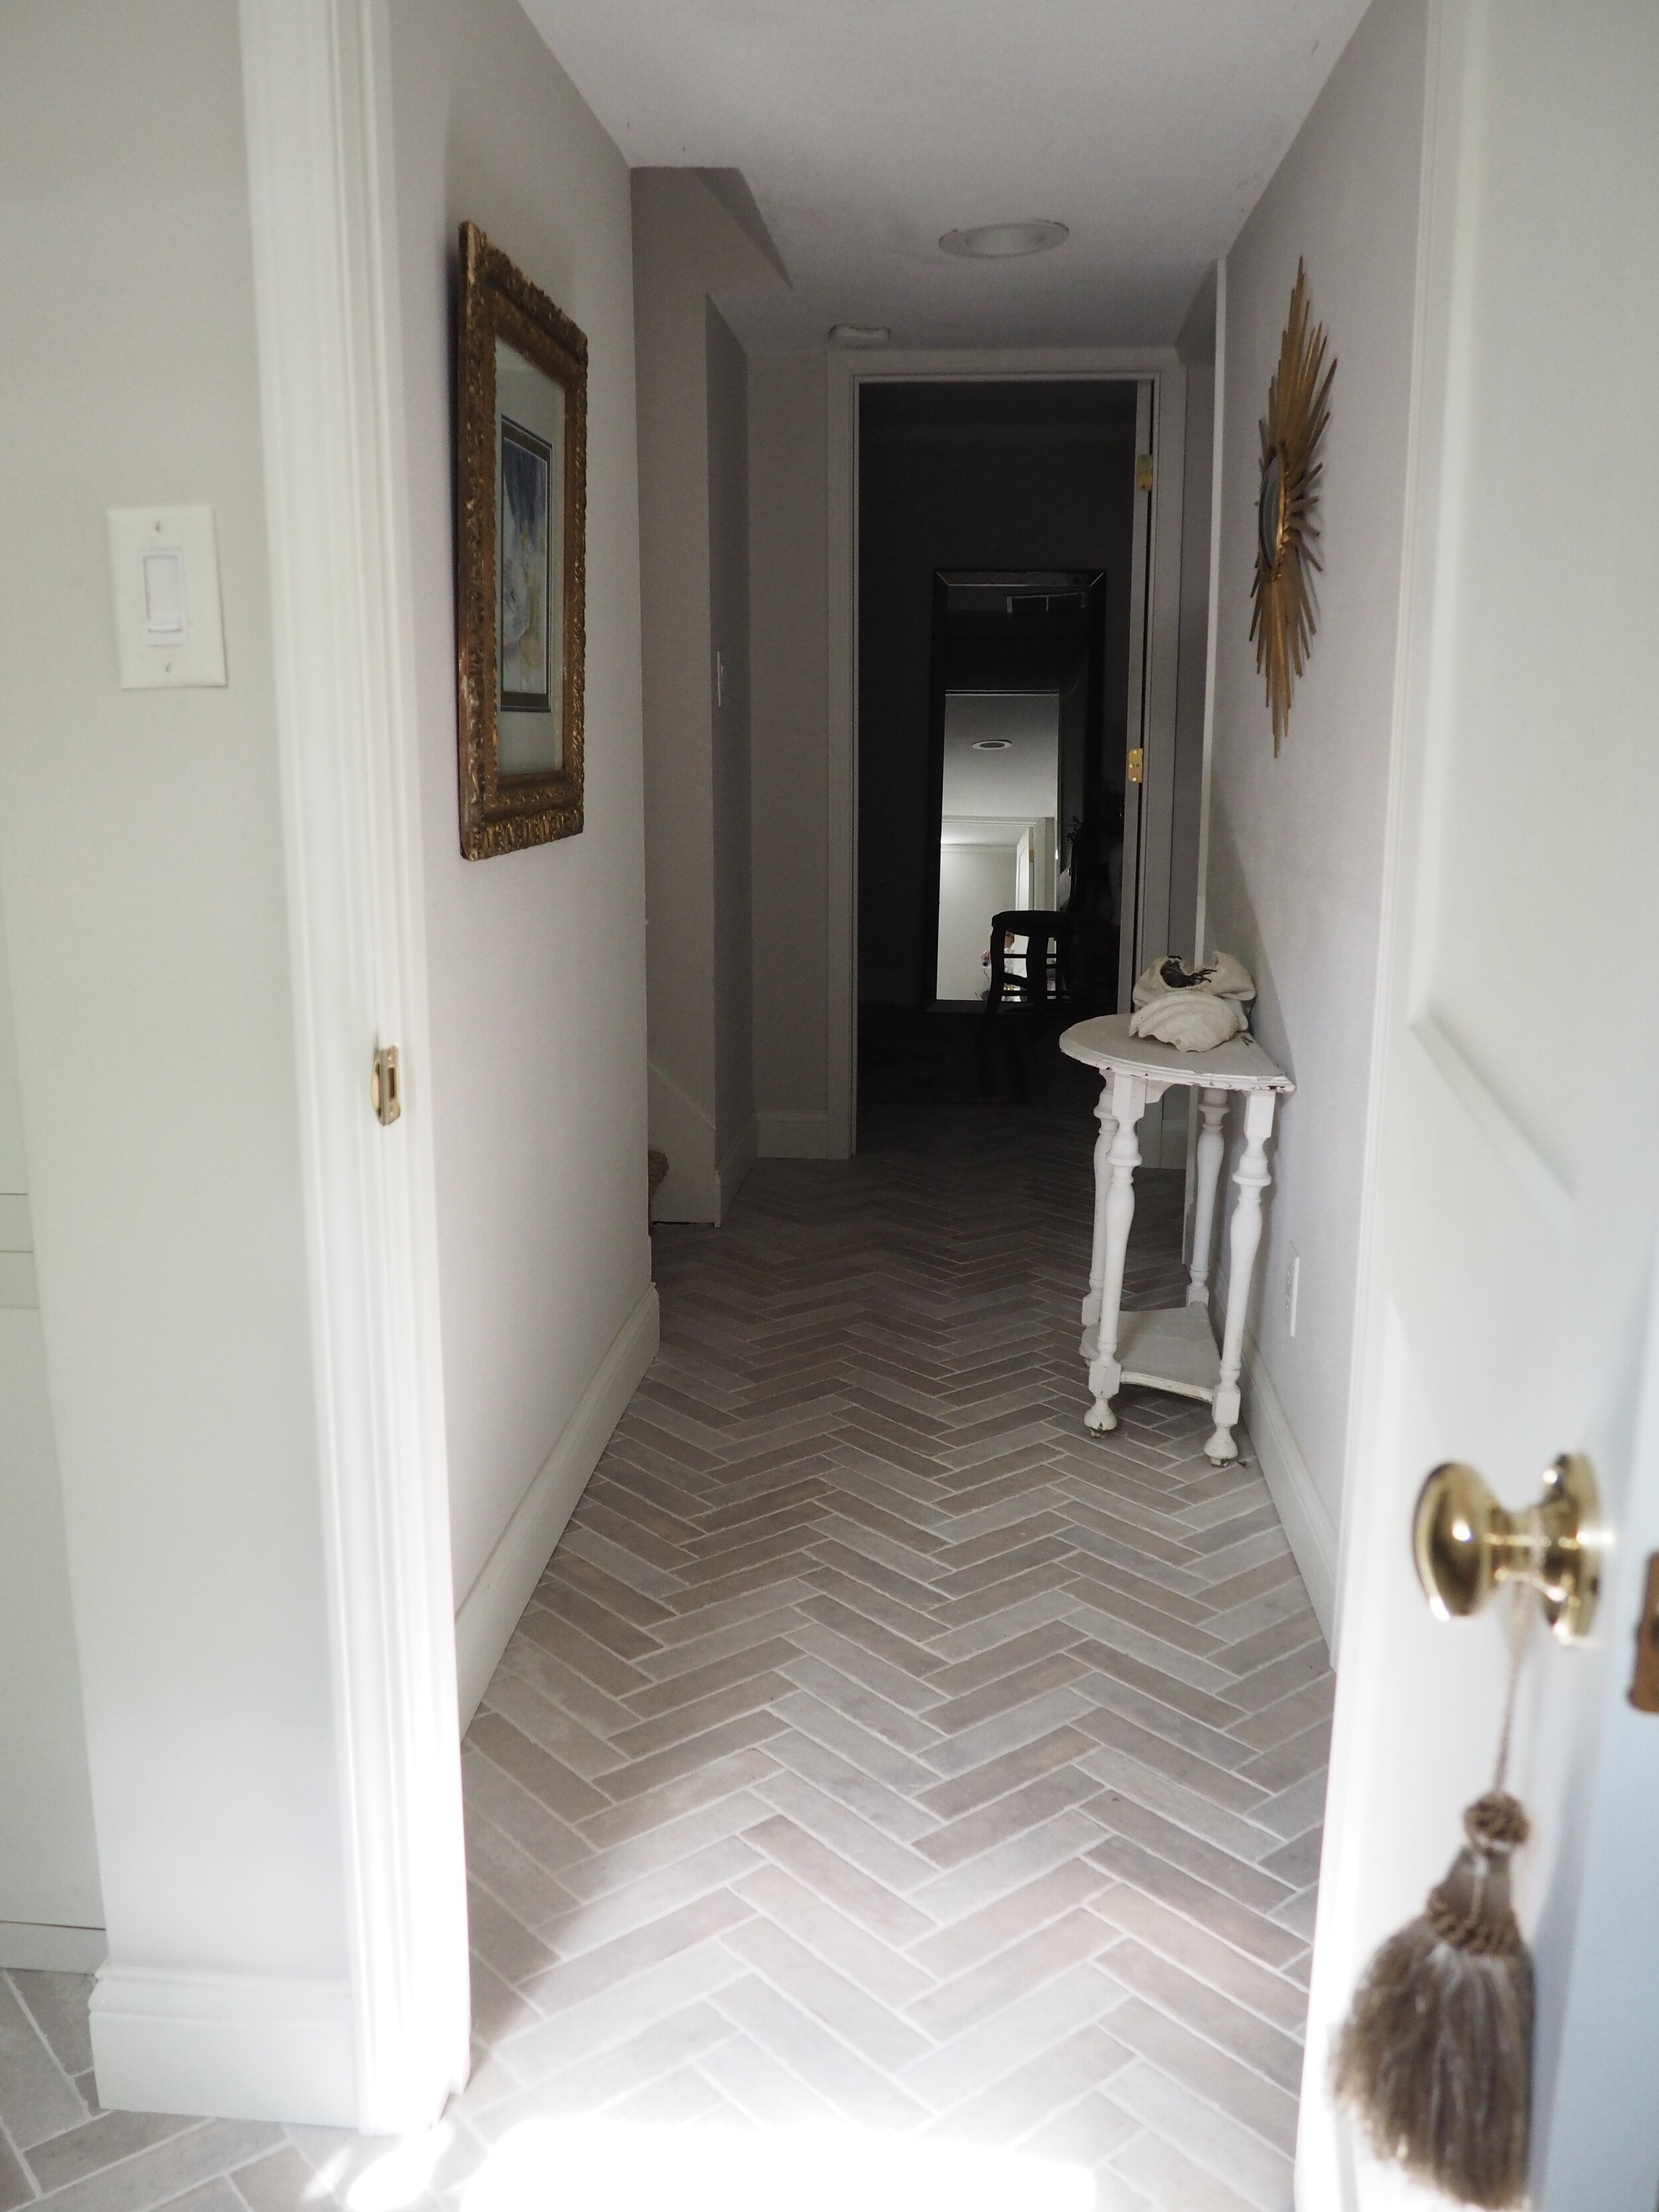
Hallway leading to our guest room
Stay tuned for my next post where I’ll be sharing images and sources for our new Guest Suite!