Starting Seeds Indoors
March 29, 2018
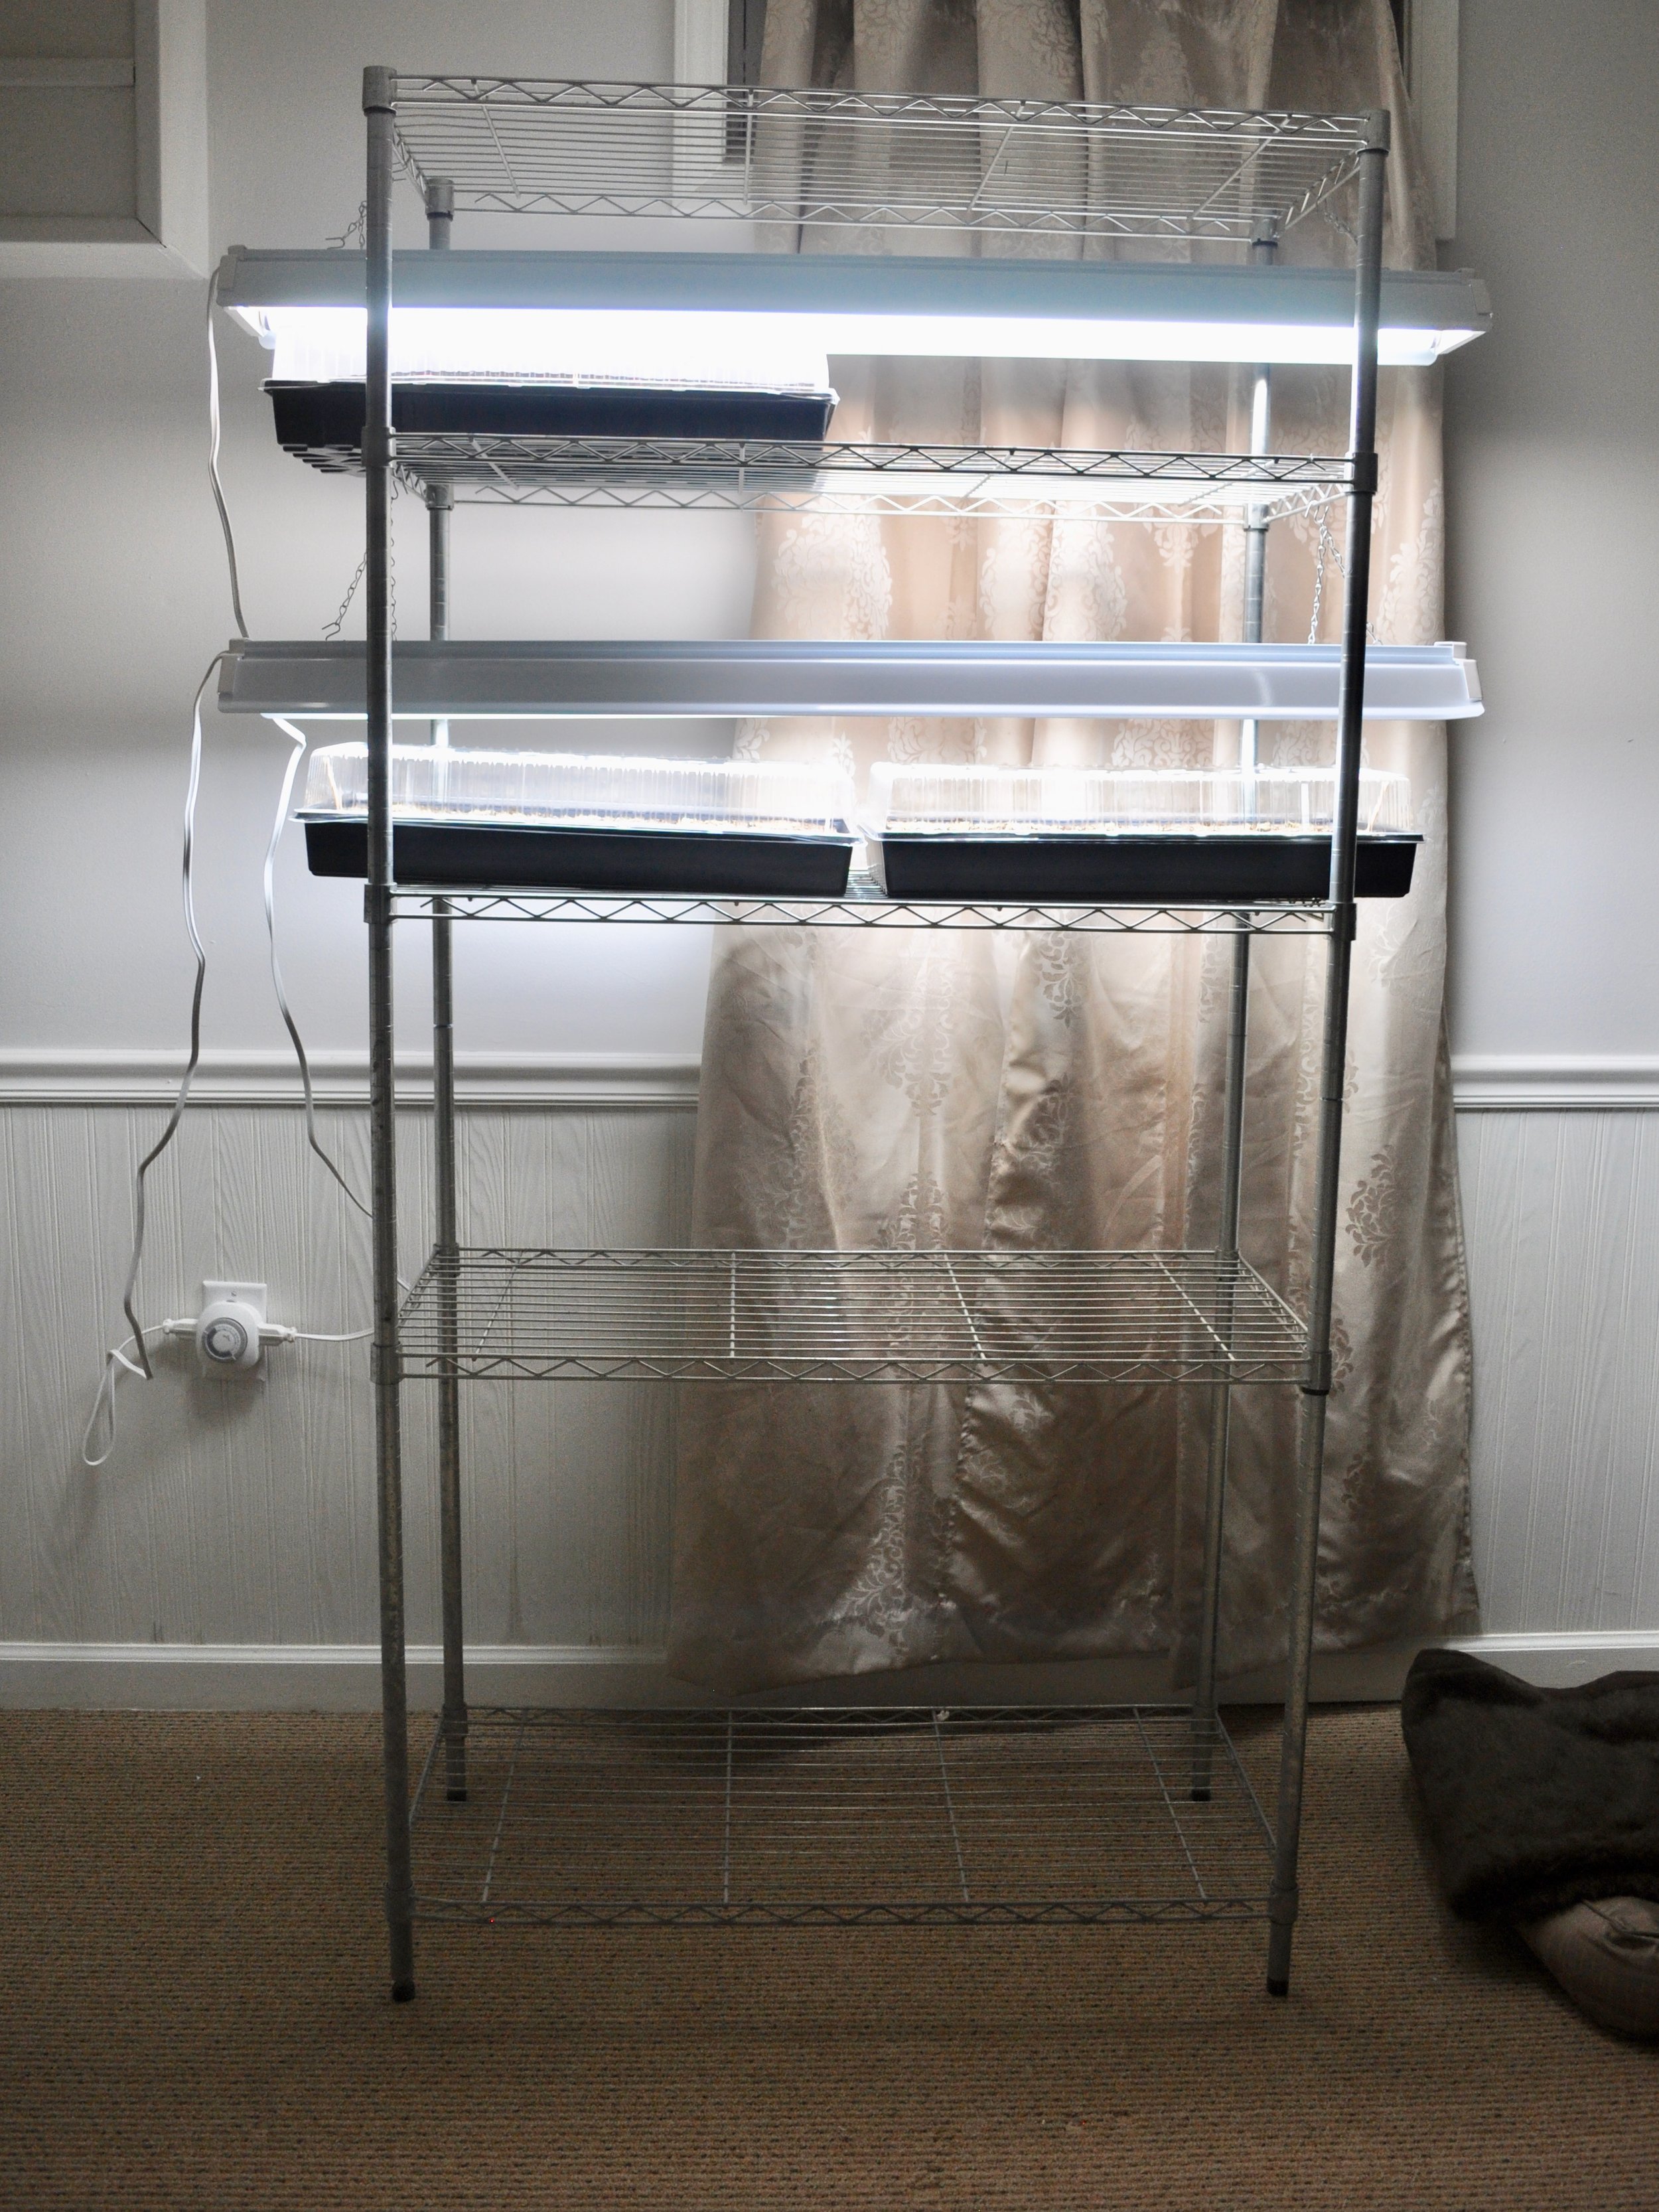
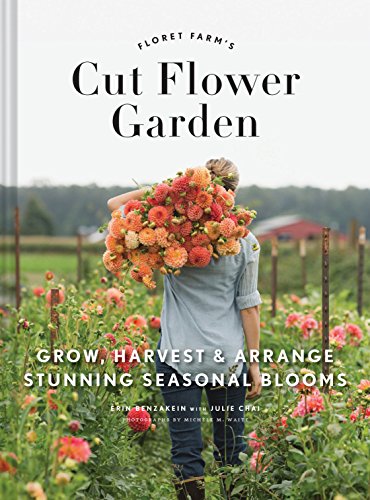
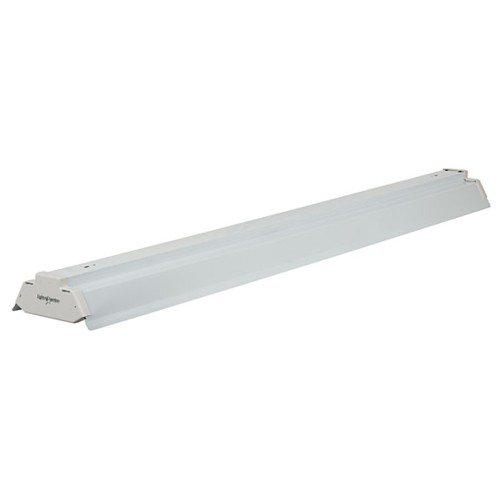
About the time the seed catalogs arrive mid-winter, I get very excited. Even though I enjoy the changing seasons in the Midwest, it’s hard to go so many months without watching things grow and making a bouquet from what’s in bloom. Growing from seed affords you a wealth of varieties that are not available as plants in stores during the season, so the possibilities of what you can grow in your garden are great. I have started seeds indoors for a few years now (tomatoes and cutting flower varieties mostly), but with poor results because I have never had a proper setup. Starting seeds in trays with only the natural light streaming in through your windows yields leggy, weak plants that are trying to stretch towards their light source, and end up being poor transplants, despite my care. In doing some research, I found a way to create an indoor greenhouse with an upfront investment under $100 (compared to indoor greenhouse kits in the $400 range) with a metal shelving unit, fluorescent shop lights, seed trays with lids, and a timer which I have set on for 16 hours. I use 6500K light temperature bulbs which have a cool, blue wavelength that is said to assist with seedling growth as opposed to a lower temperature light (red wavelength) which are better for the flowering process. Since I’m planning to move these plants outdoors for flowering and not growing them to flower indoors, I stick with the cooler lights. In researching the actual seed stating process, I got so much help from Floret Farm’s very beautiful and visual book, Cut Flower Garden (linked below). With this setup in place, here are my tips for starting seeds successfully:
-
Know your last frost date and count the weeks backward from that estimate for an idea as to when to start your seeds (based on the seed pack). I use the Farmer’s Almanac where you can enter your ZIP code.
-
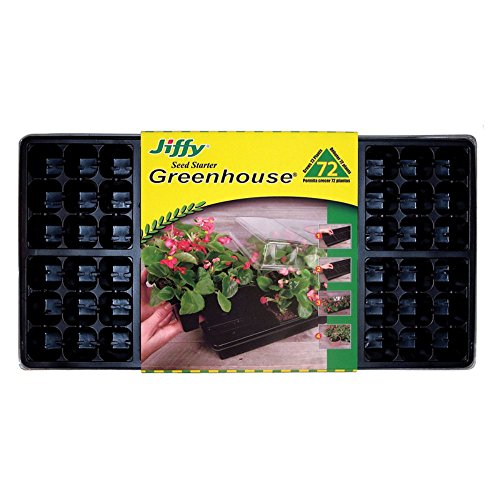
Use a 3-part greenhouse tray for starting your seeds that consists of a clear plastic dome, bottom tray, and cell tray for the plants.
-
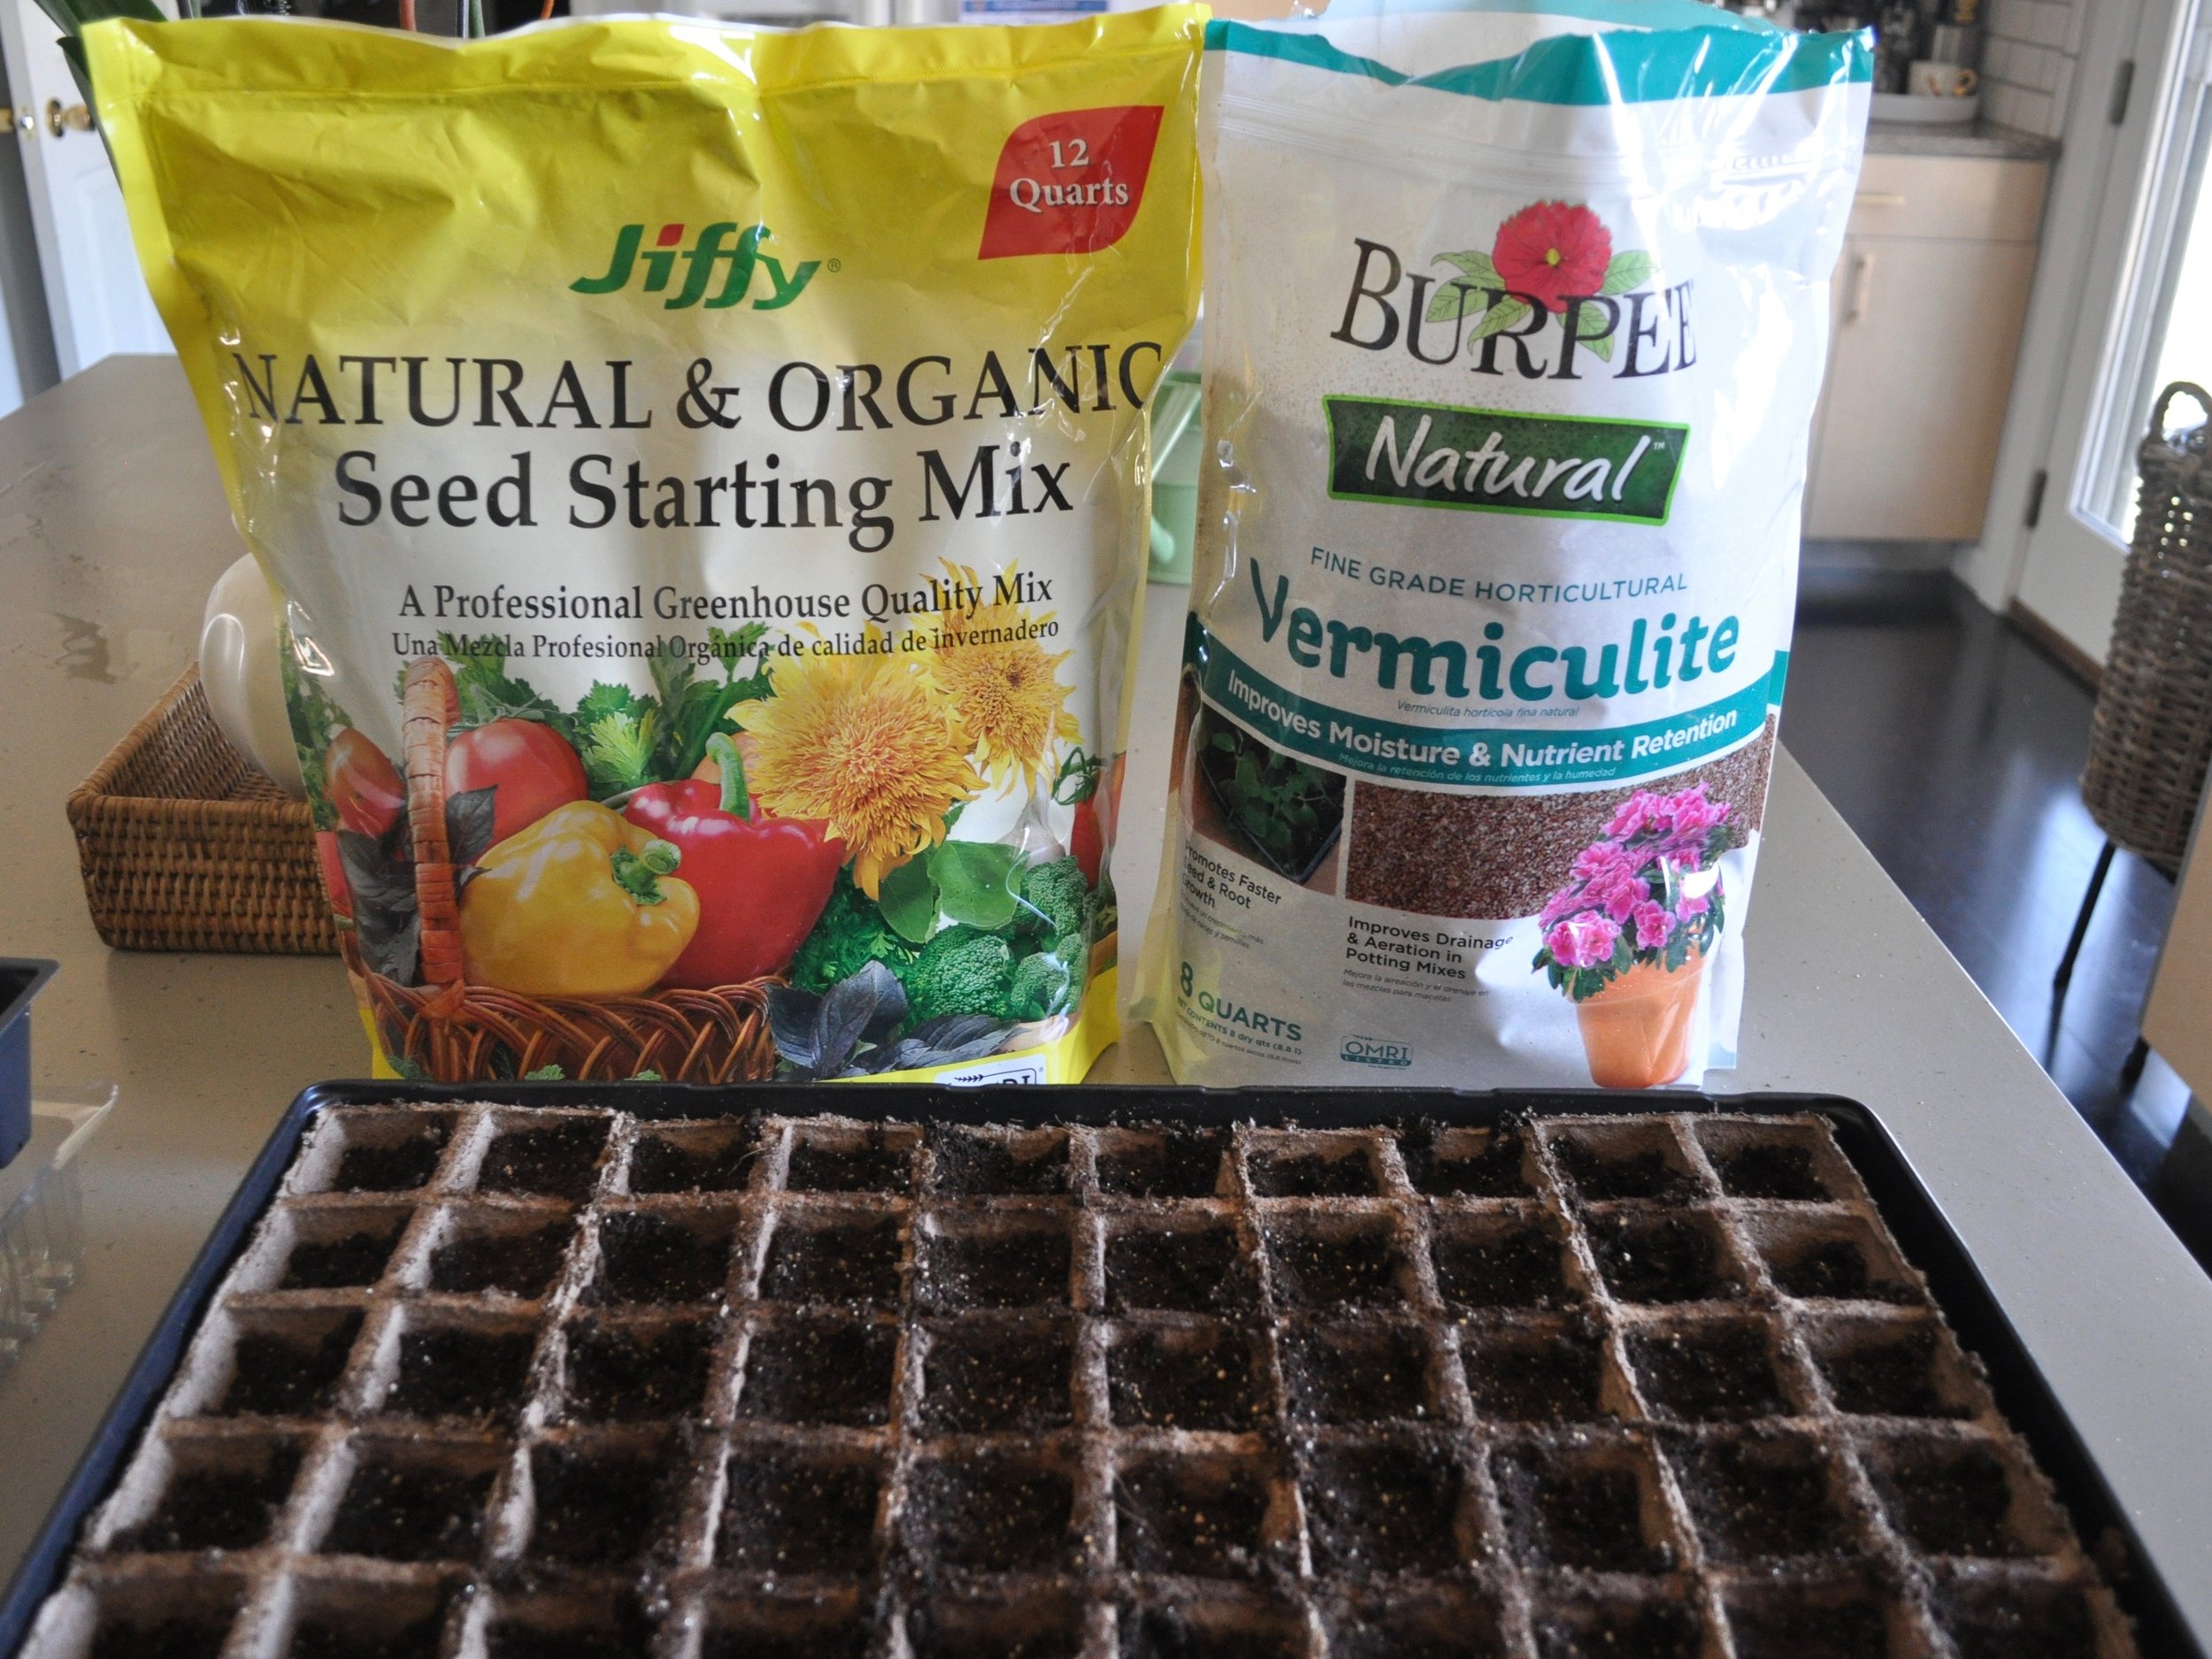
Moisten your seed starting mix prior to using. Doing so will keep your seeds from floating away when you water, and give them a head start. Pack your trays very tightly with seed mix eliminating air pockets. This action will make for secure roots and easier transplanting.
-
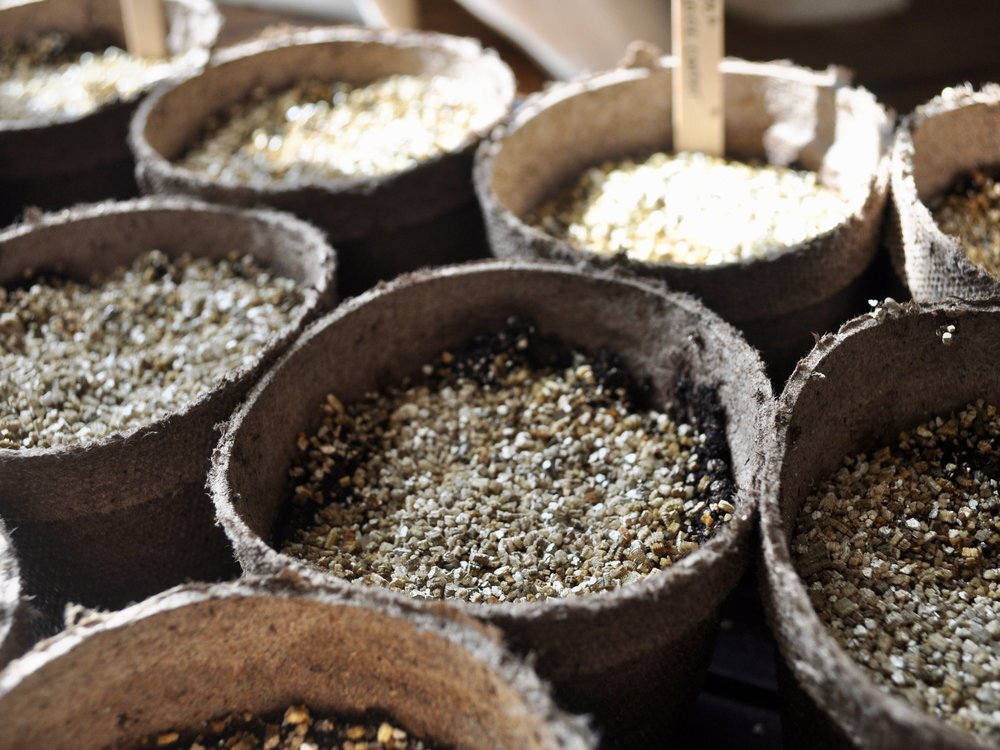
Use vermiculite to cover seeds instead of more soil. The vermiculite helps to create the dark cover needed for germination, and improves moisture retention.
-
Plant only one variety of seed per tray and label each with masking tape (variety and date) or a popsicle stick. Since germination rates vary by plant, and you’ll want to remove the dome once the seeds have germinated to prevent, it’s best to not threaten the success of one variety when another sharing the same tray is pokier at germinating. Leaving the dome on too long can kill seedlings.
-
Water from below by removing the plant cell pack and watering the tray below so the plants draw water from the roots. Watering from above can wash seeds to the sides of their cells. Check trays daily and adjust lights so they are only ever a couple of inches from the top of the plant.
-
Harden off plants before you transplant them to prevent shock by allowing the plant to adjust to outdoor temperature fluctuation. Start by moving the trays to a shady area outdoors for an hour and increase your time by an hour over the course of a week. Once the danger of frost is past, feel free to plant.