Seasoning Vintage Cast Iron
May 1, 2020
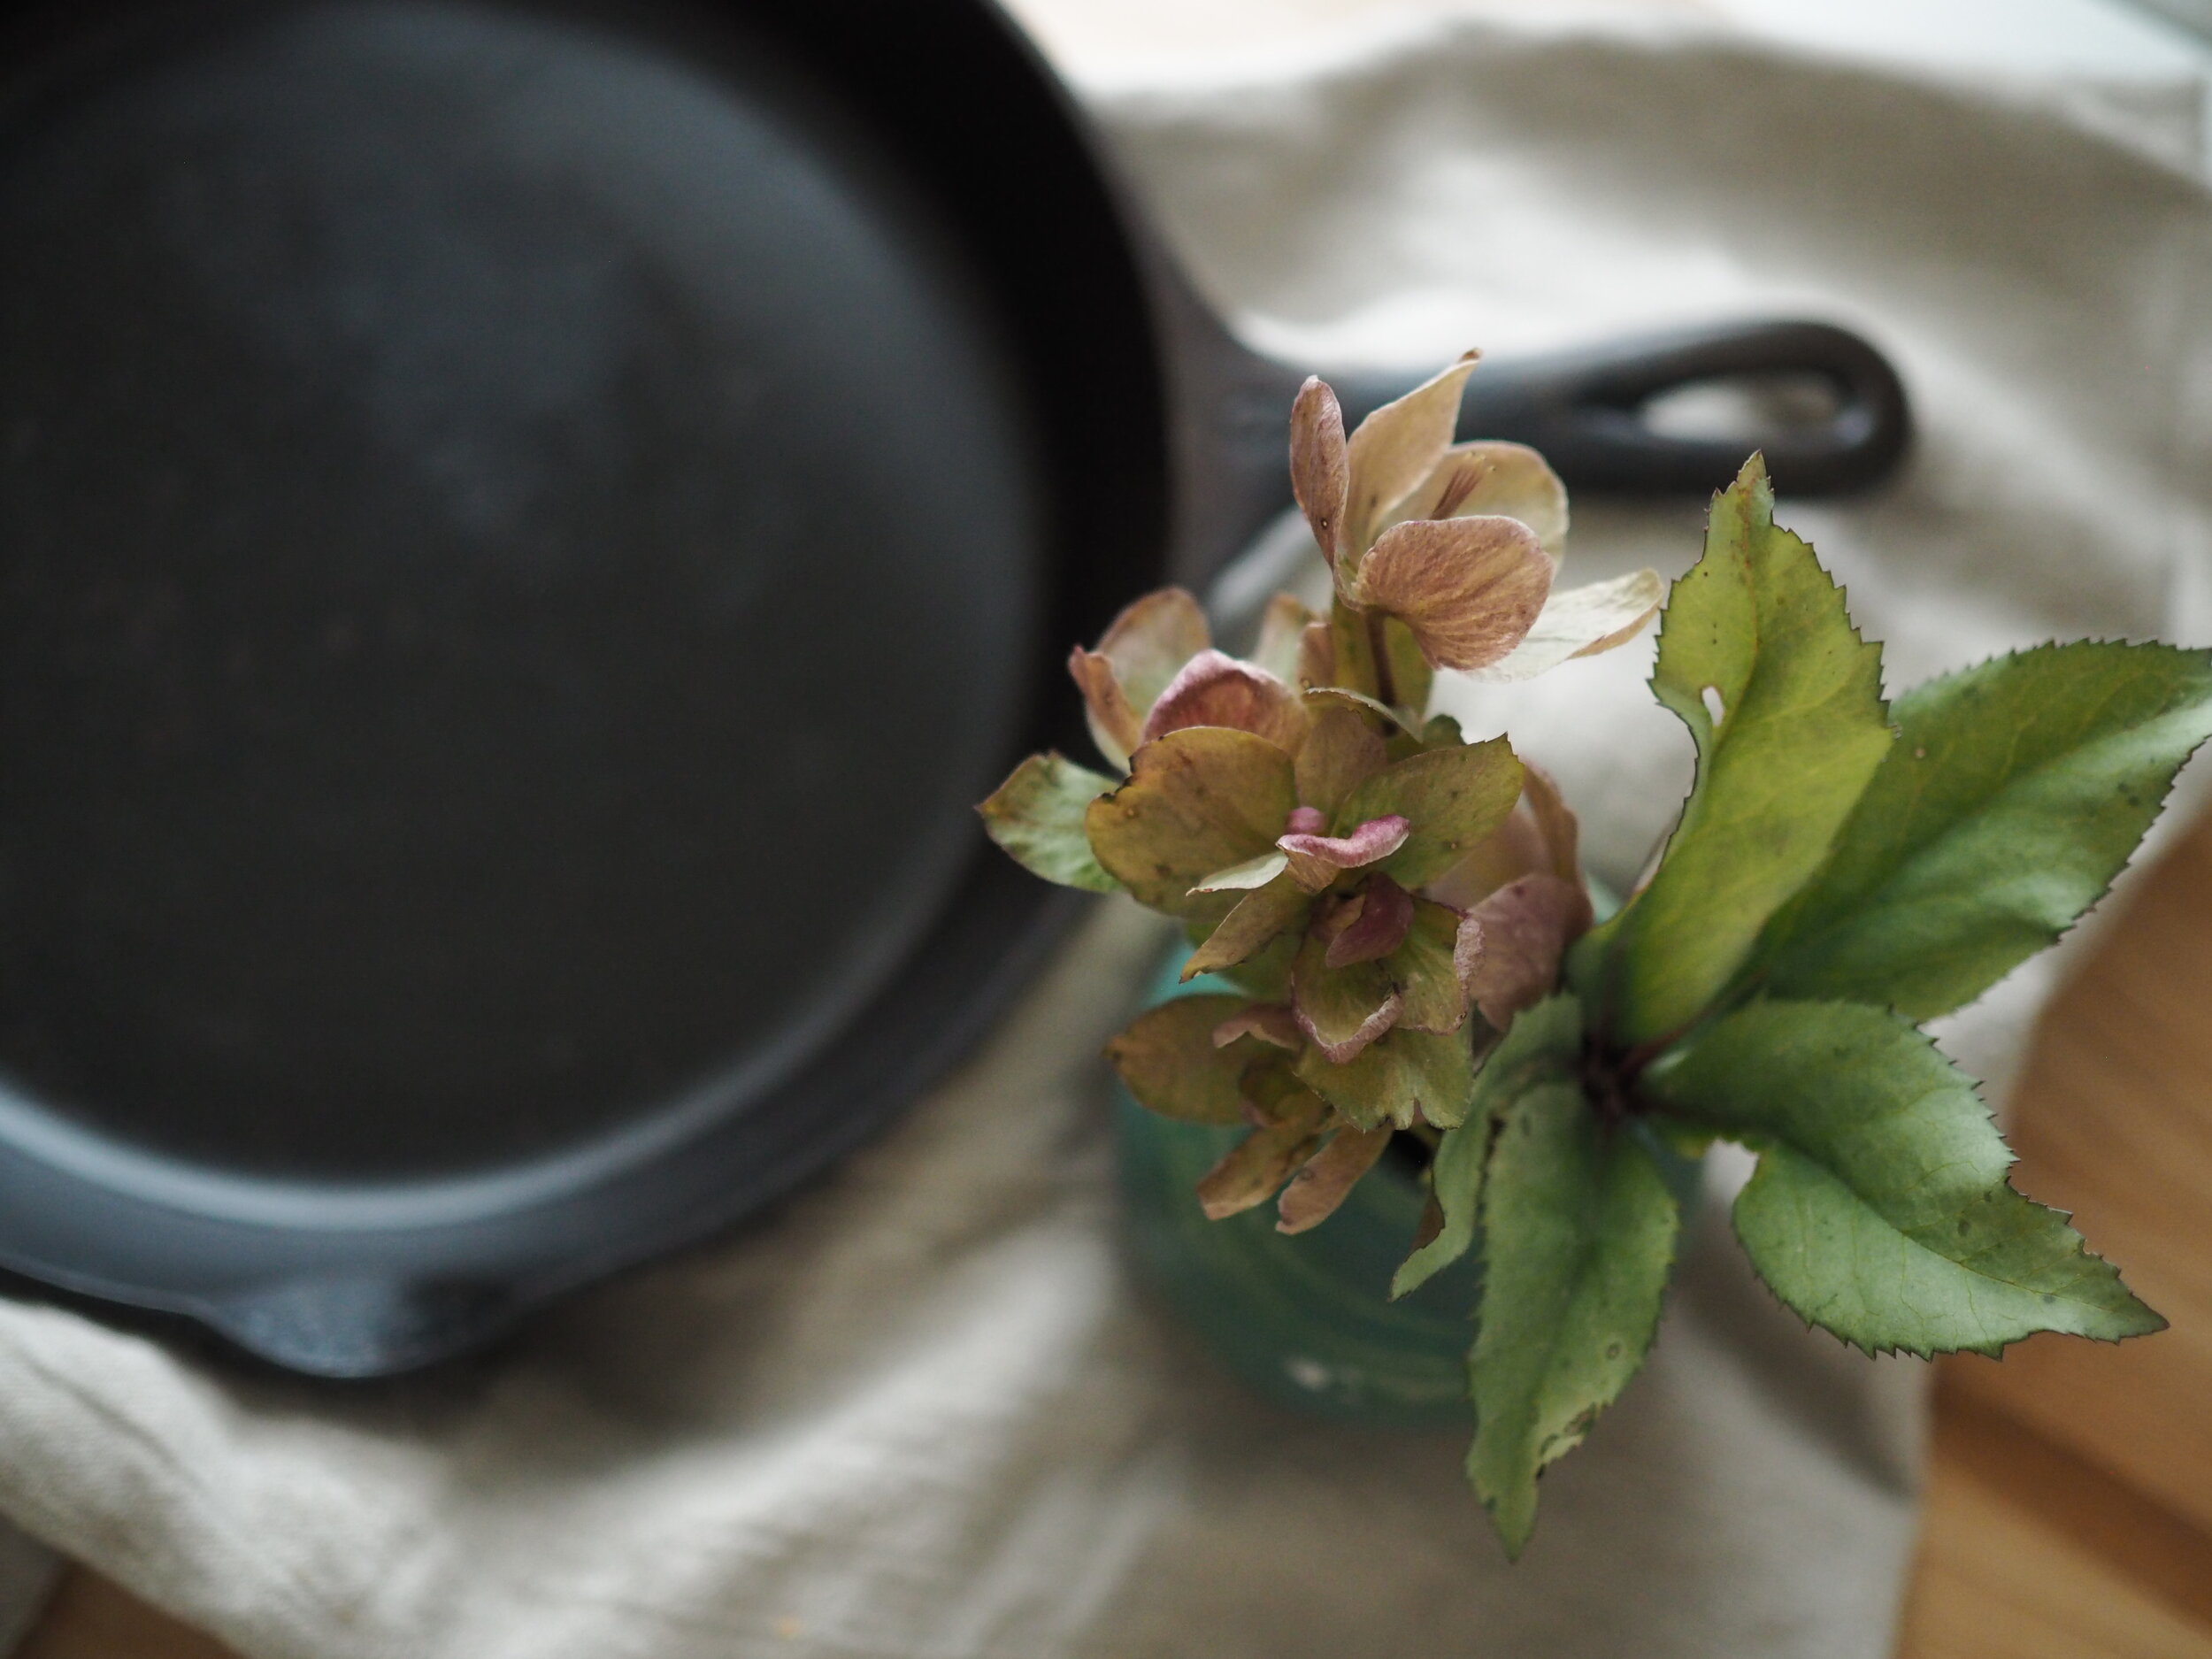
The subtitle of this post is “According to My Dad,” because he’s the source of all of my cast iron knowledge and lore, so to him I tip my hat. I was happy to recently have a couple of rusted-out cast iron skillets, once belonging to my great-grandmother, come into my possession. Vintage cast iron is highly prized for its superb quality above cast iron cookware that is produced today. Wagner, in particular, is a highly sought-after brand that had much of the market share of the early 20th century, so there happens to be a lot of it around if you look. Based on the logo on my pans, they date anywhere from 1924-1935. Vintage cast iron, like Wagner, was hand-cast and machined individually to give a super smooth finish and therefore, excellent heat disbursement and a nonstick surface for cooking. Bringing rusty, vintage cast iron back to life is completely possible, and well worth the effort.
Remove the Rust
After a good rinse of the initial layer of dust, I coated the pans completely with oven cleaner (lye works just as well for a more eco-friendly option) and tied them up in a garbage bag outdoors overnight. This step loosens the surface gunk and makes the whole job a lot easier. The next day, I rinsed each pan and scrubbed with vinegar and a stainless steel scrub pad to scour off the rust. Using vinegar helps to dissolve the rust. If the rust were just superficial, the scrub pad and vinegar would do the trick. If you need to take it a step further, scrub with running water and a wire wheel drill bit for a more mechanical method. As a last step before re-seasoning, I used a little dish soap and a Scotch Brite pad for a final cleaning. Once the pan is re-seasoned, you will not want to use soap and harsh abrasives for regular cleaning because you will strip away the seasoning and the non-stick quality of the pan. But during this prep process, you’re trying to get a clean, gunkless base.
Re-Season
I placed my freshly-scrubbed pans on the stovetop to and turned on the heat to get them bone dry and let them cool. Next, I applied an extremely thin coat of Crisco to each, set them in the oven and turned the temperature to 350°F for one hour. The coating of oil should be very, very thin so that the pans do not drip whatsoever once heated. After cooking, I repeated this process for a second time. When I took the pans out of the oven, I could fully appreciate the deep black matte finish made possible by the smoothly ground surface of vintage cast iron. The next morning, I made eggs which slid off the pan onto the plate!
Maintenance
The cast iron skillet is my go-to pan most nights for cooking. I no longer use non-stick pans because they are unnecessary with good cast iron in my arsenal, and the coating of a non-stick pan releases toxins every time it is heated. Experts say to avoid cooking acidic foods in cast iron, like a tomato- or wine-based sauces, but I just love my cast iron pans and cooking good food too much to heed that advice. The wisdom behind that warning is that the acid from those foods will strip away the seasoning and potentially even leave pock marks in your pan, but I have found that with the right care, this point is moot. Sometimes all a pan needs for cleanup is a little rinse of water and a swipe of a paper towel to clean. For a deeper clean, you can deglaze the pan with some water or water plus Kosher salt, and then dump the water down the drain. To dry my pan, I always put it on the stove or in a warm oven to make sure it is completely dry before storing away. Water is an invitation for rust, so keeping the pan dry will keep it happy. If the pan even starts to look thirsty again, just repeat the steps of scouring and re-seasoning and you’re back in business.

Wagner stamp, 1924-1935
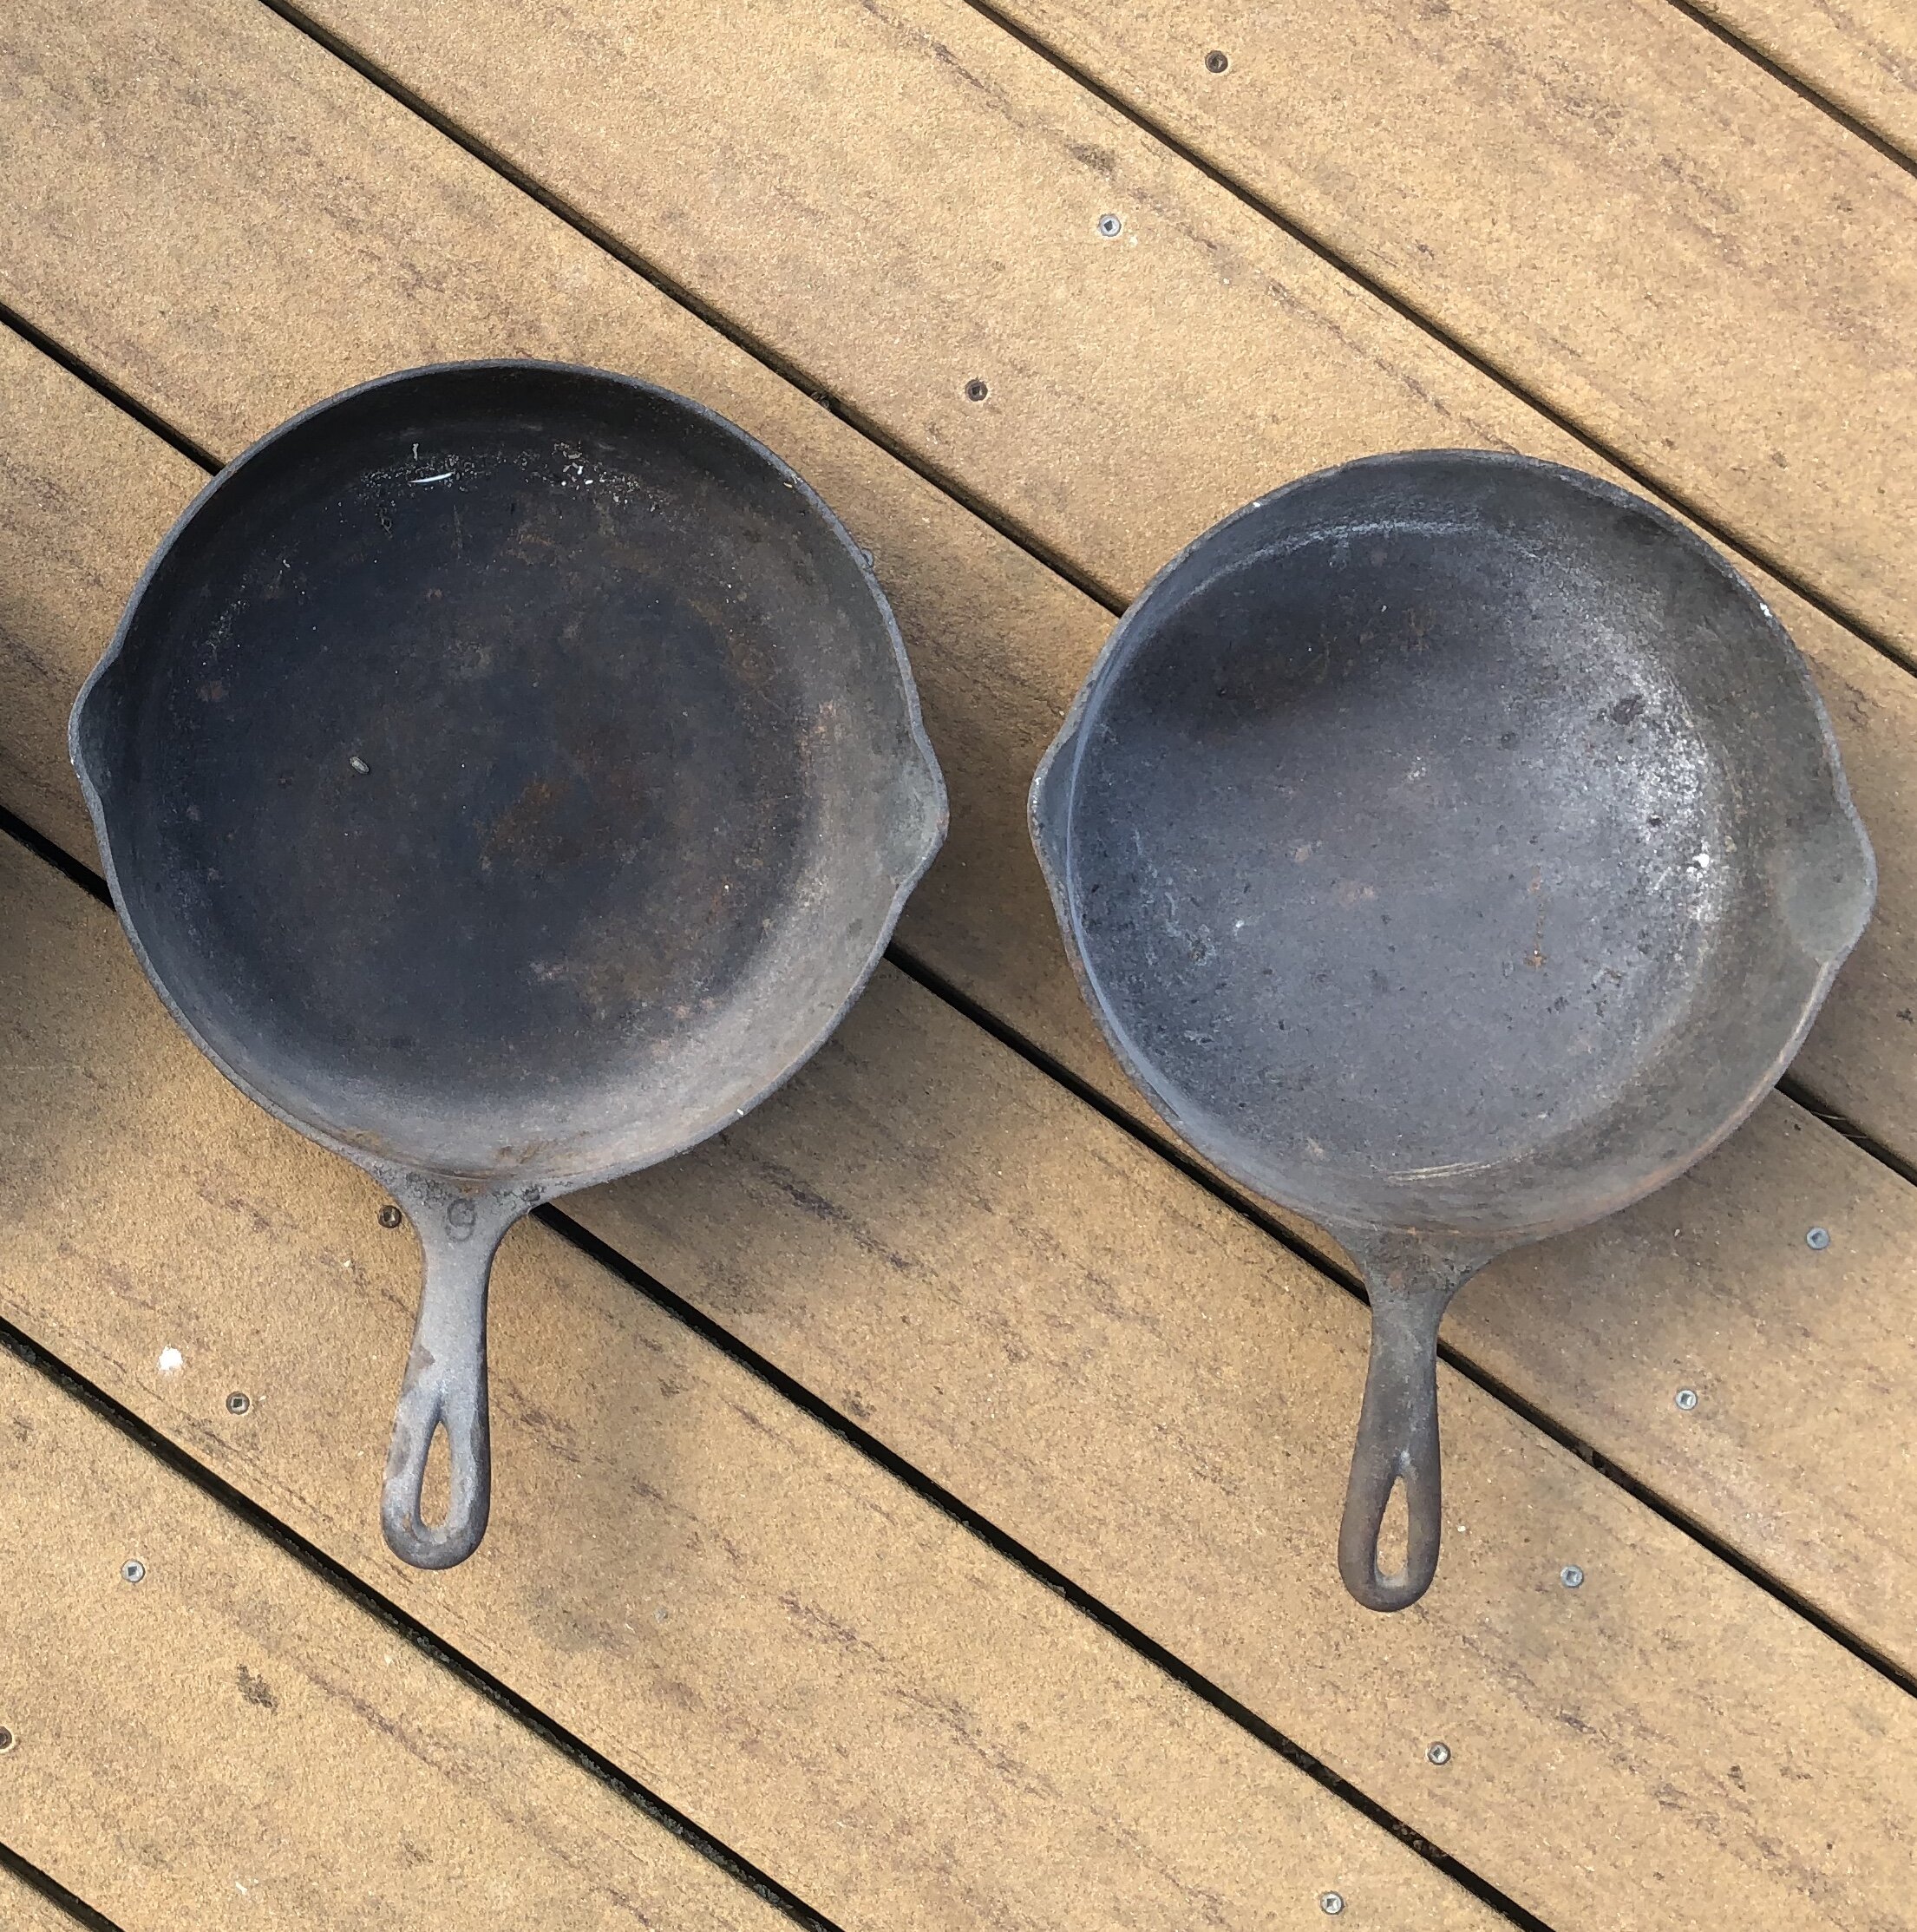
Before
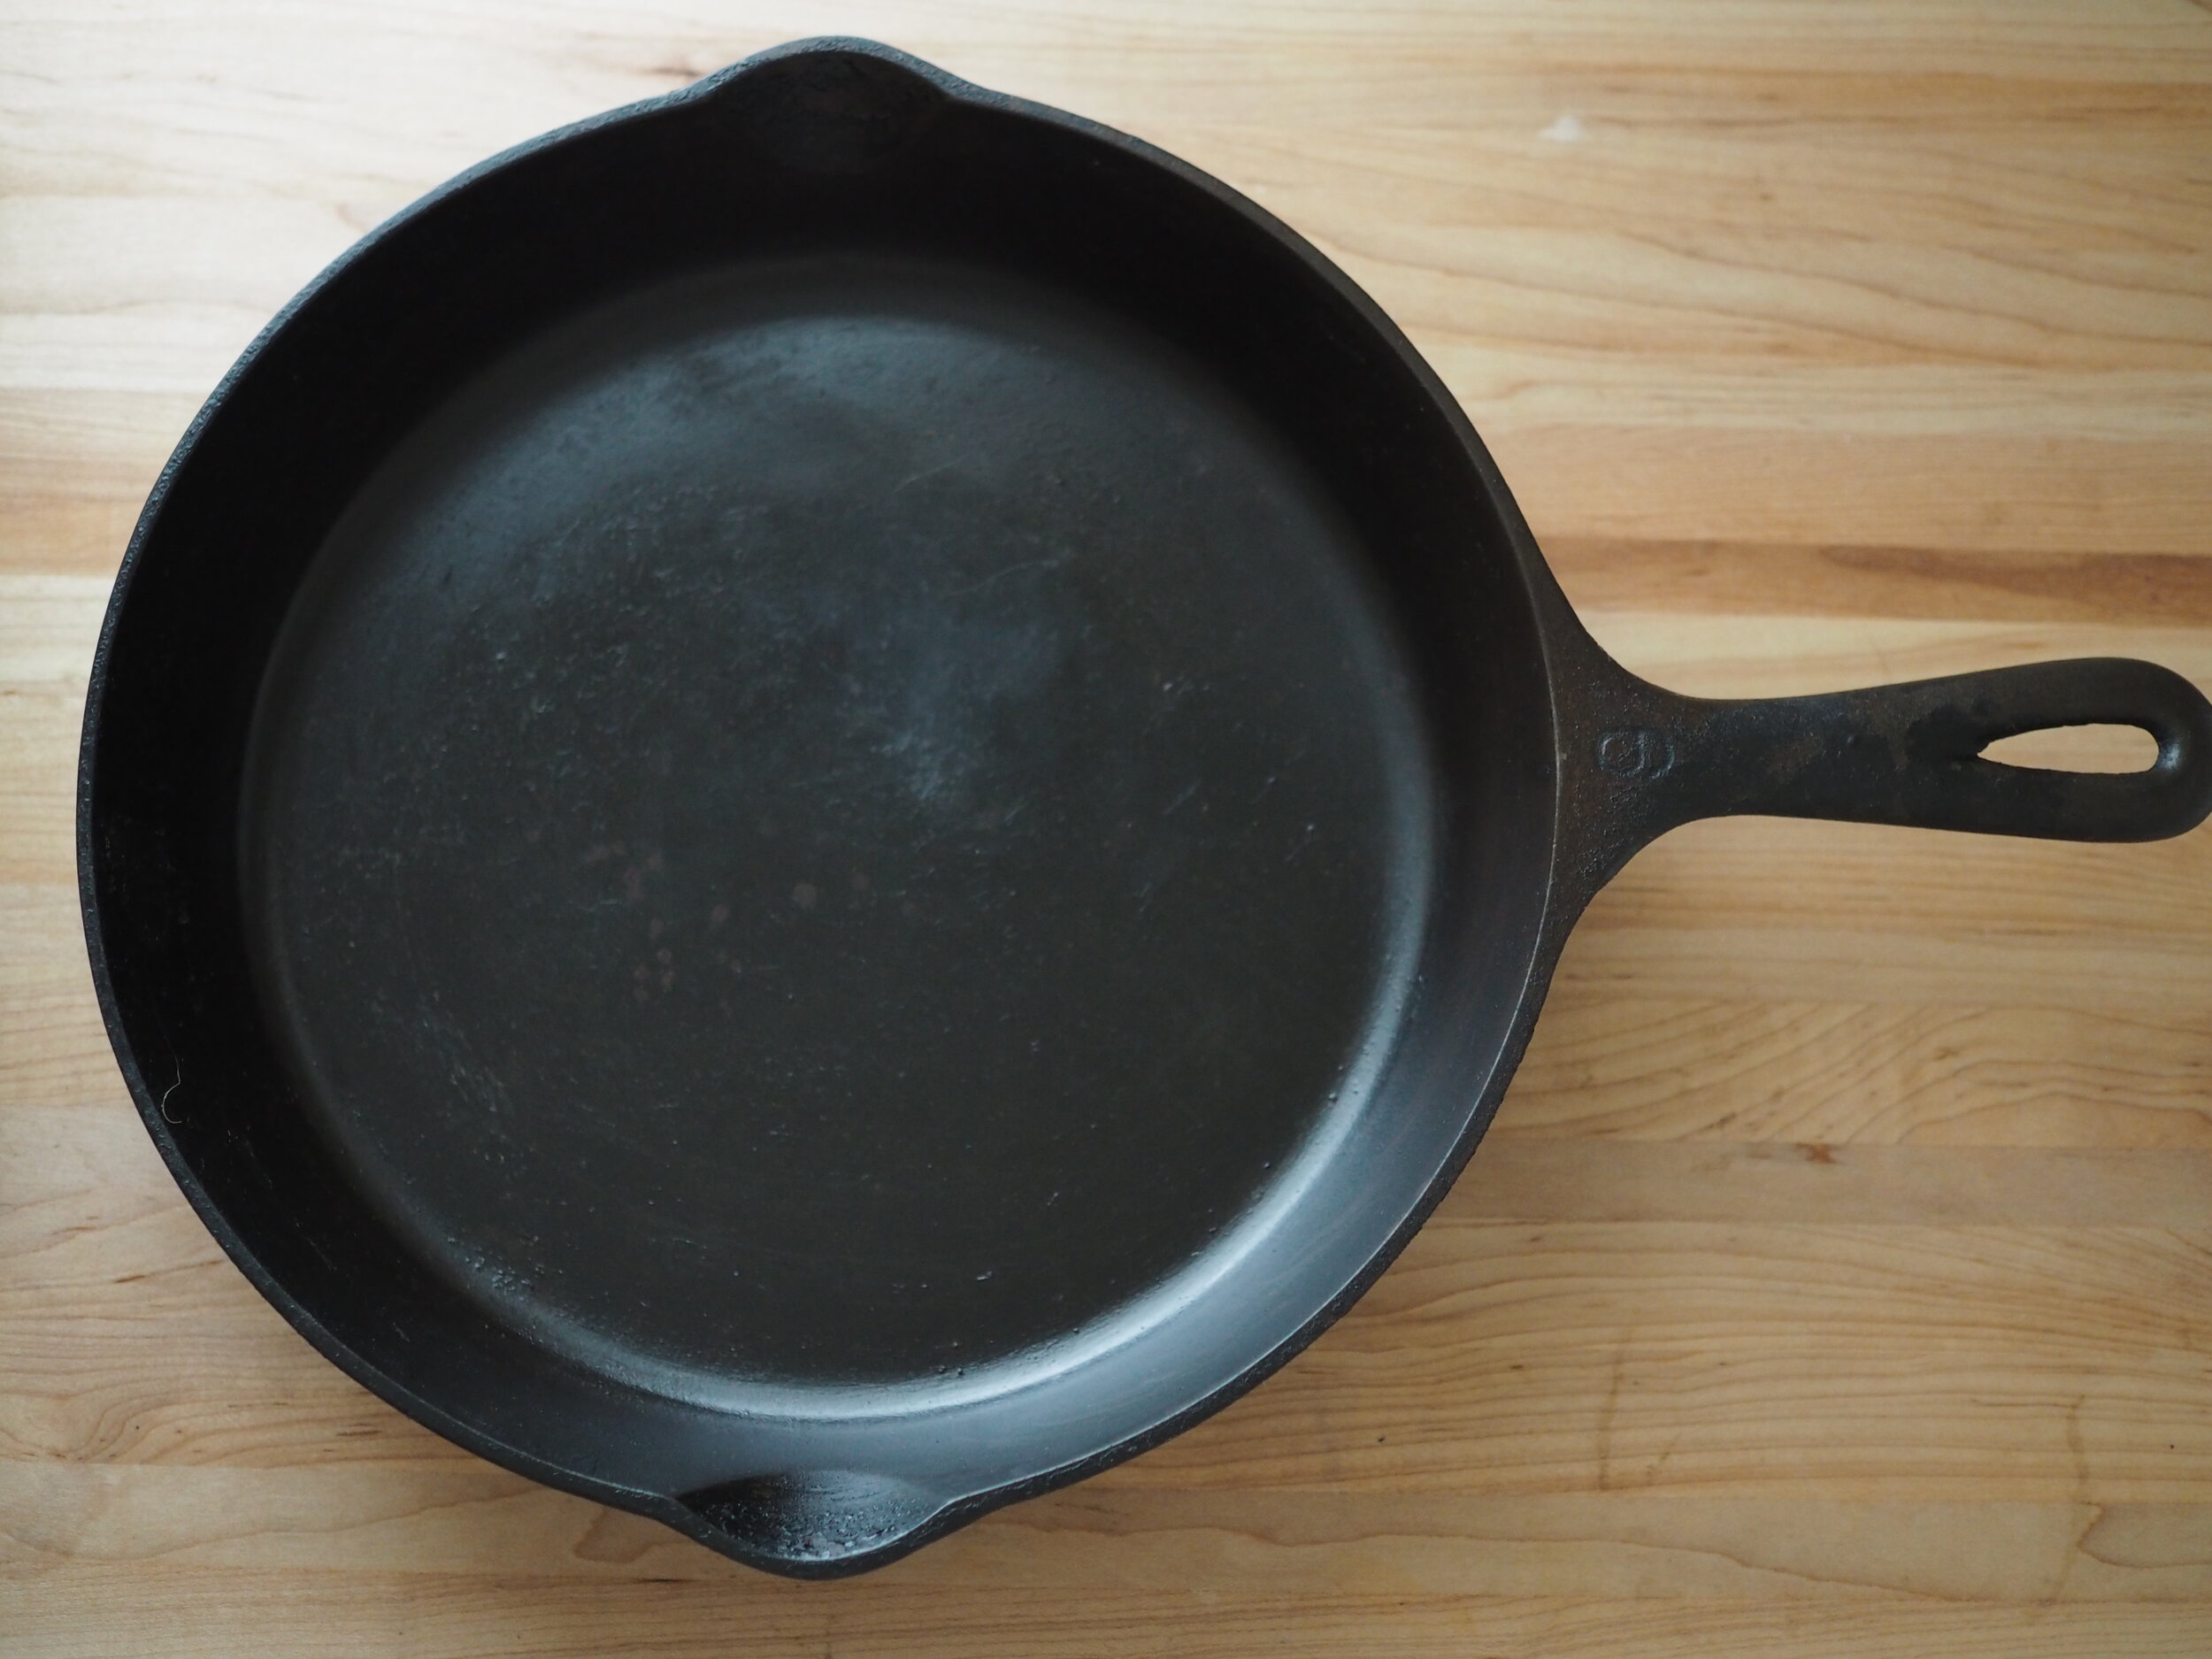
After
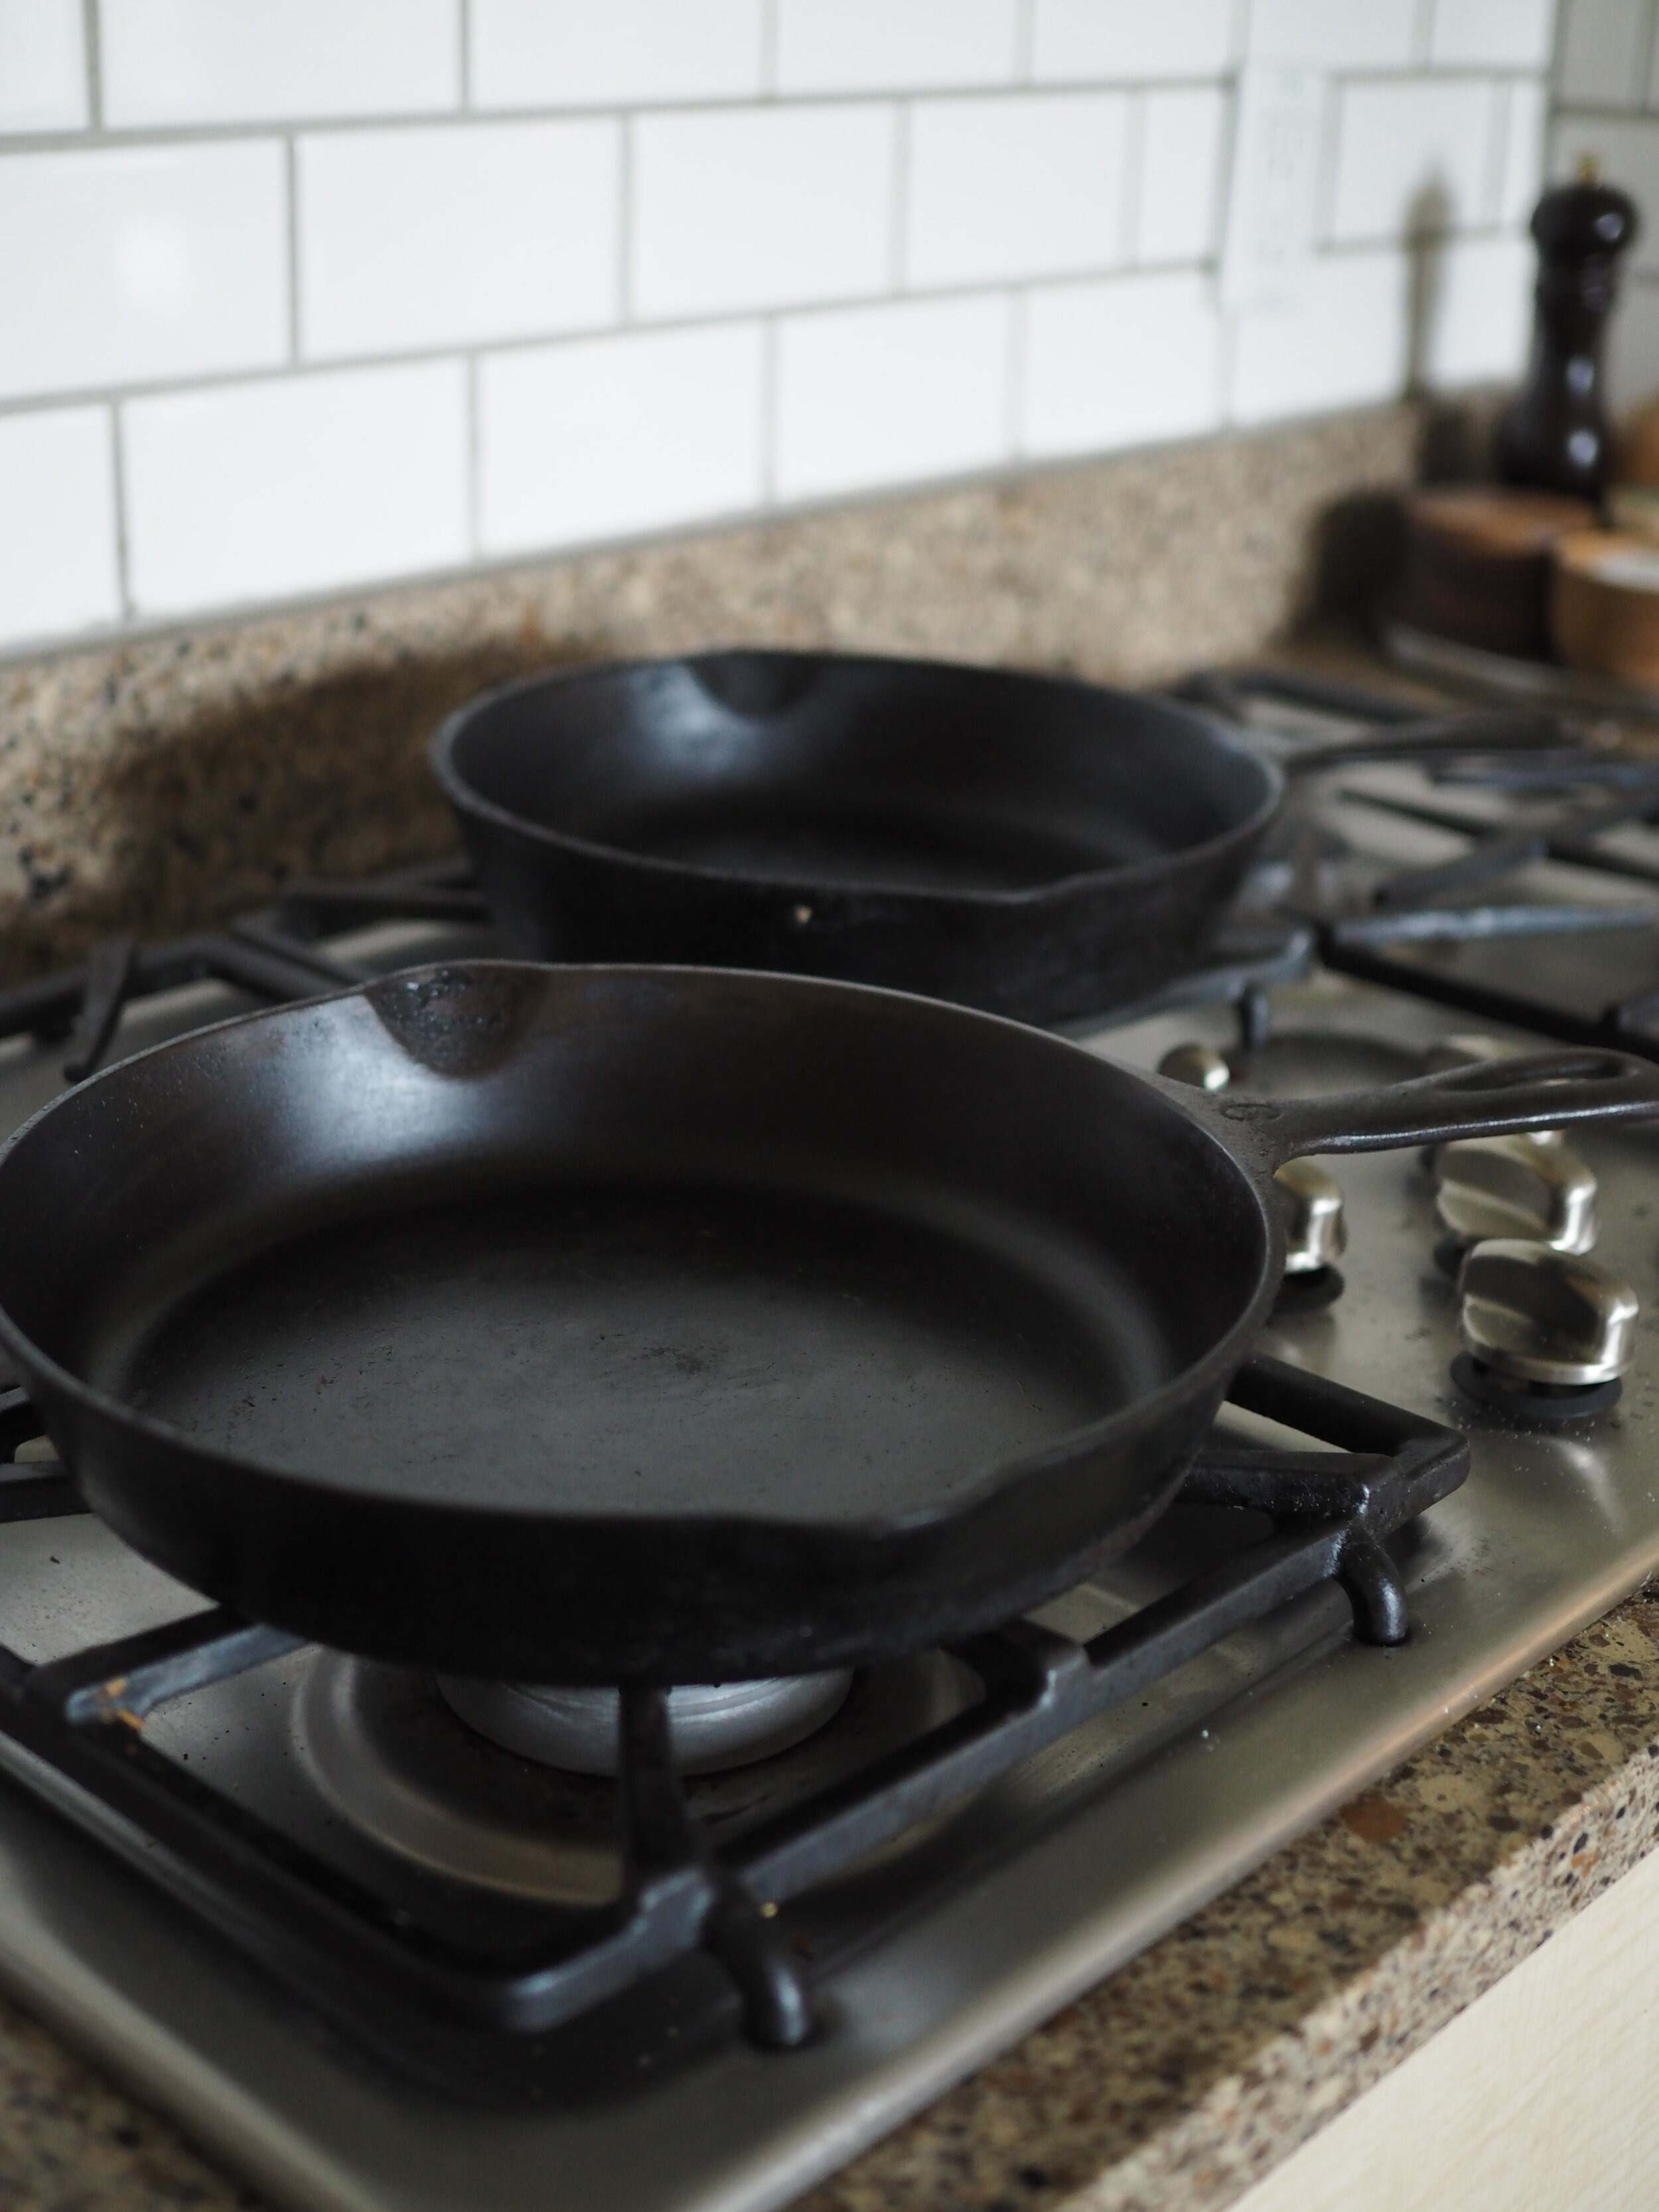
Black beauties

Vintage cast iron